Como Fabricar Tu Propria Bolsa
… Even if you don’t speak Spanish!
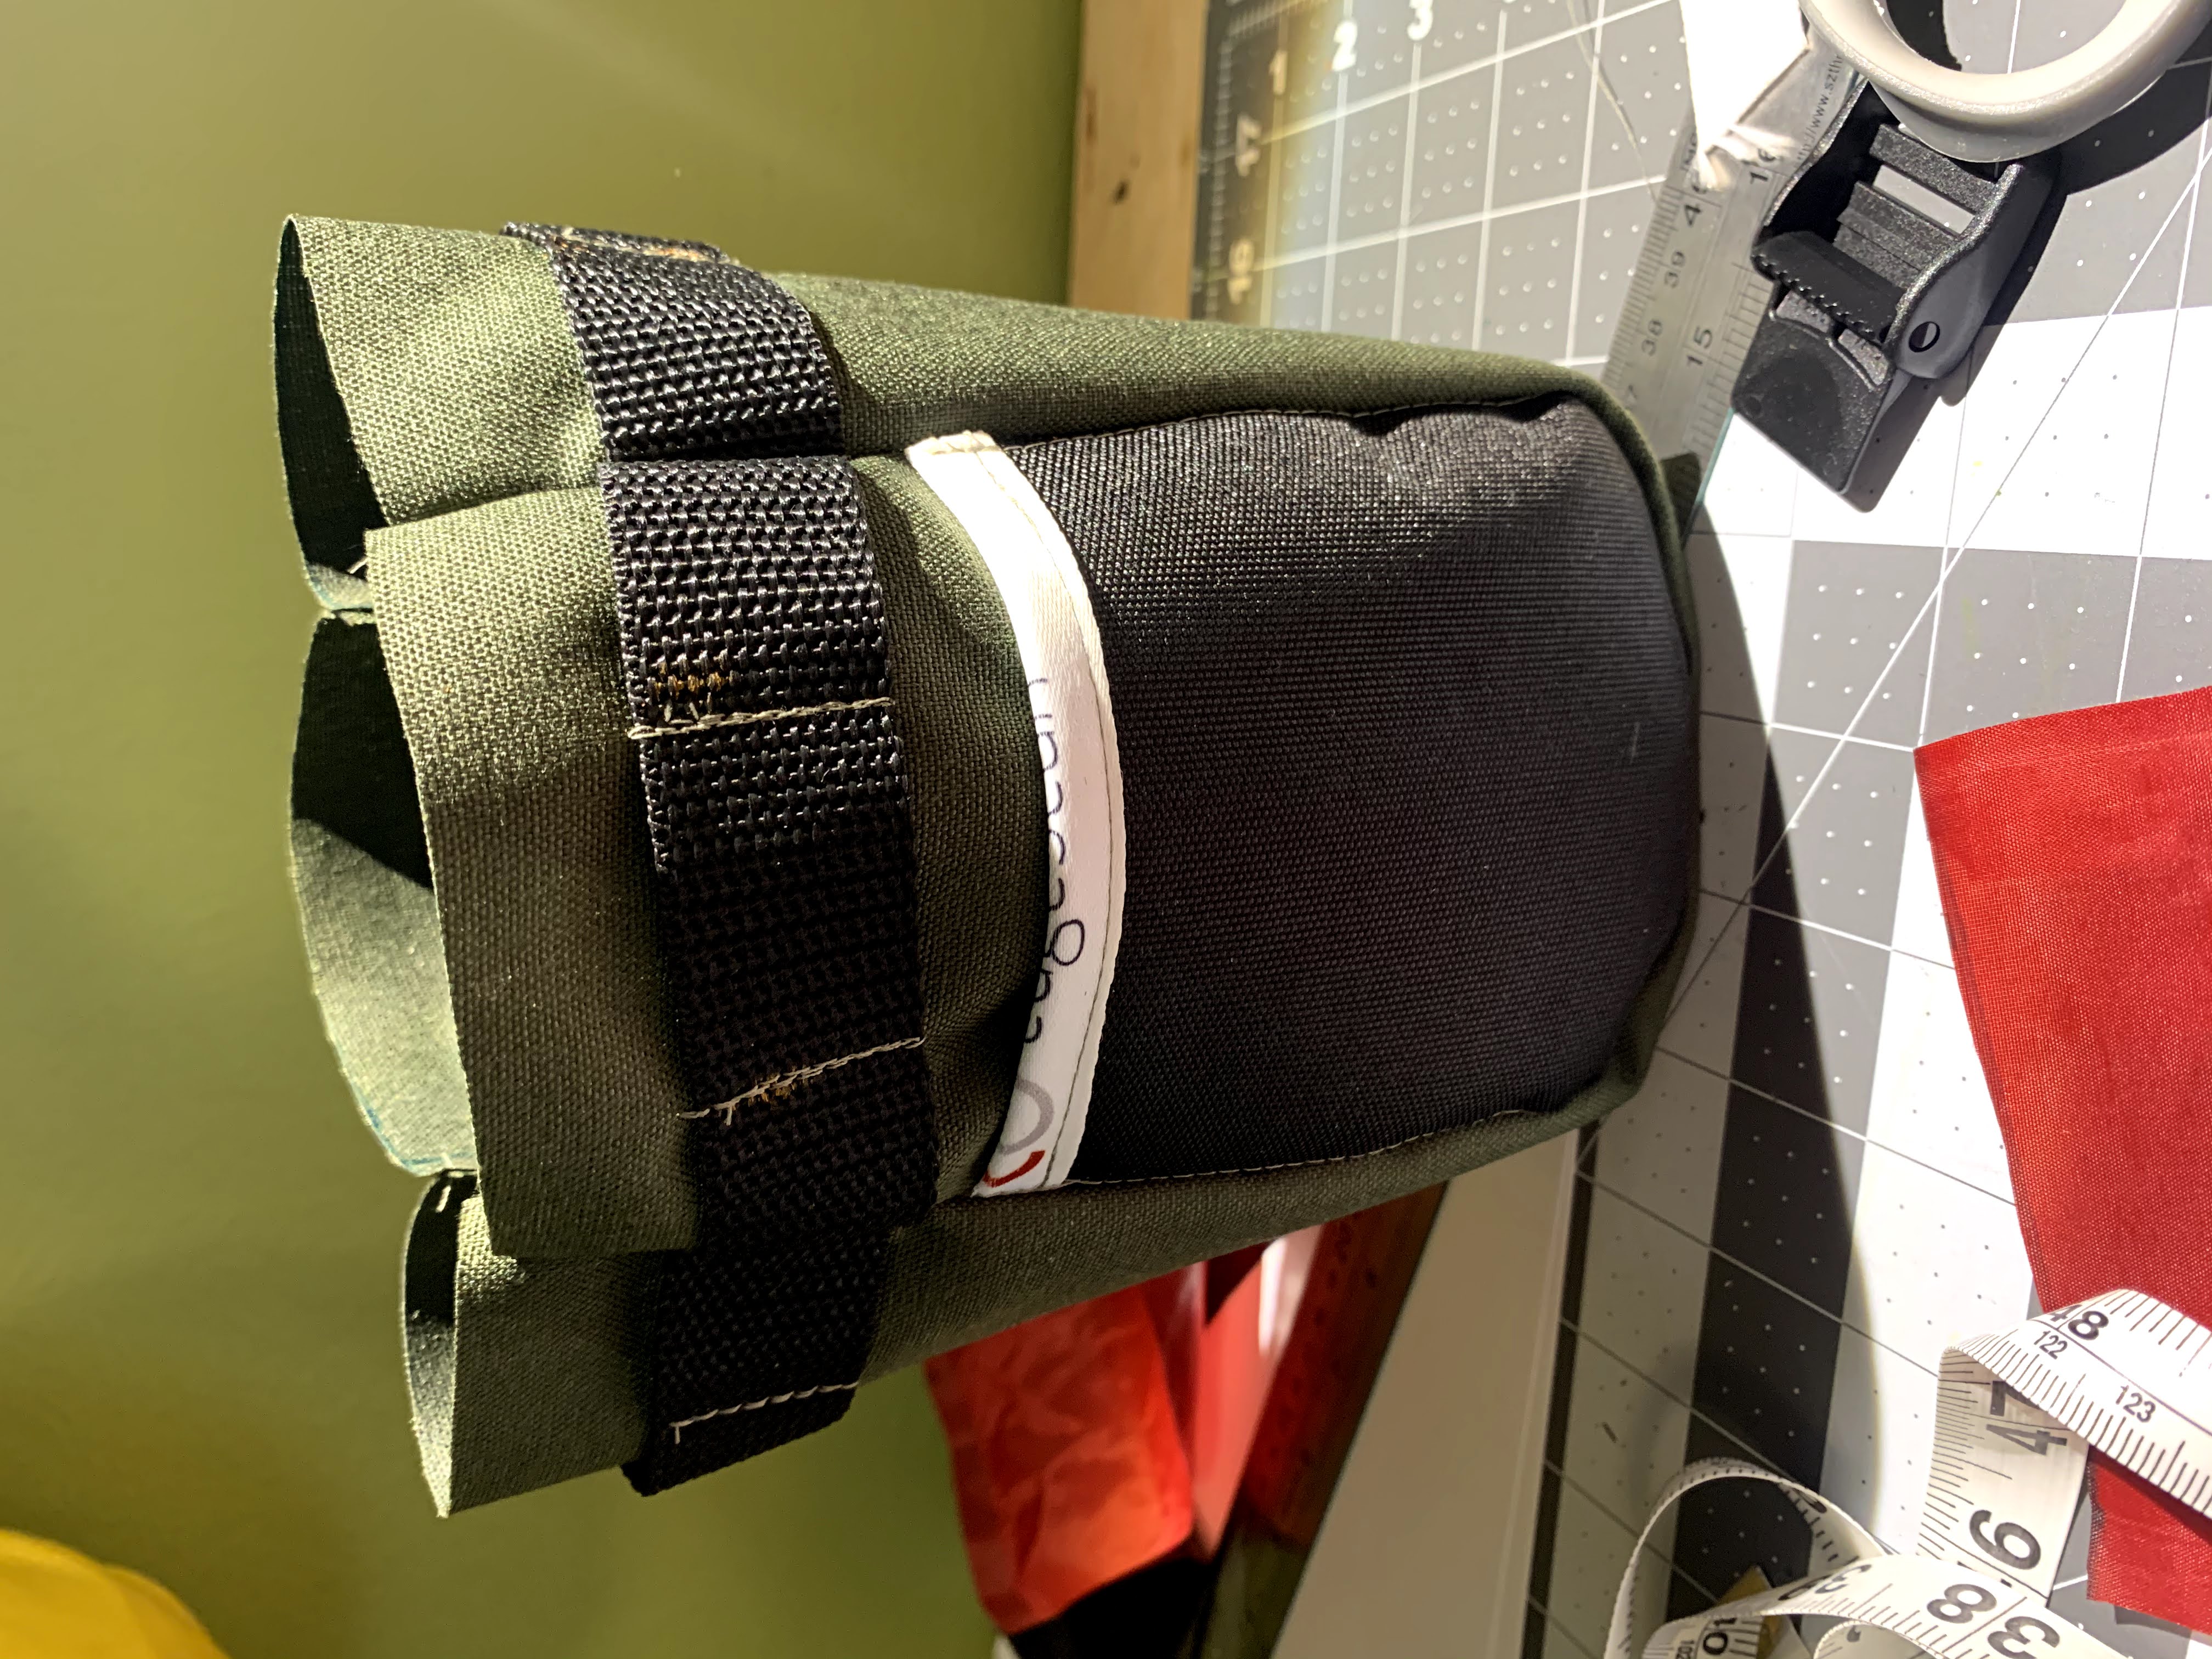
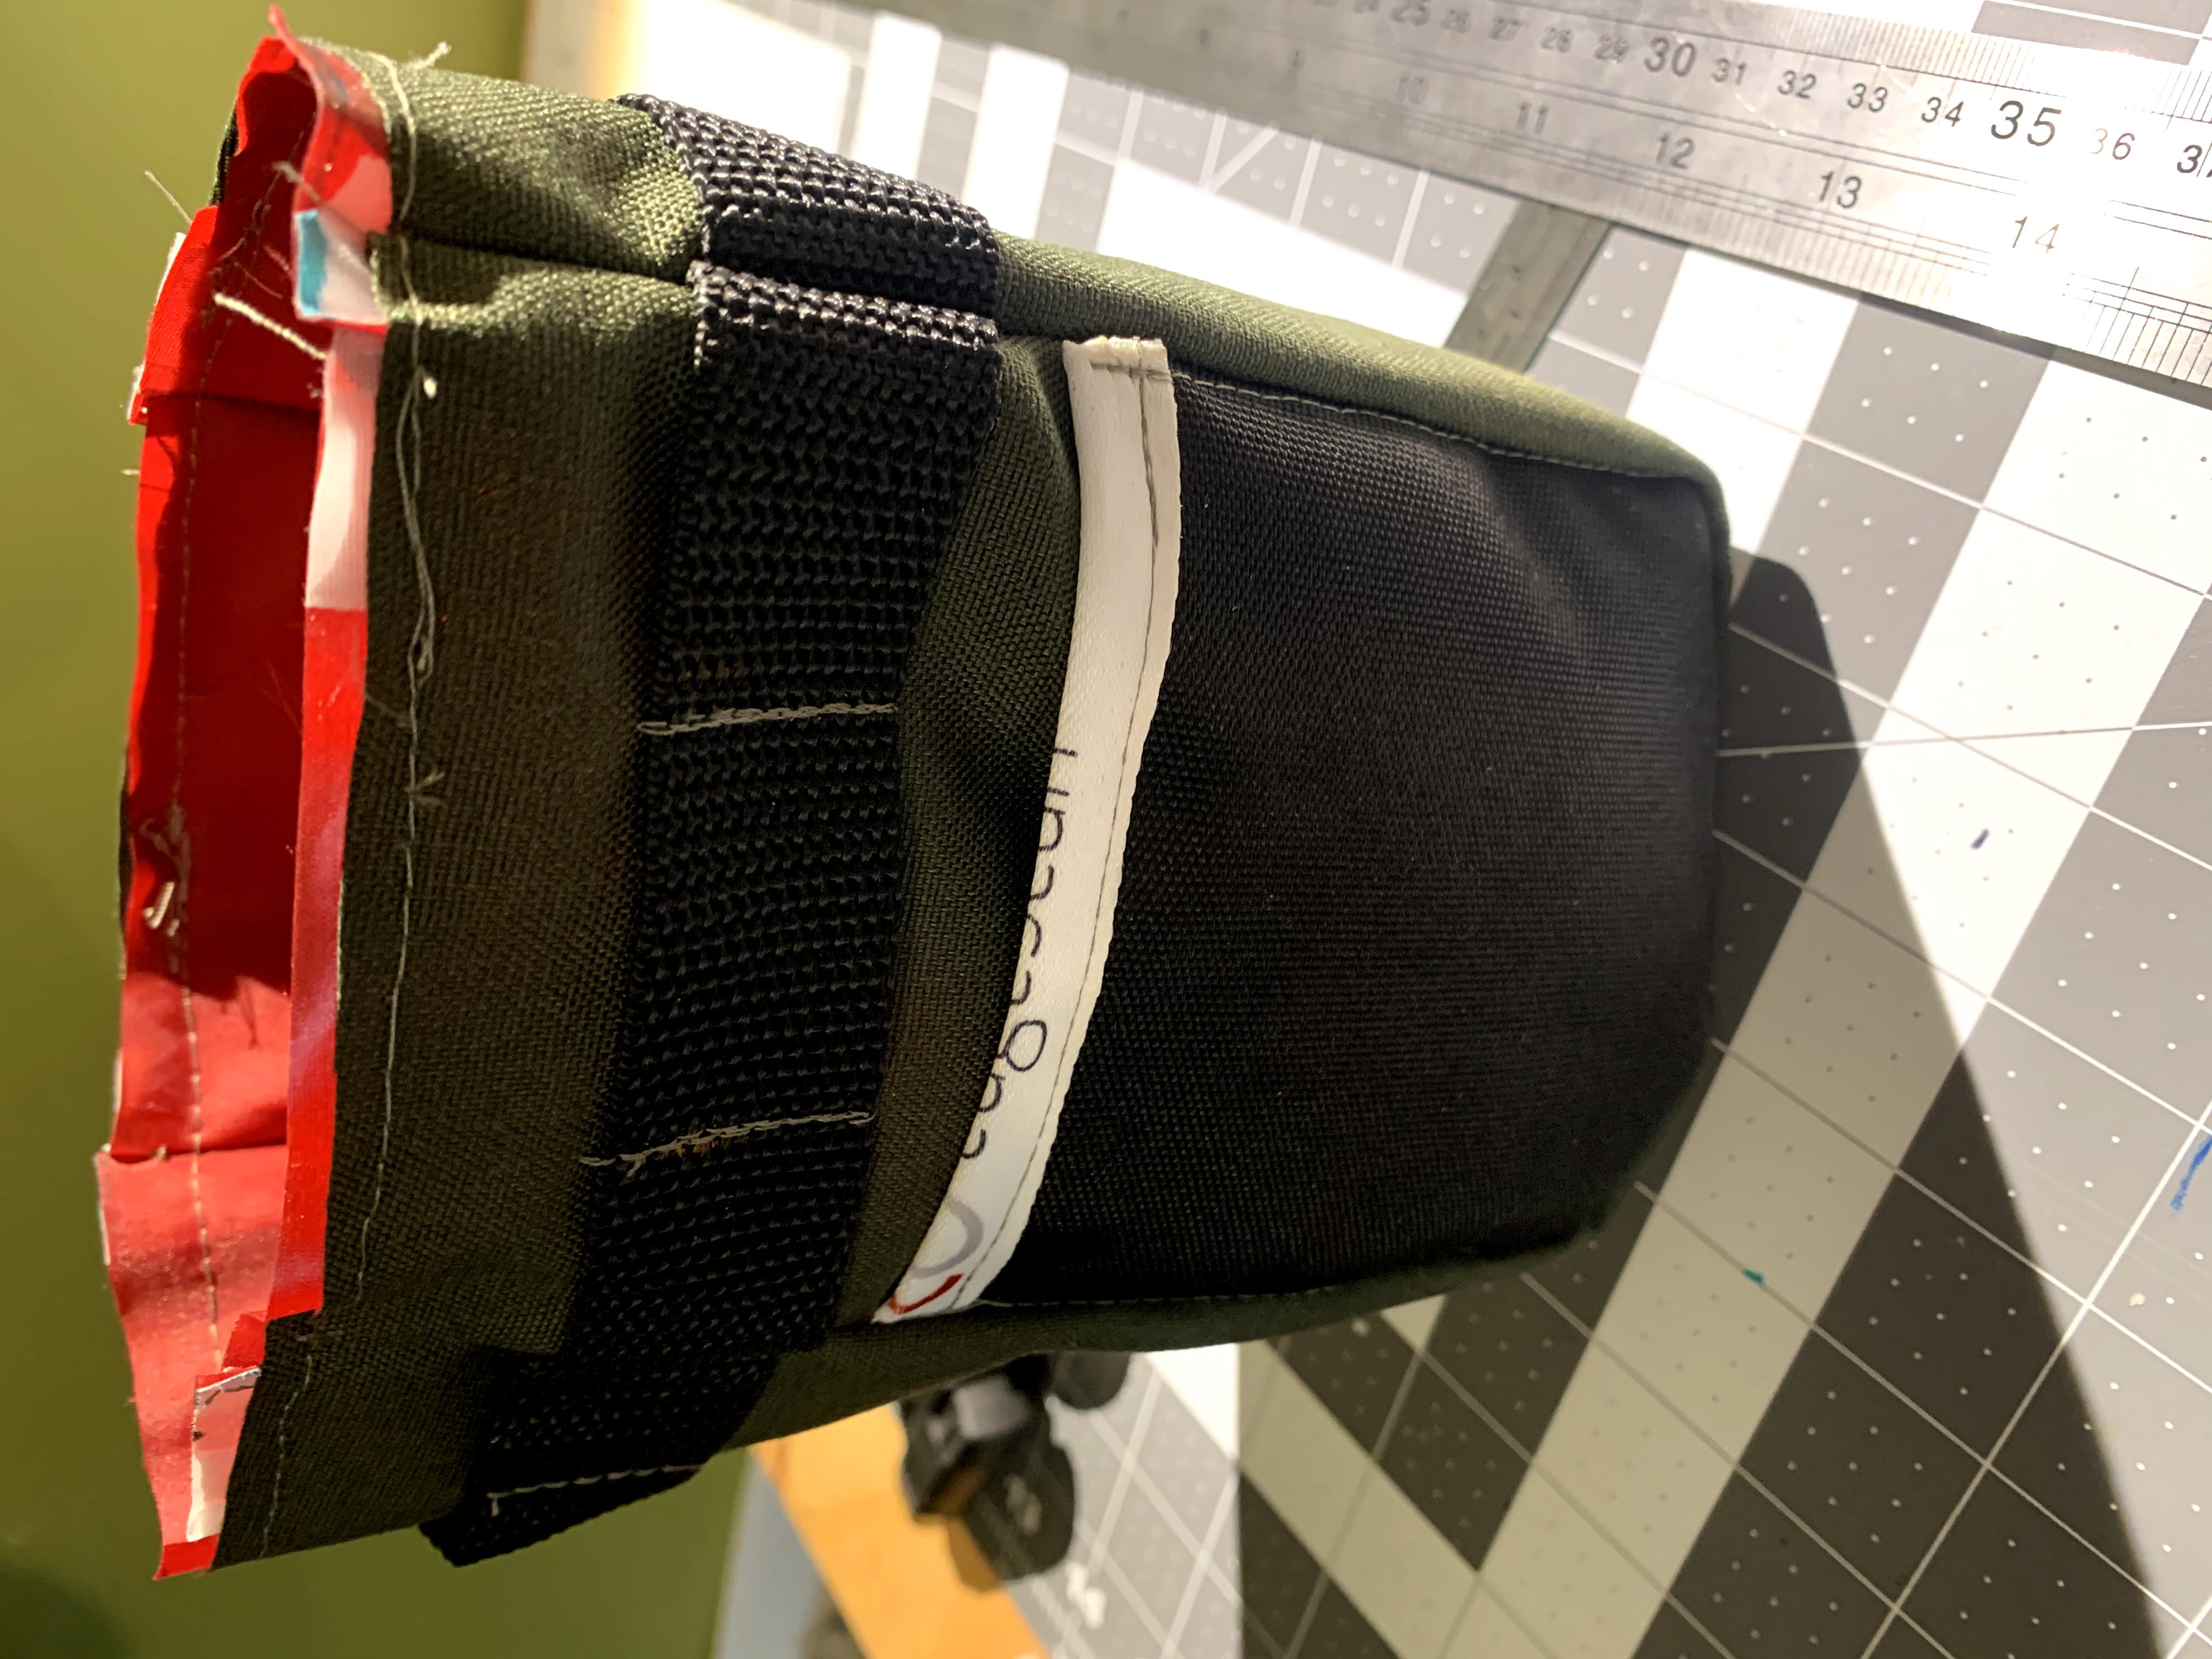
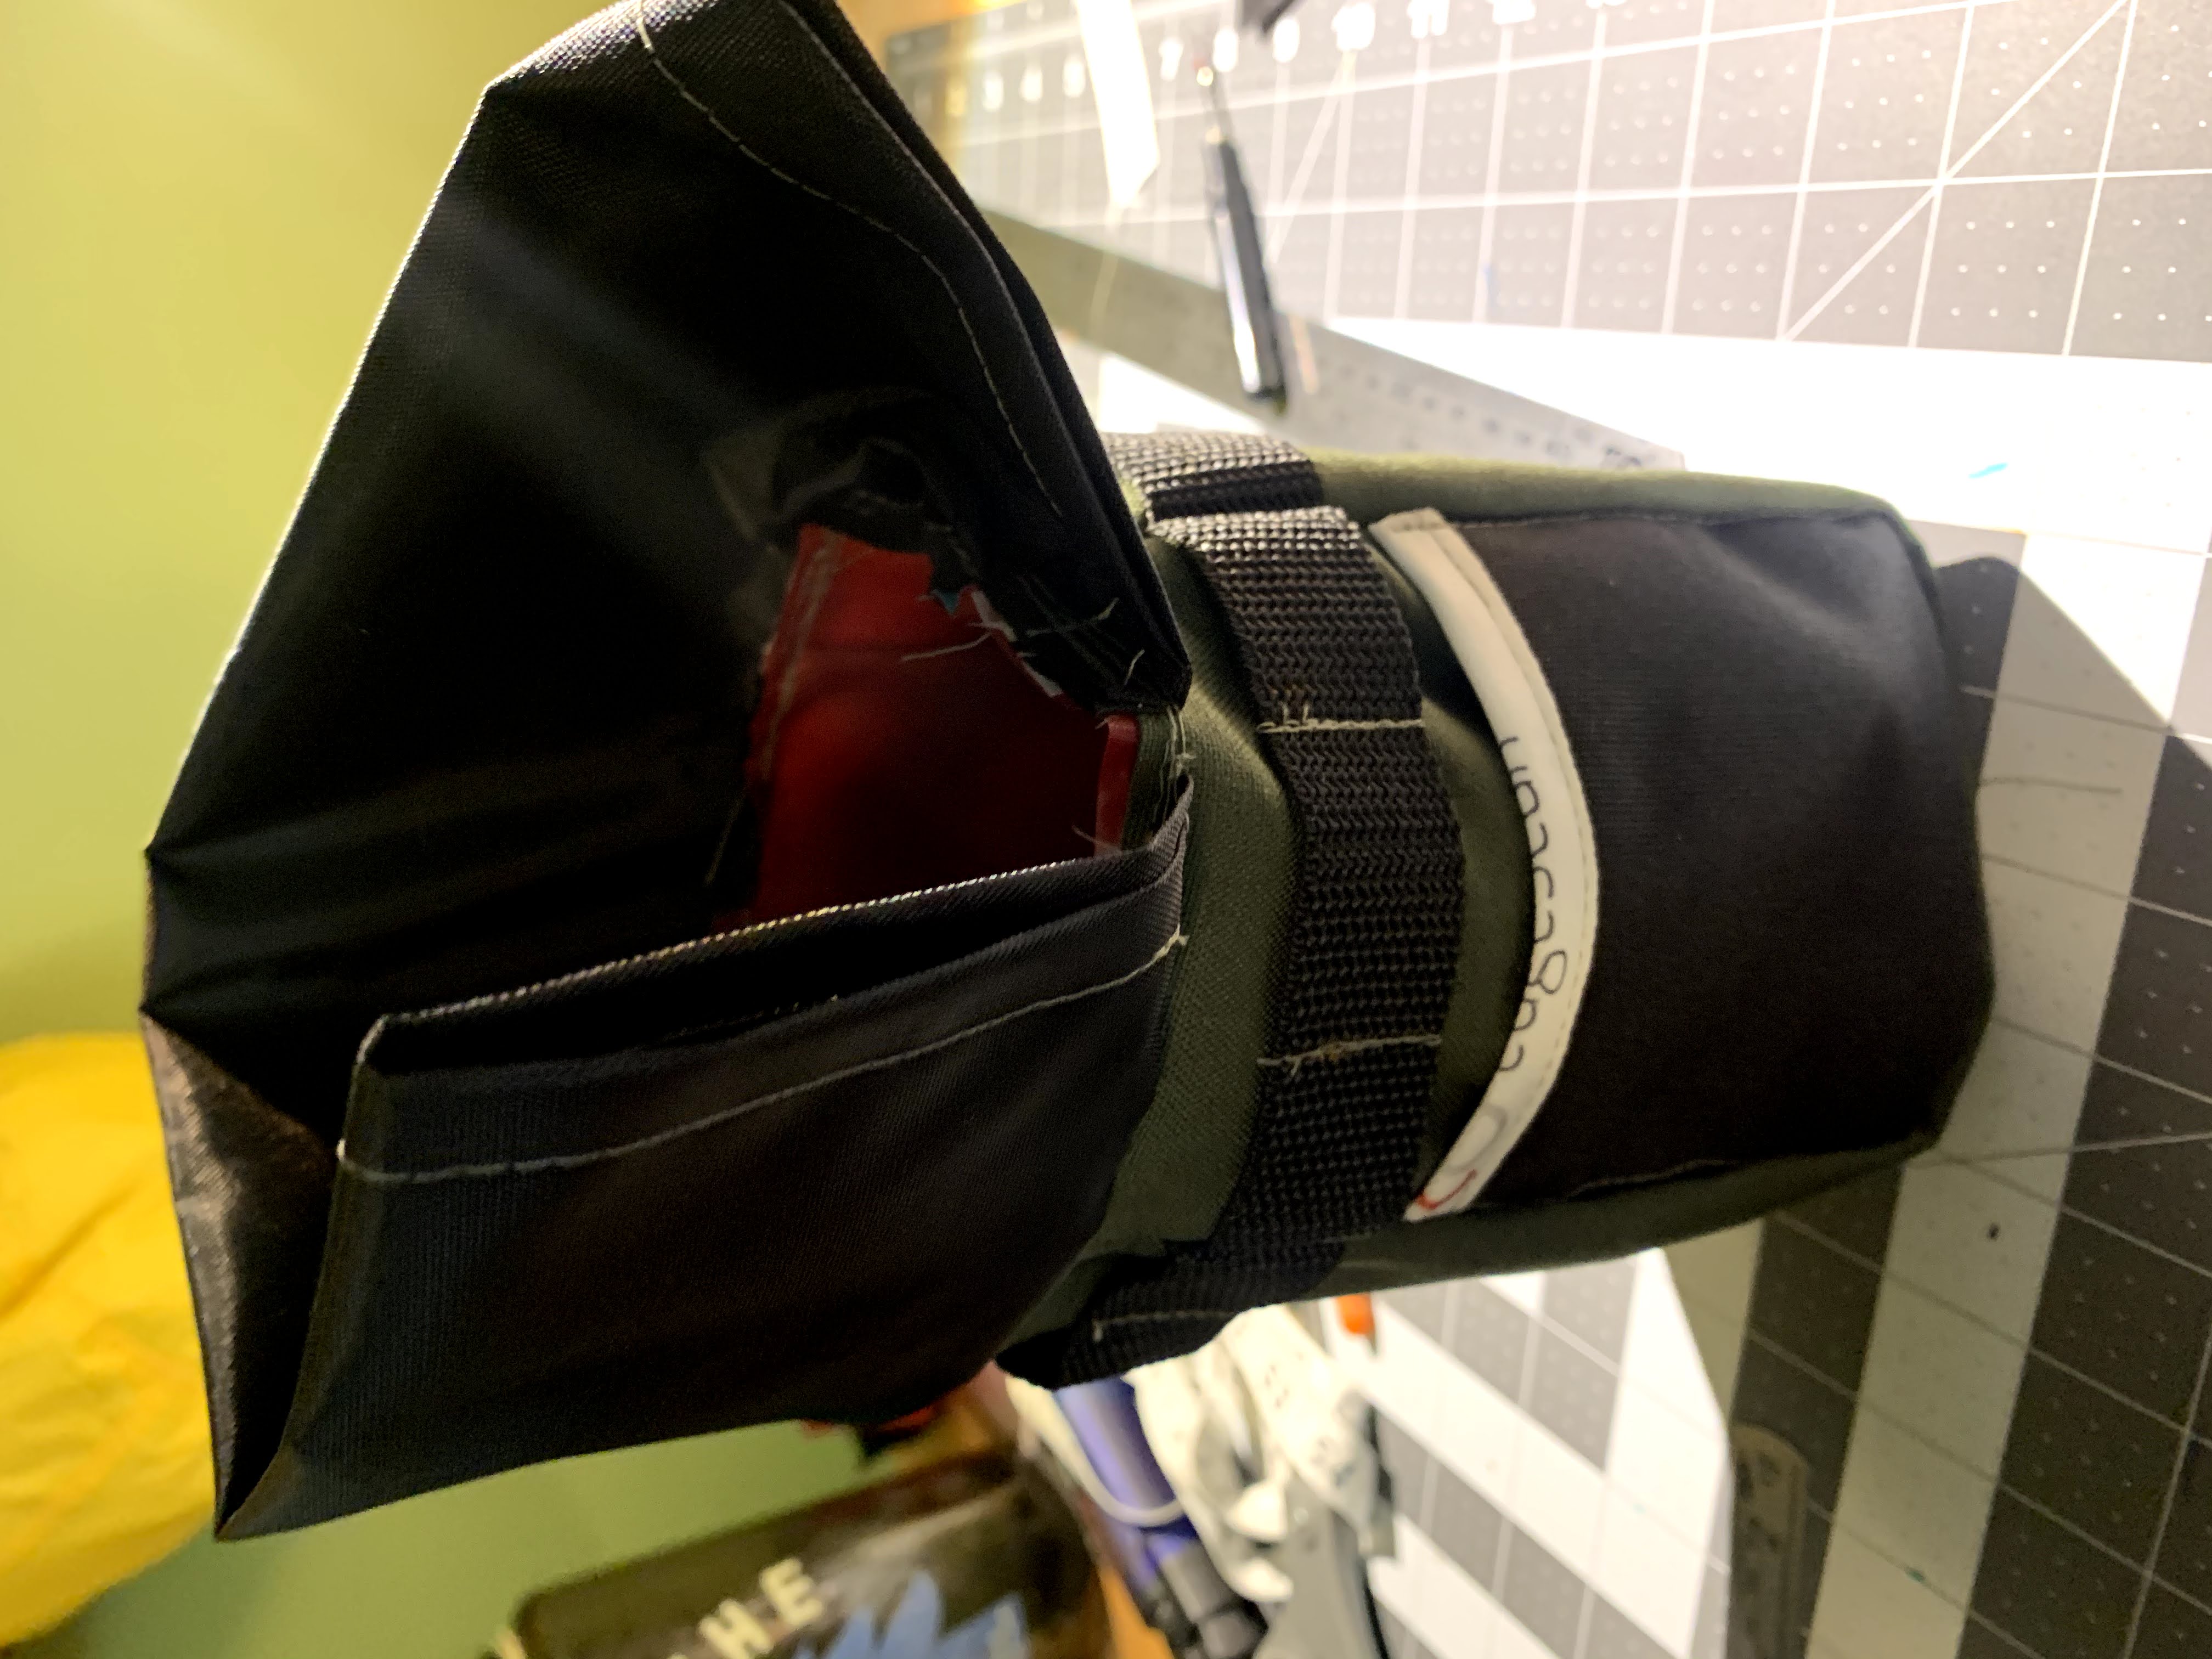
I came across this video on making a stem bag and tried it out for myself (3 times now). The picture is of the 3rd one, where I feel like I got a pretty good handle on it, but still made some mistakes (as you’ll see I also did on my 4th one)
Why This Stem Bag, Why This Post?
I like three things about this bag/pattern:
- It’s slightly easier to make than the other pattern I tried from bikepacking.com
- It’s big enough to handle a Nalgene 32 oz bottle
- It’s stable to take on your MTB ride, bombing down hill. I’ve been doing it for a month or so with the blue and green bag mounted on my MTB.
NOTE: I say slightly easier, since anytime you’re sewing on a curve (which this requires), it’s a challenge. Much of this has to do with my lack of sewing chops. I’m getting slightly better though, and also acquiring slightly better tools (even if somewhat klugey still) to help out.
As to why this post … the major criteria for me posting on this site/blog is that it should “be helpful” (i.e. not ranty etc.). I have a friend who wants me to teach him how to make this stem bag and he doesn’t speak spanish. Also, I’ve benefitted from posts by others on making frame bags and other DIY bikepacking gear. So, I figured I’d try to contribute (give back), even if it’s not completely original and ground-breaking. Finally, with all the COVID-19 stuff going on, and despite overall low risk in my area, outside trips (e.g. to go to my friend’s and help him out with this) come at a premium. So, here we are doing this via the interwebz.
I’m going to make my 4th (the first two are loaded on my bike in this post) of these stem bags and document it with pictures and text. I’ll link my commentary to the existing video (with appropriate time codes queue’d)
Let’s Do It
Select Materials, Measure and Cut
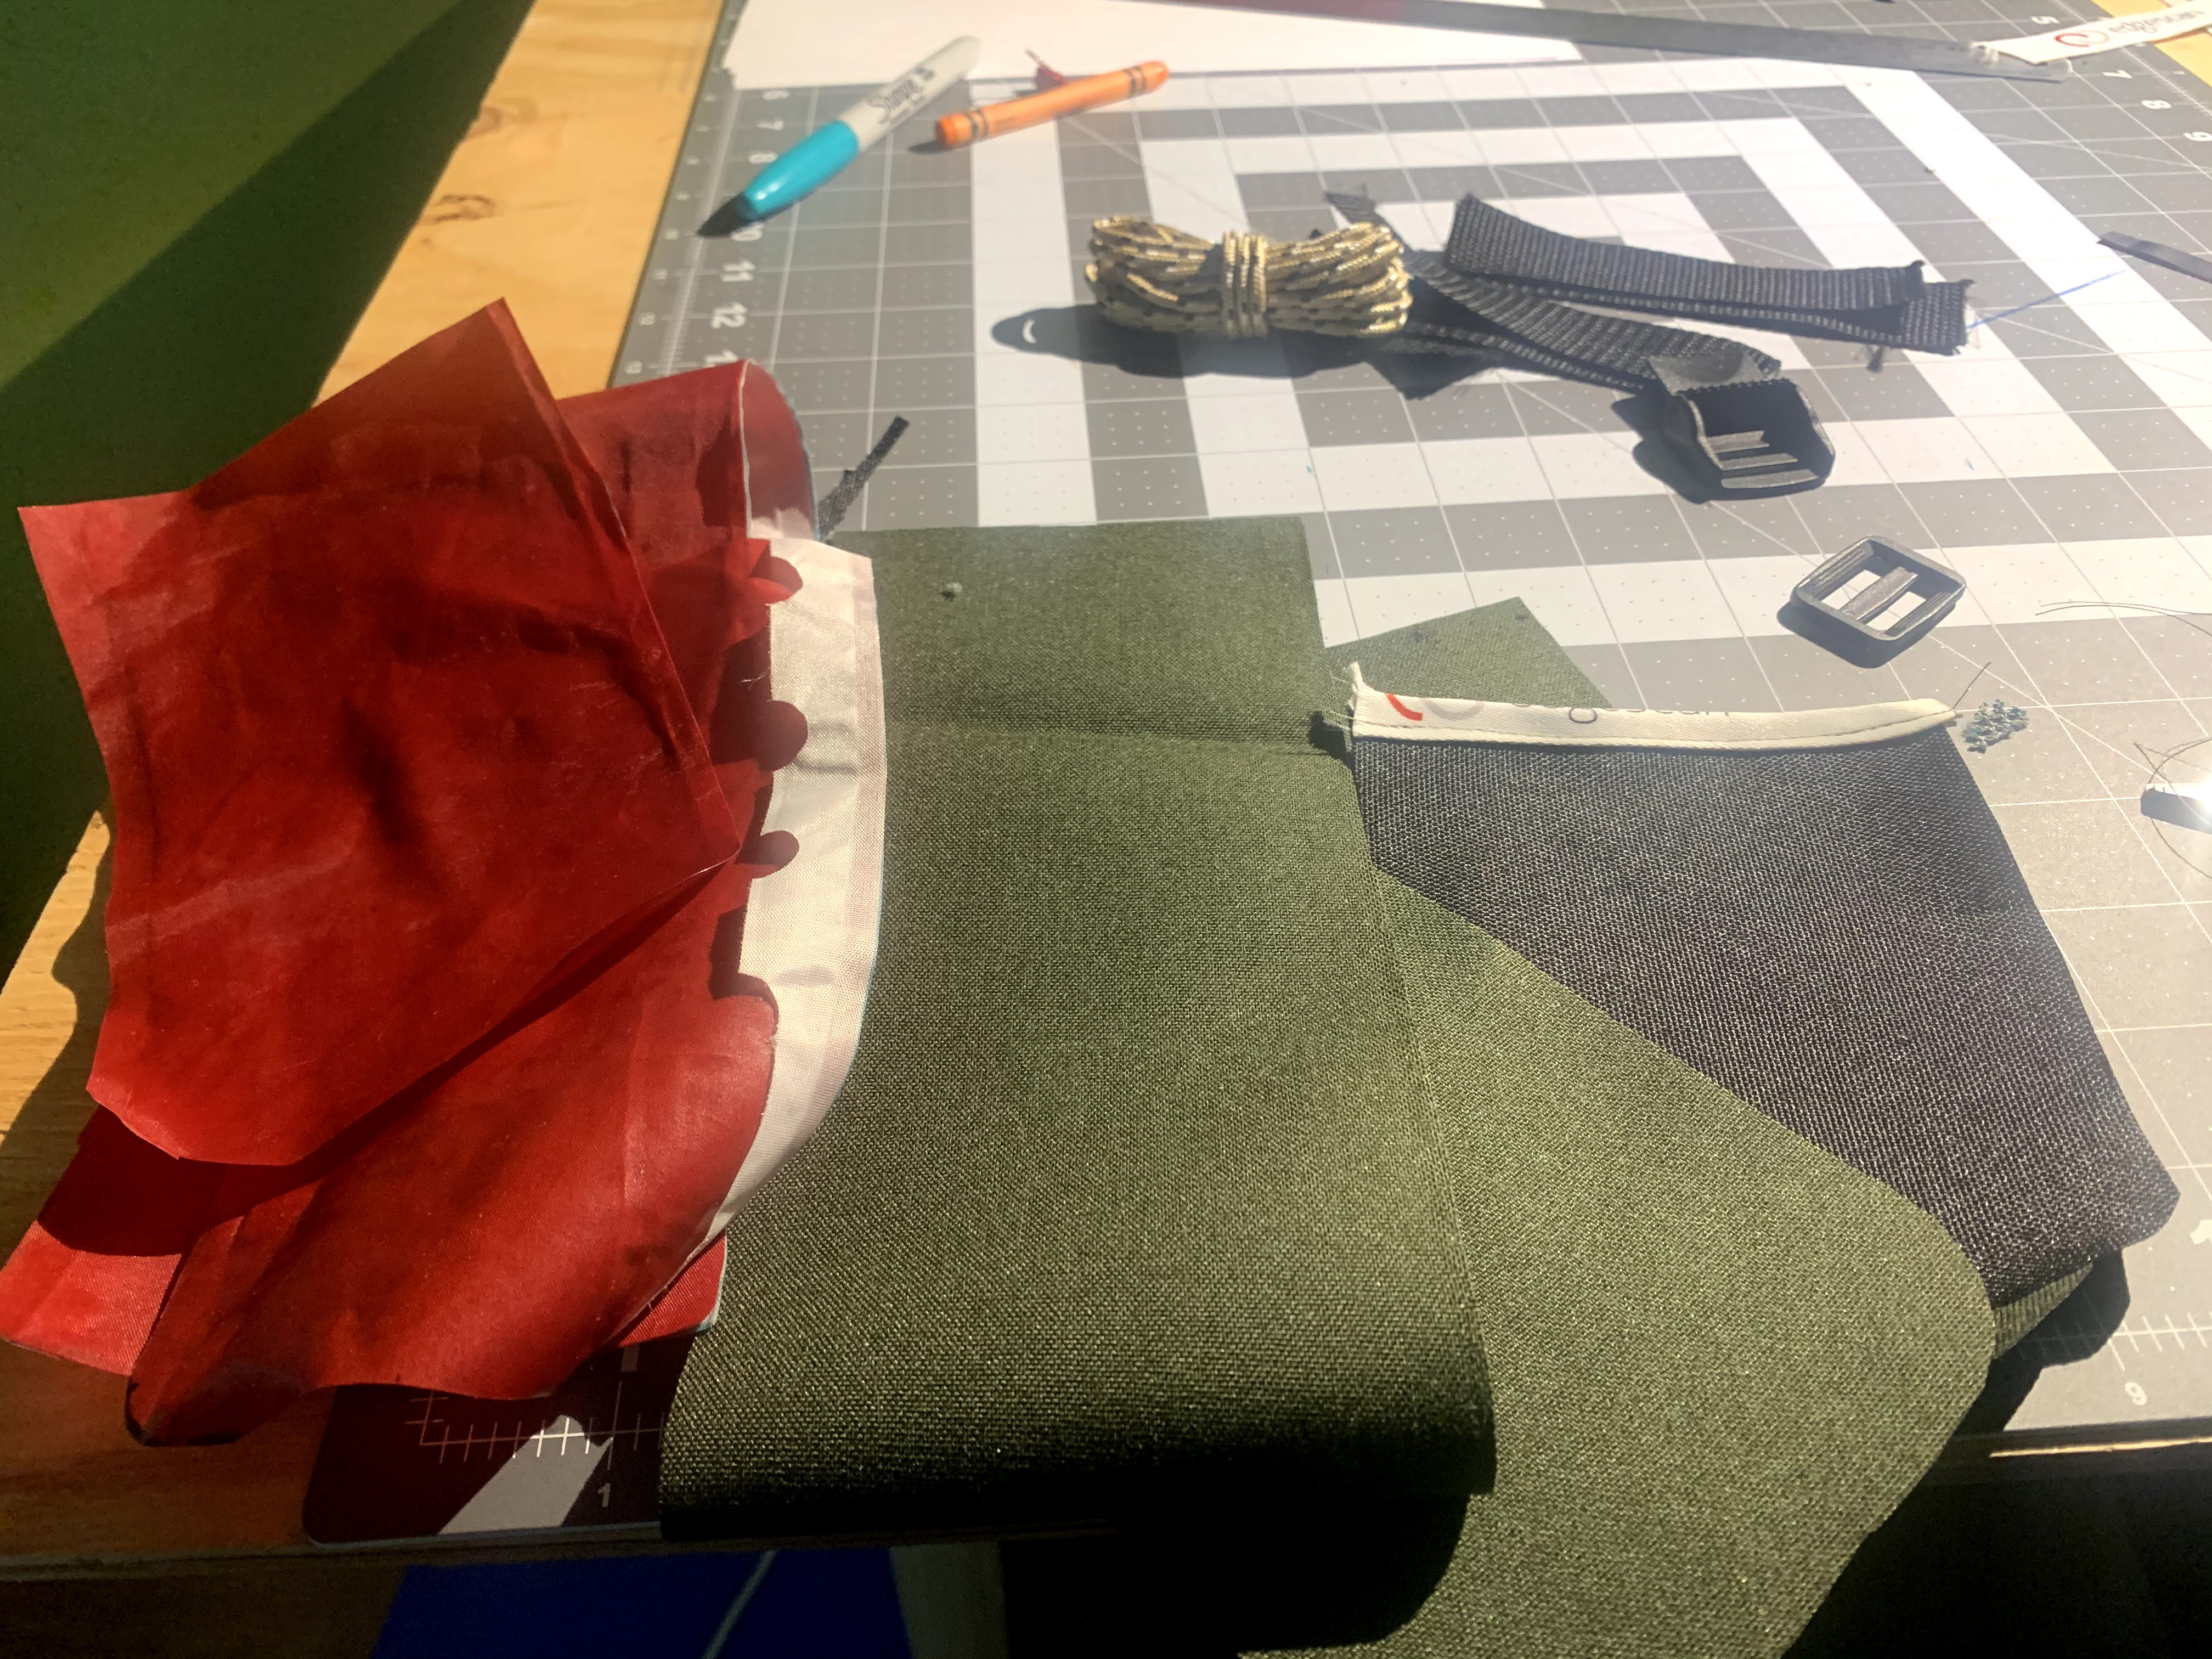
See the image below for all the things you will need. Some additional notes below, I suggest reading those first.
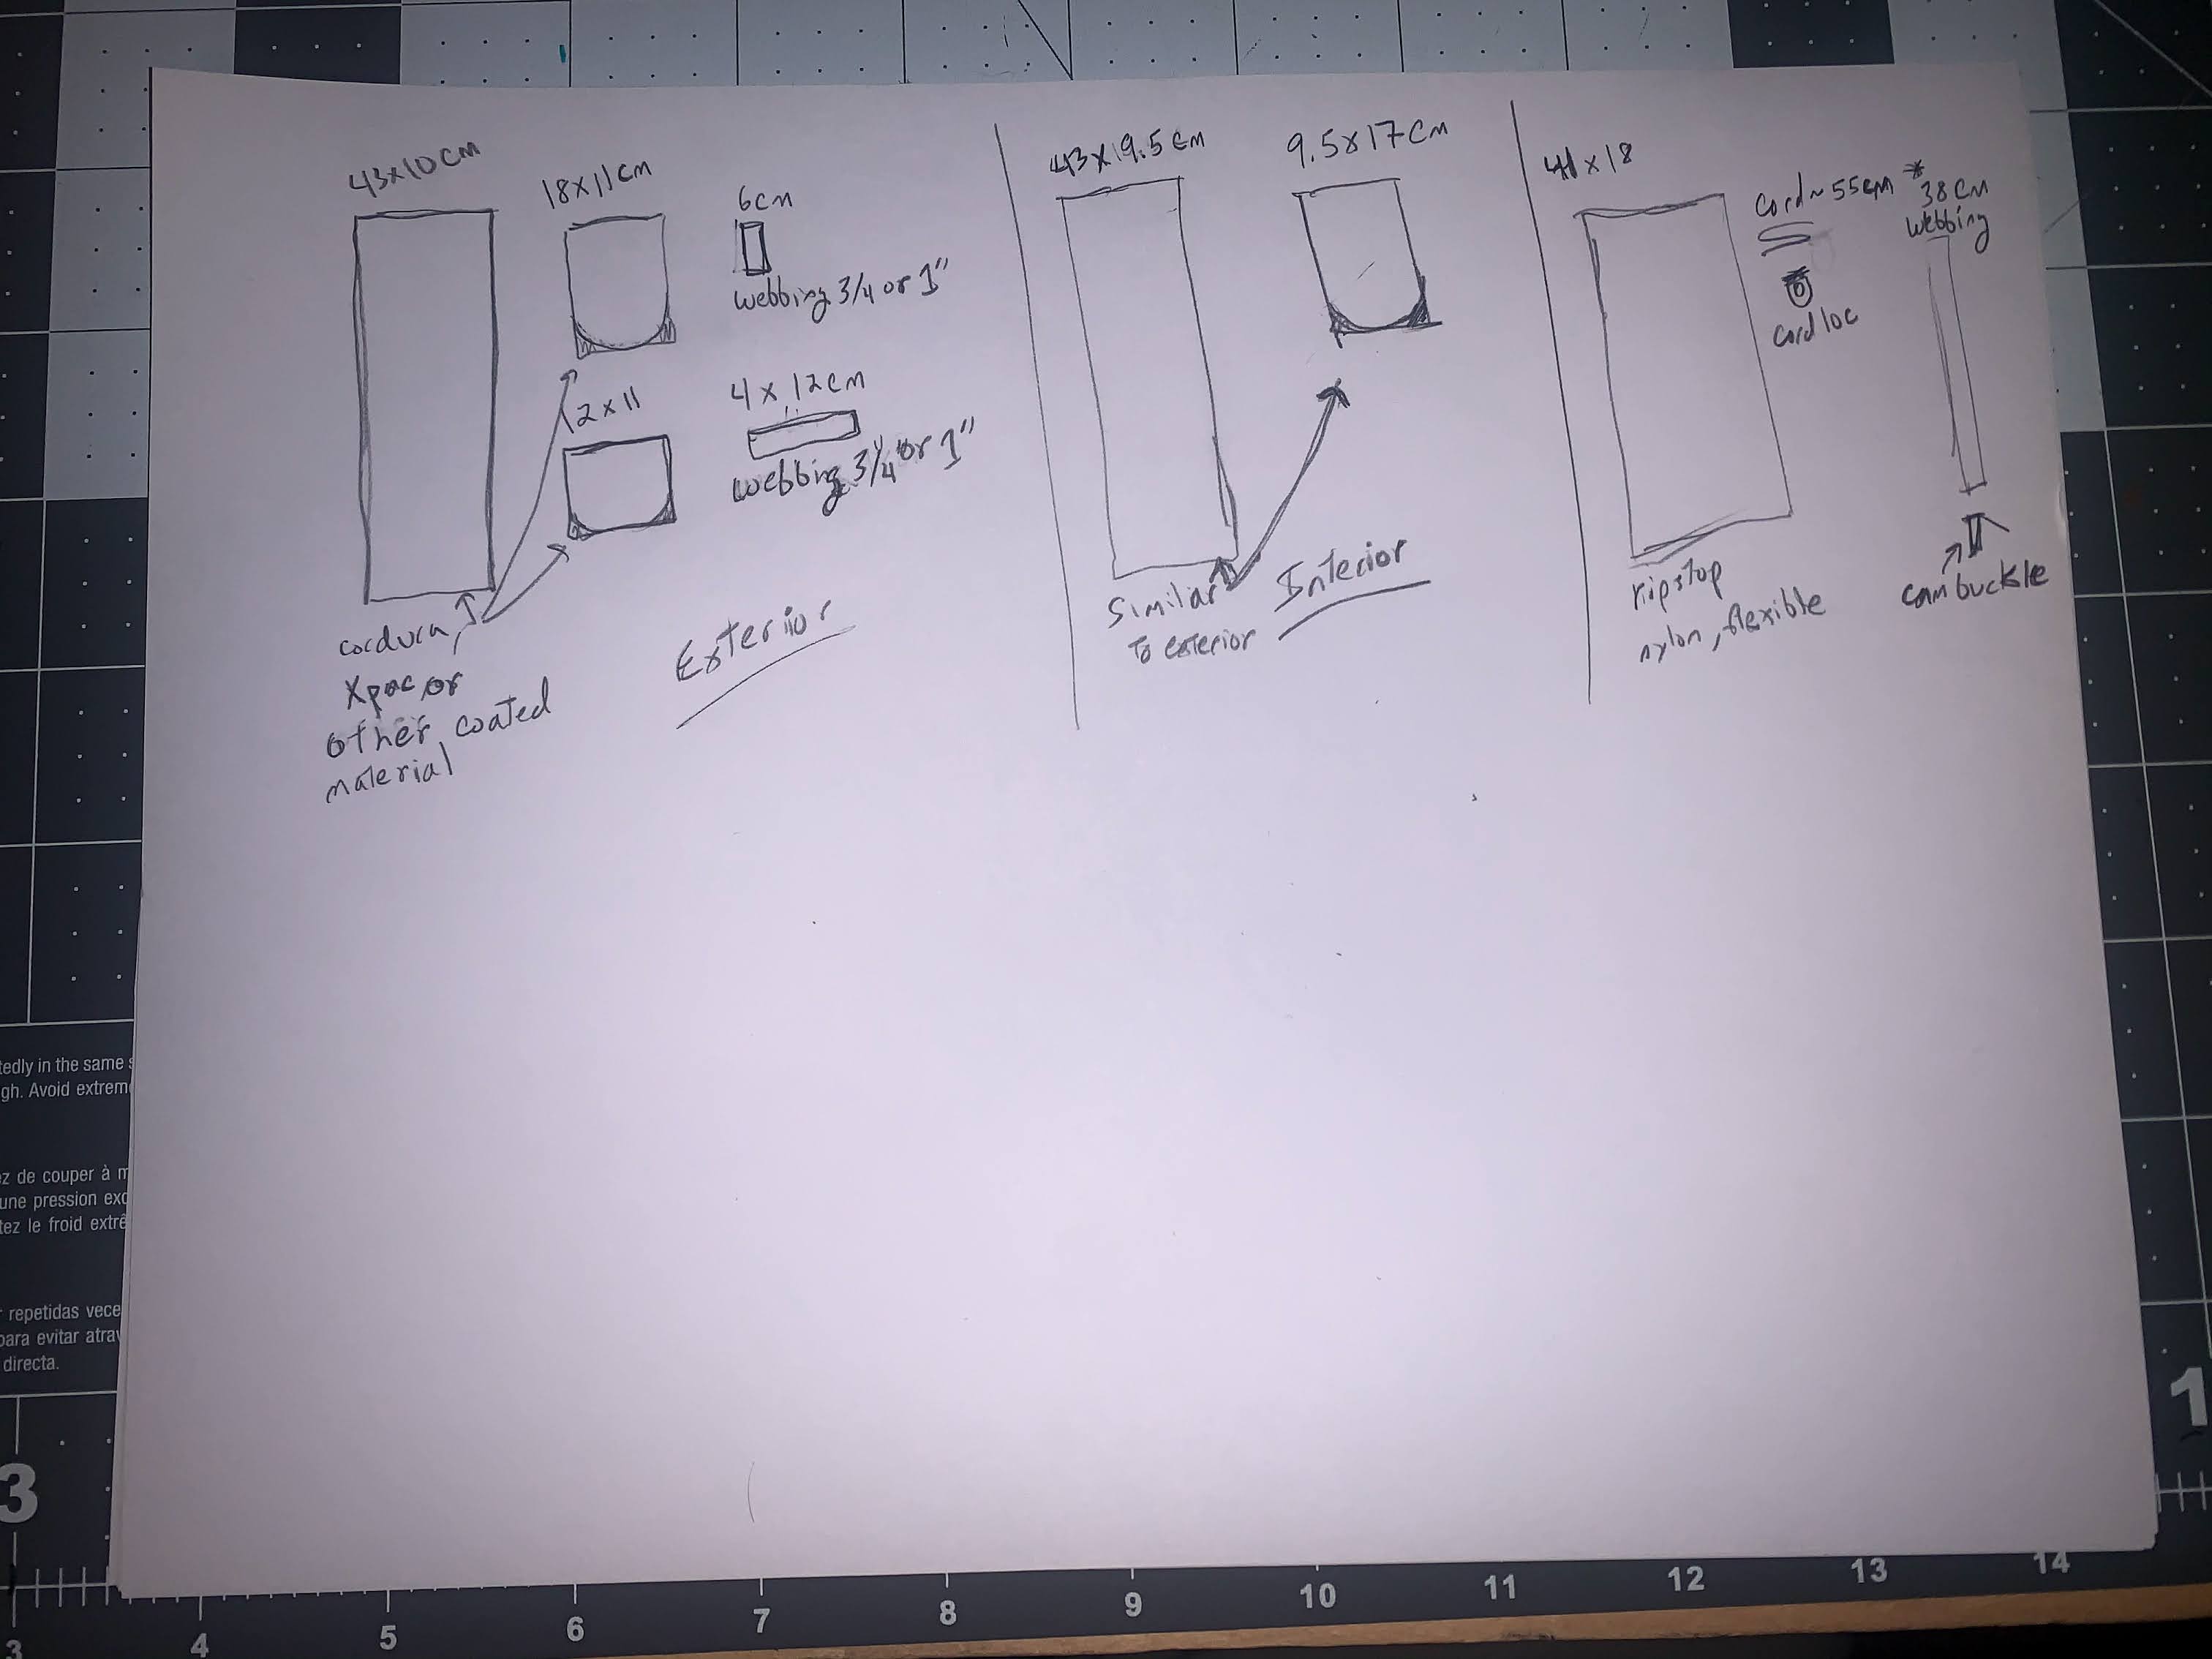
NOTE I need to update the above image, but I would suggest using 10 cm ink lieu of 9.5 cm. In other words … 43 x 10 and 10 x 17 for the interior panels.
Materials
As far as exterior and interior materials go, I’ve used:
- old sleeping pad that didn’t hold air well (but couldn’t find the leak)
- cordura
- xpac
I’ve even used lanyards for edging and webbing substitutes. I don’t recommend the lanyards for webbing in the long run, at least not all. Some are OK substitutes. Others tend to fray quickly. I’d just stick with actual webbing.
I have mixed the materials for panels on both the exterior and interior. They have all worked well. I think the combination of xpac and cordura (in the pictured one above) worked best thus far. The sleeping pad was “free”, waterproof and lightweight, but a little harder to handle for me on the sewing machine. It was also what I used on the first one, so make what you will of that. I’m not going to mix as much this time, even though I know it might visually be more helpful. I’m just ready to make one that’s mostly solid color.
Measurements
After making this four times, I’ve gone back and adjusted the measurements some from what is on the video, with notes on why
- The interior panels, I don’t do the
9on9 x 17, I make it9.5 - 10 cm(as noted above) - I would recommend making your nylon top more like
42 x 18or43 x 18. A little overlap is fine and you can always increase the seam allowance on it to adjust it down.
The main reason for the above adjustments is I’ve found it’s easy to come up short on these two particular areas. Likely, this is because I’m not consistent enough with my seam allowance.
Cutting
The rectangles are straightforward to cut, no surprises there.
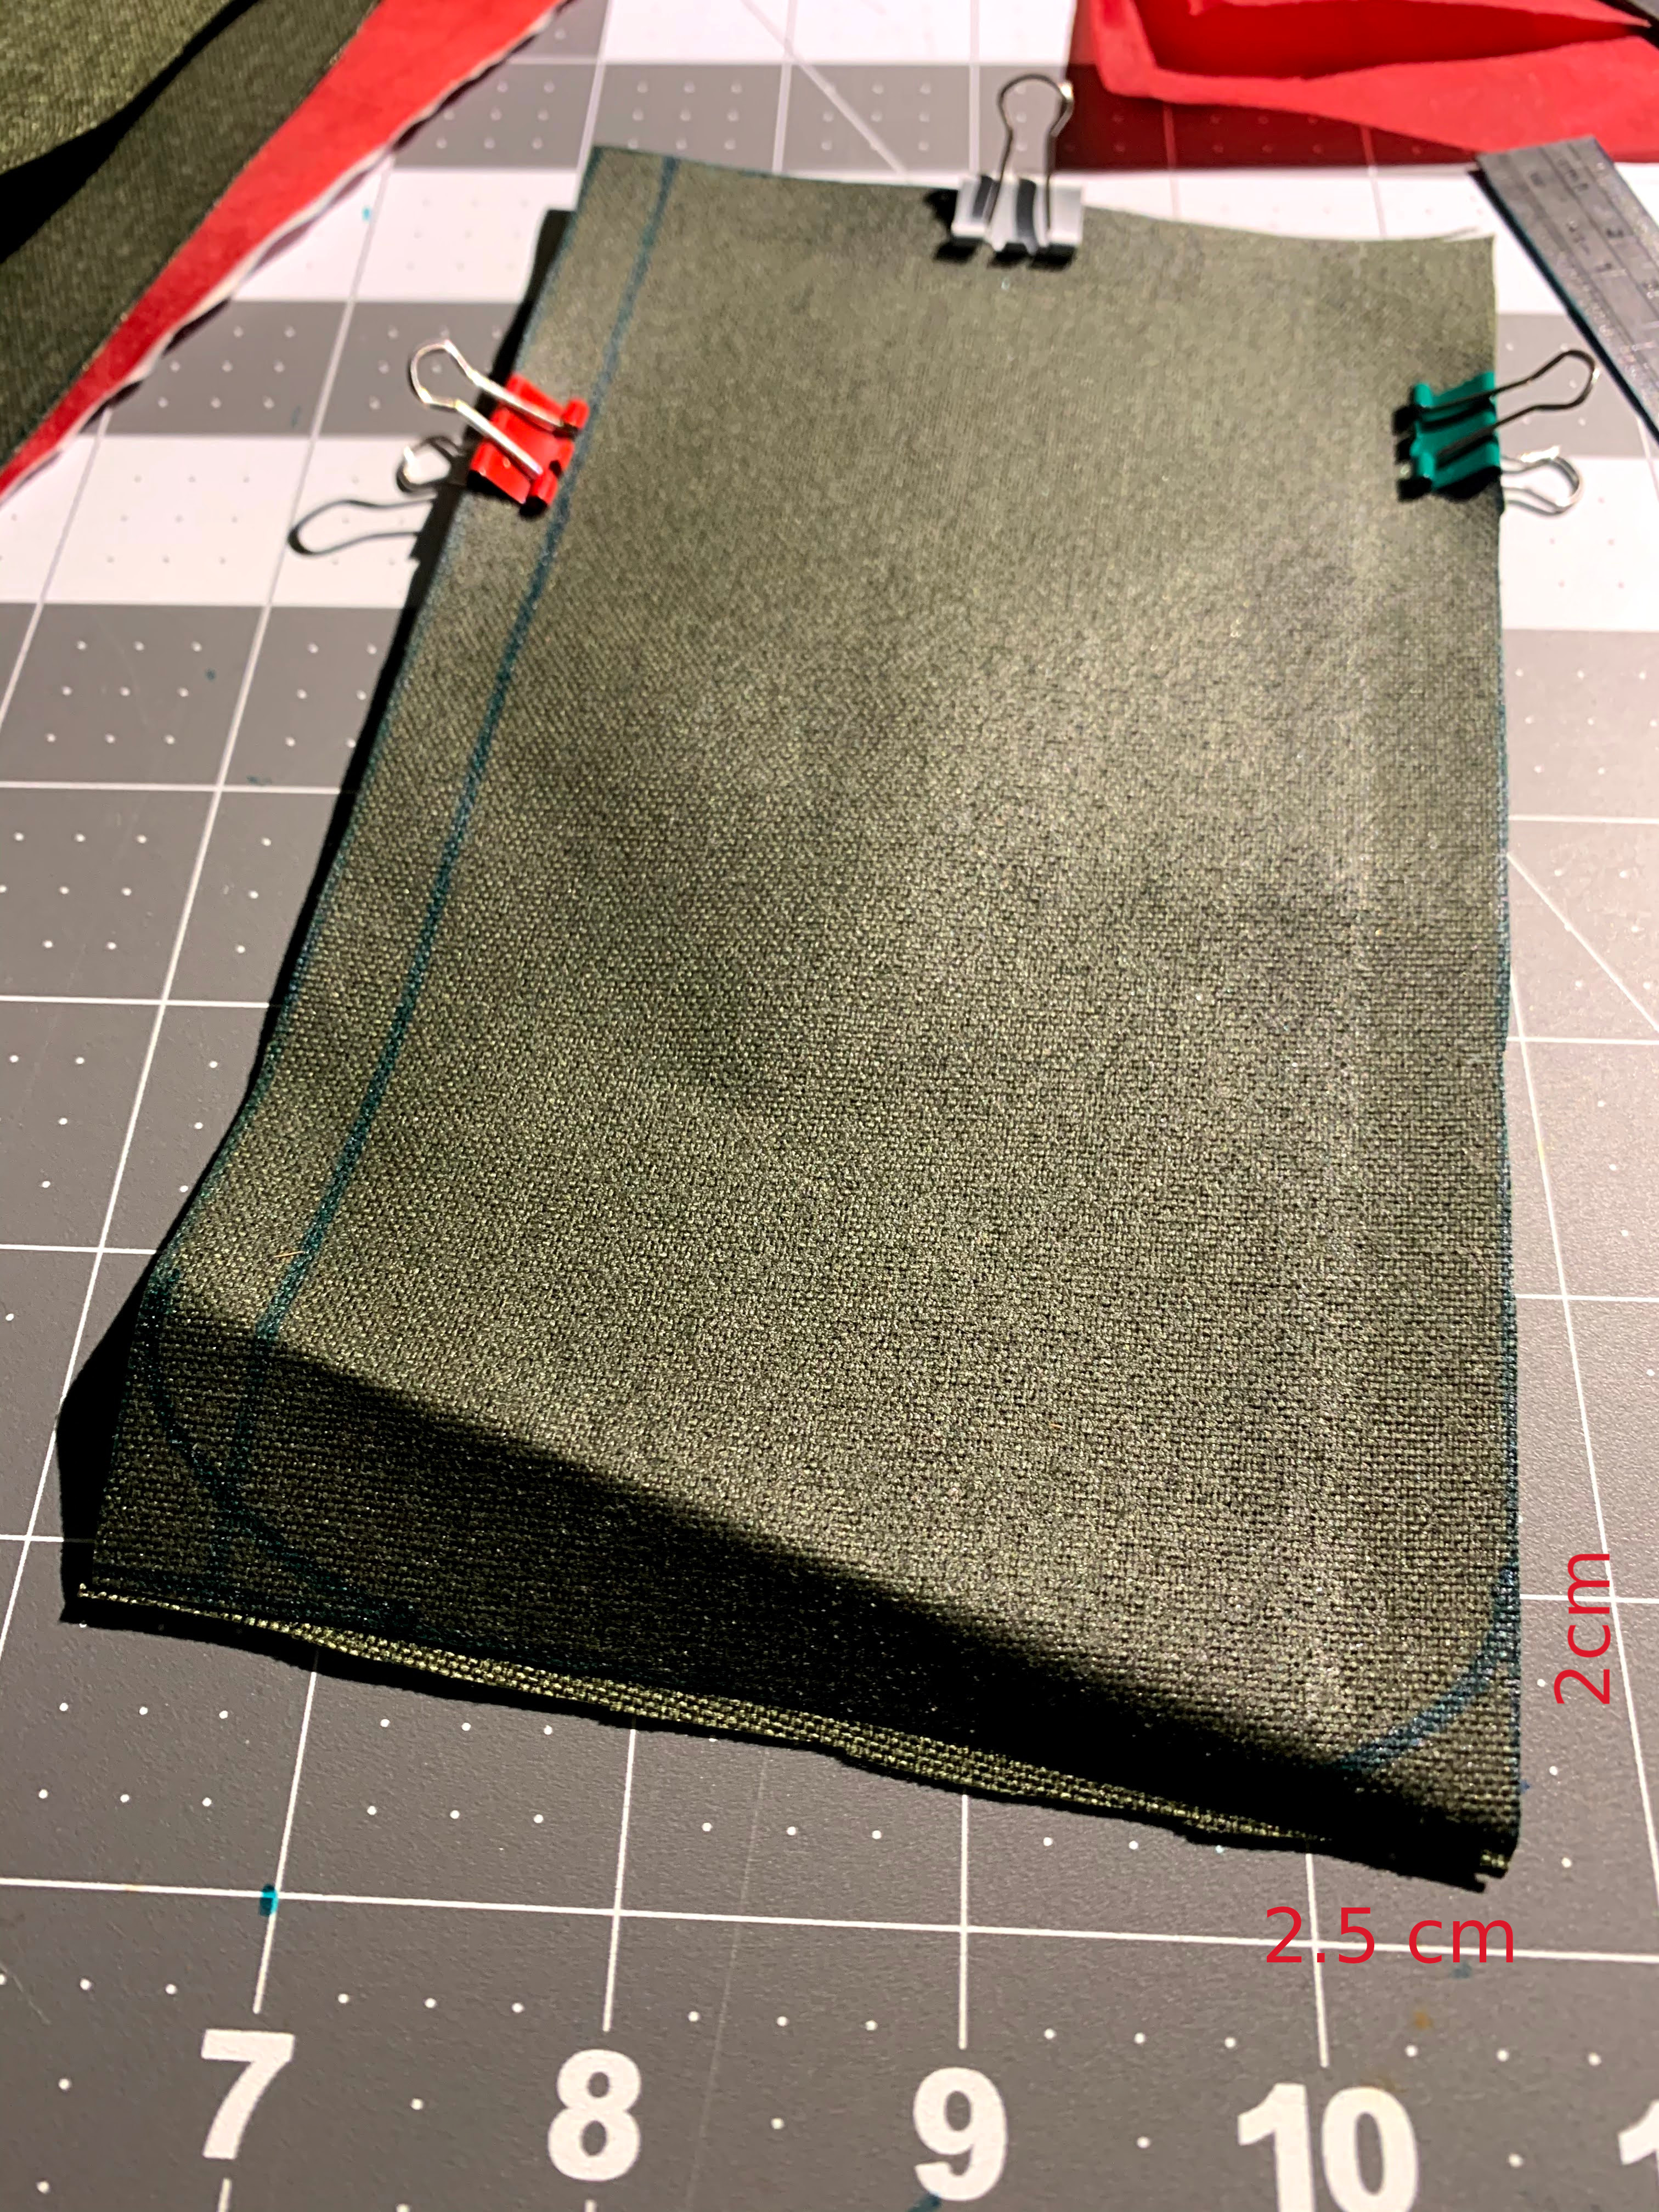
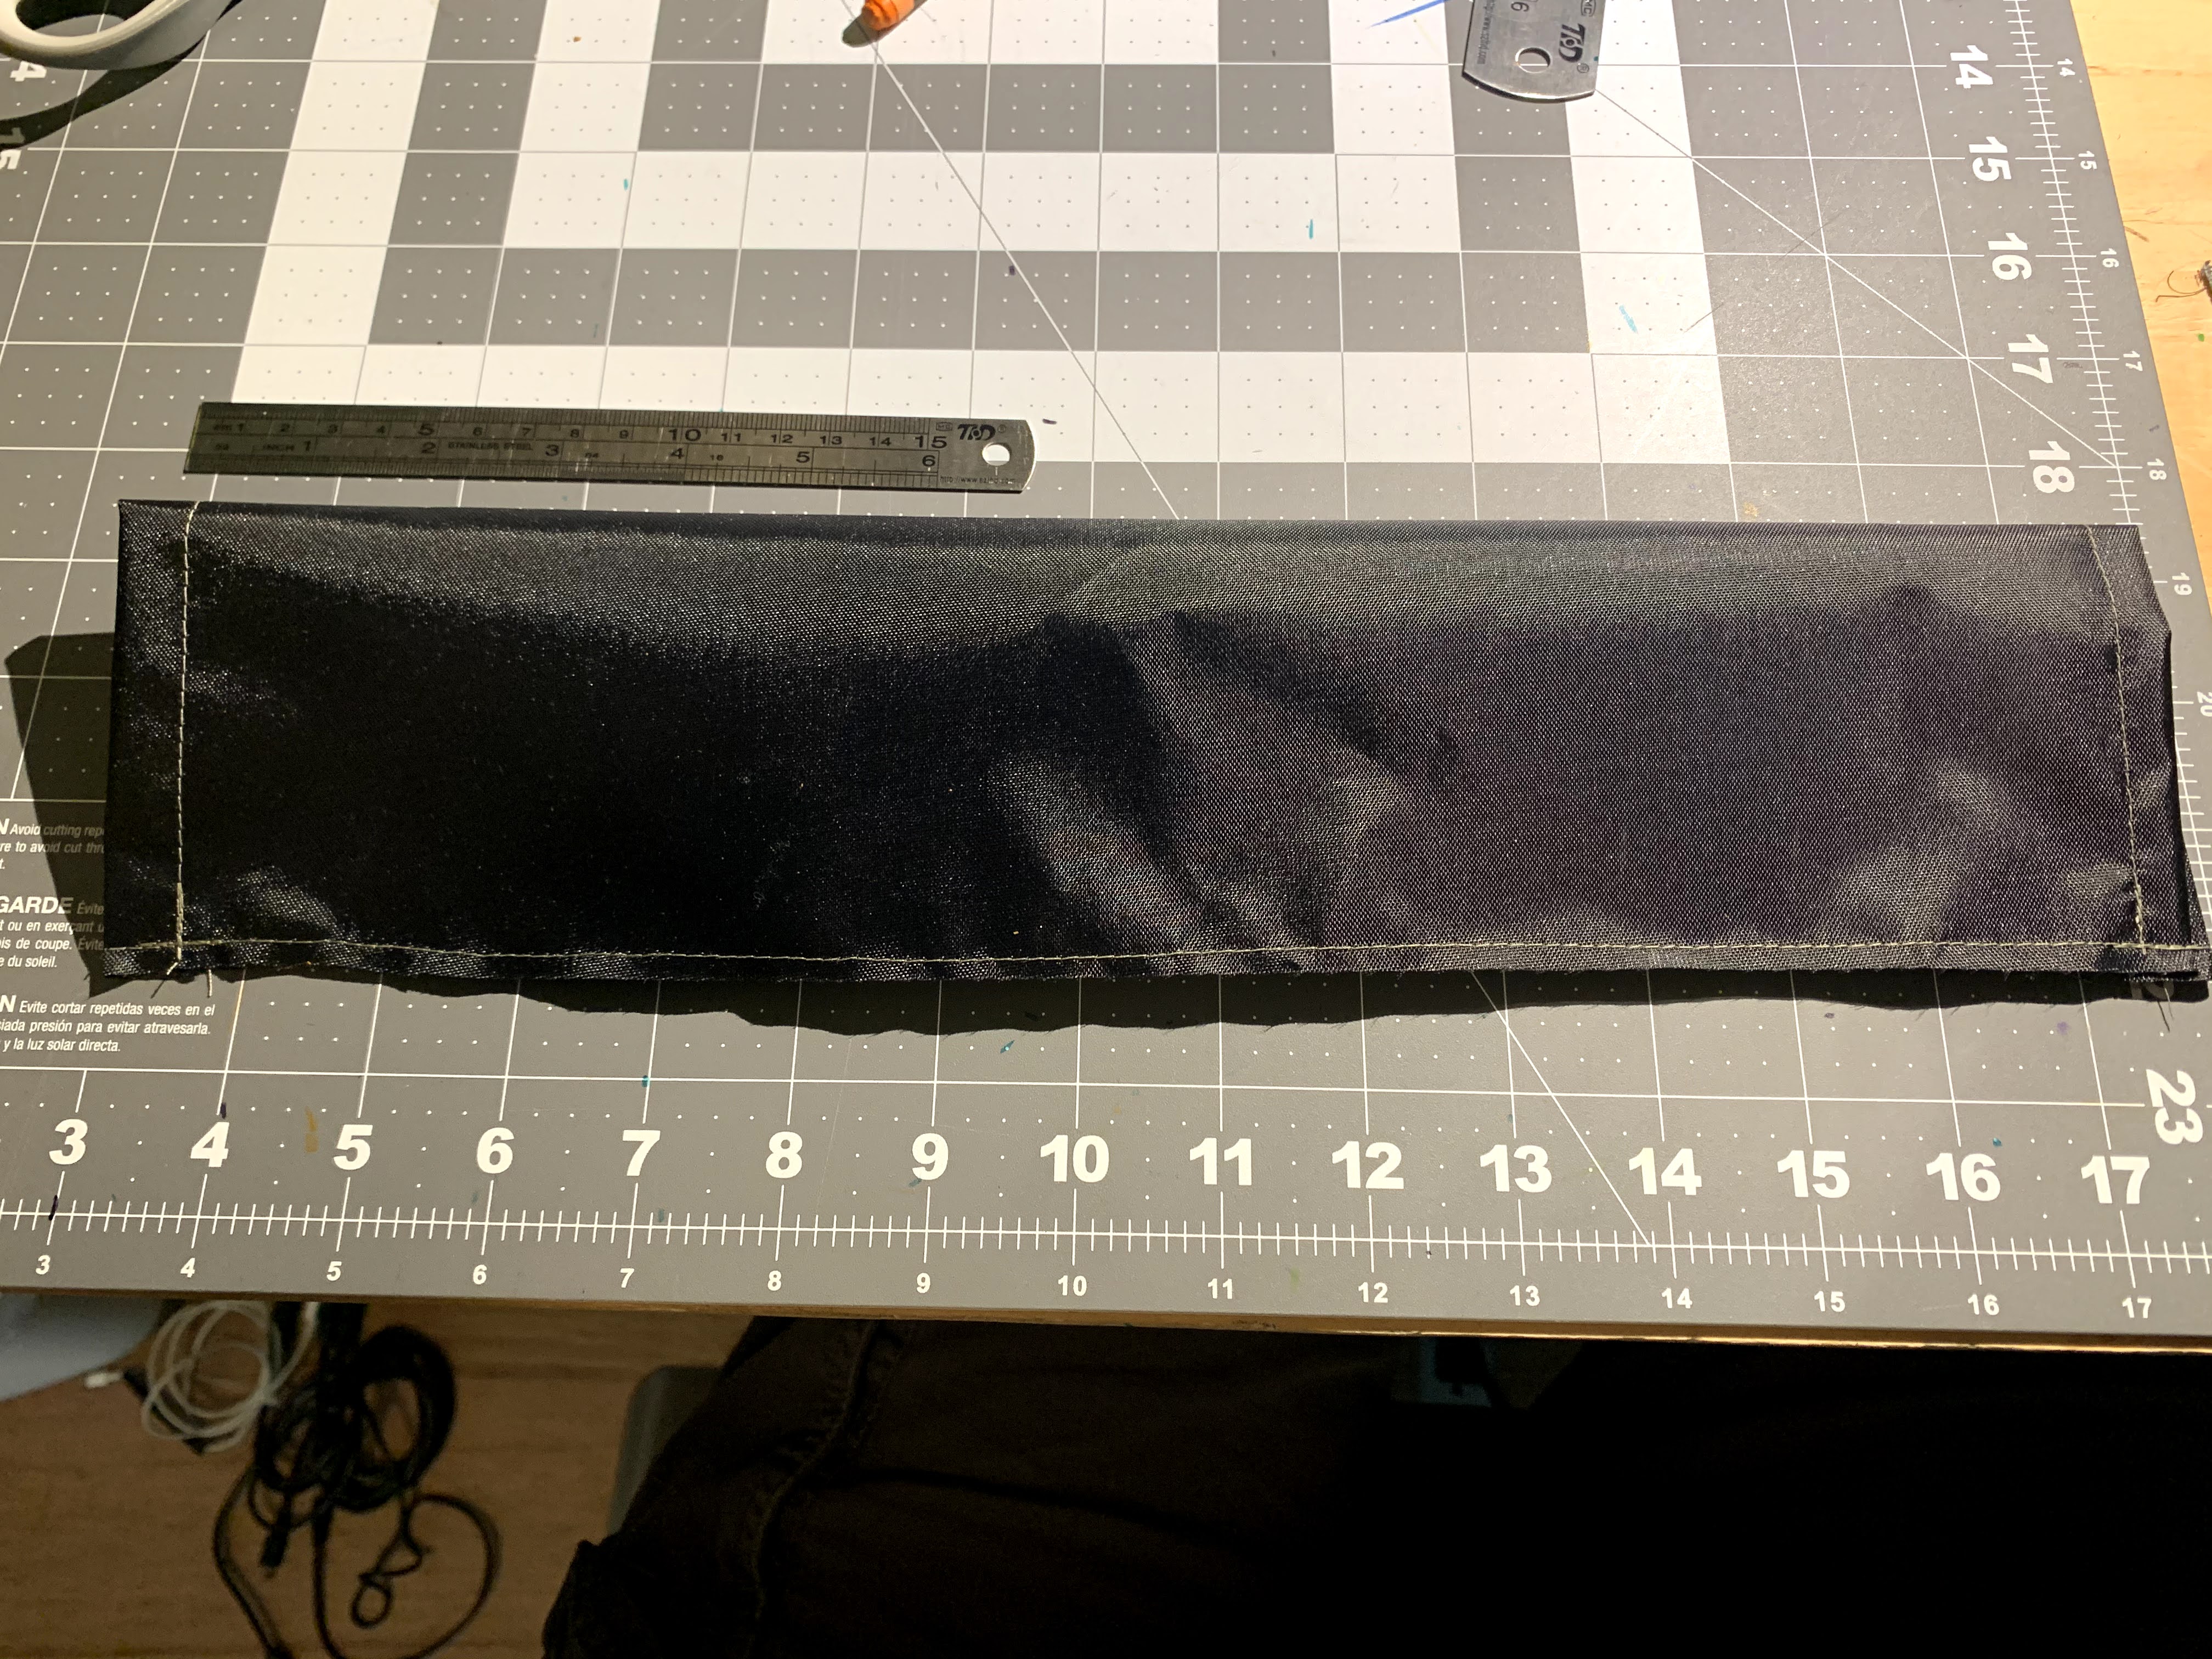
The two 18 x 11 cm pieces should be rounded off (cut) at the bottom. In my experience, less trimming and less rounding is more better. This time I measured them 2 cm up and 2.5 cm in from the outside and then cut/rounded them from there. See below for the marked and cut panels
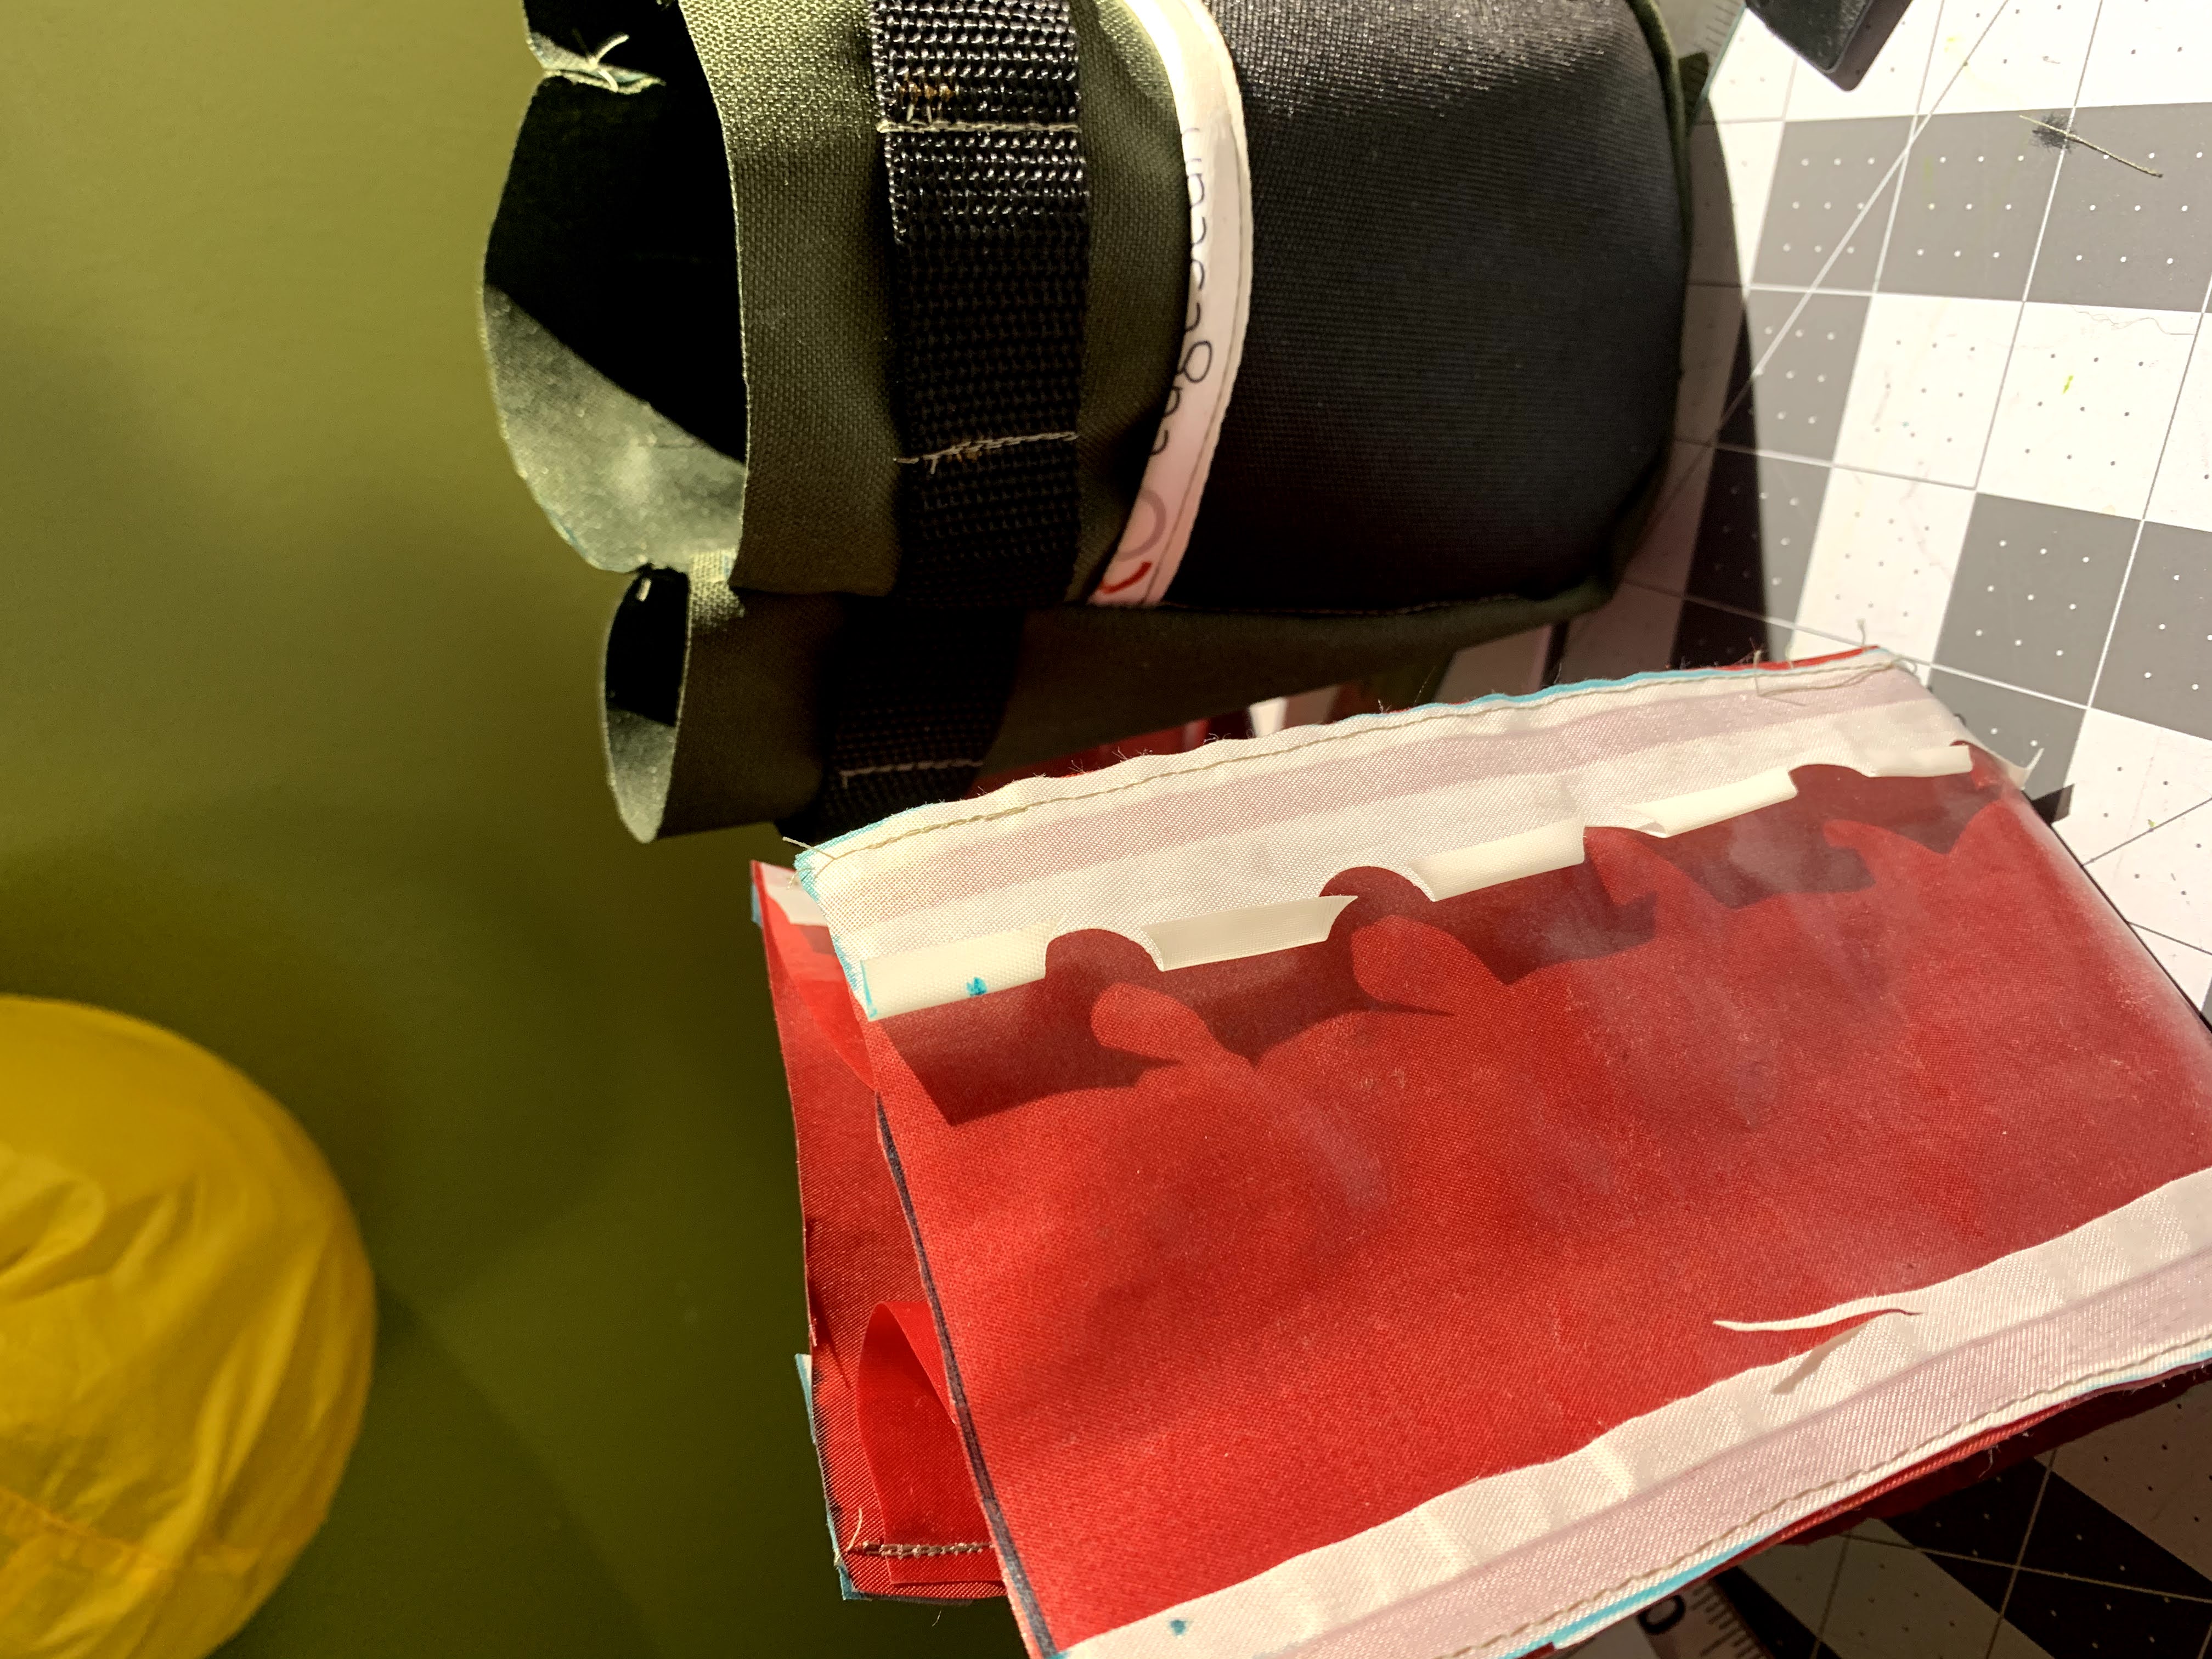
The 12x11 piece is for your outside pocket. You’ll also need some gross grain (or I’ve even used old/wider lanyards) to put a neat edge on it. Use webbing here if you want, I’ve used mainly cordura thus far and my friend Matt used fur on one of his (different pattern though). Below is a picture of the pocket clipped on so I can trim it to match the exterior panel and then after I put a lanyard on it as edging.
Sew Outside, Pocket and Ring Attachment
-
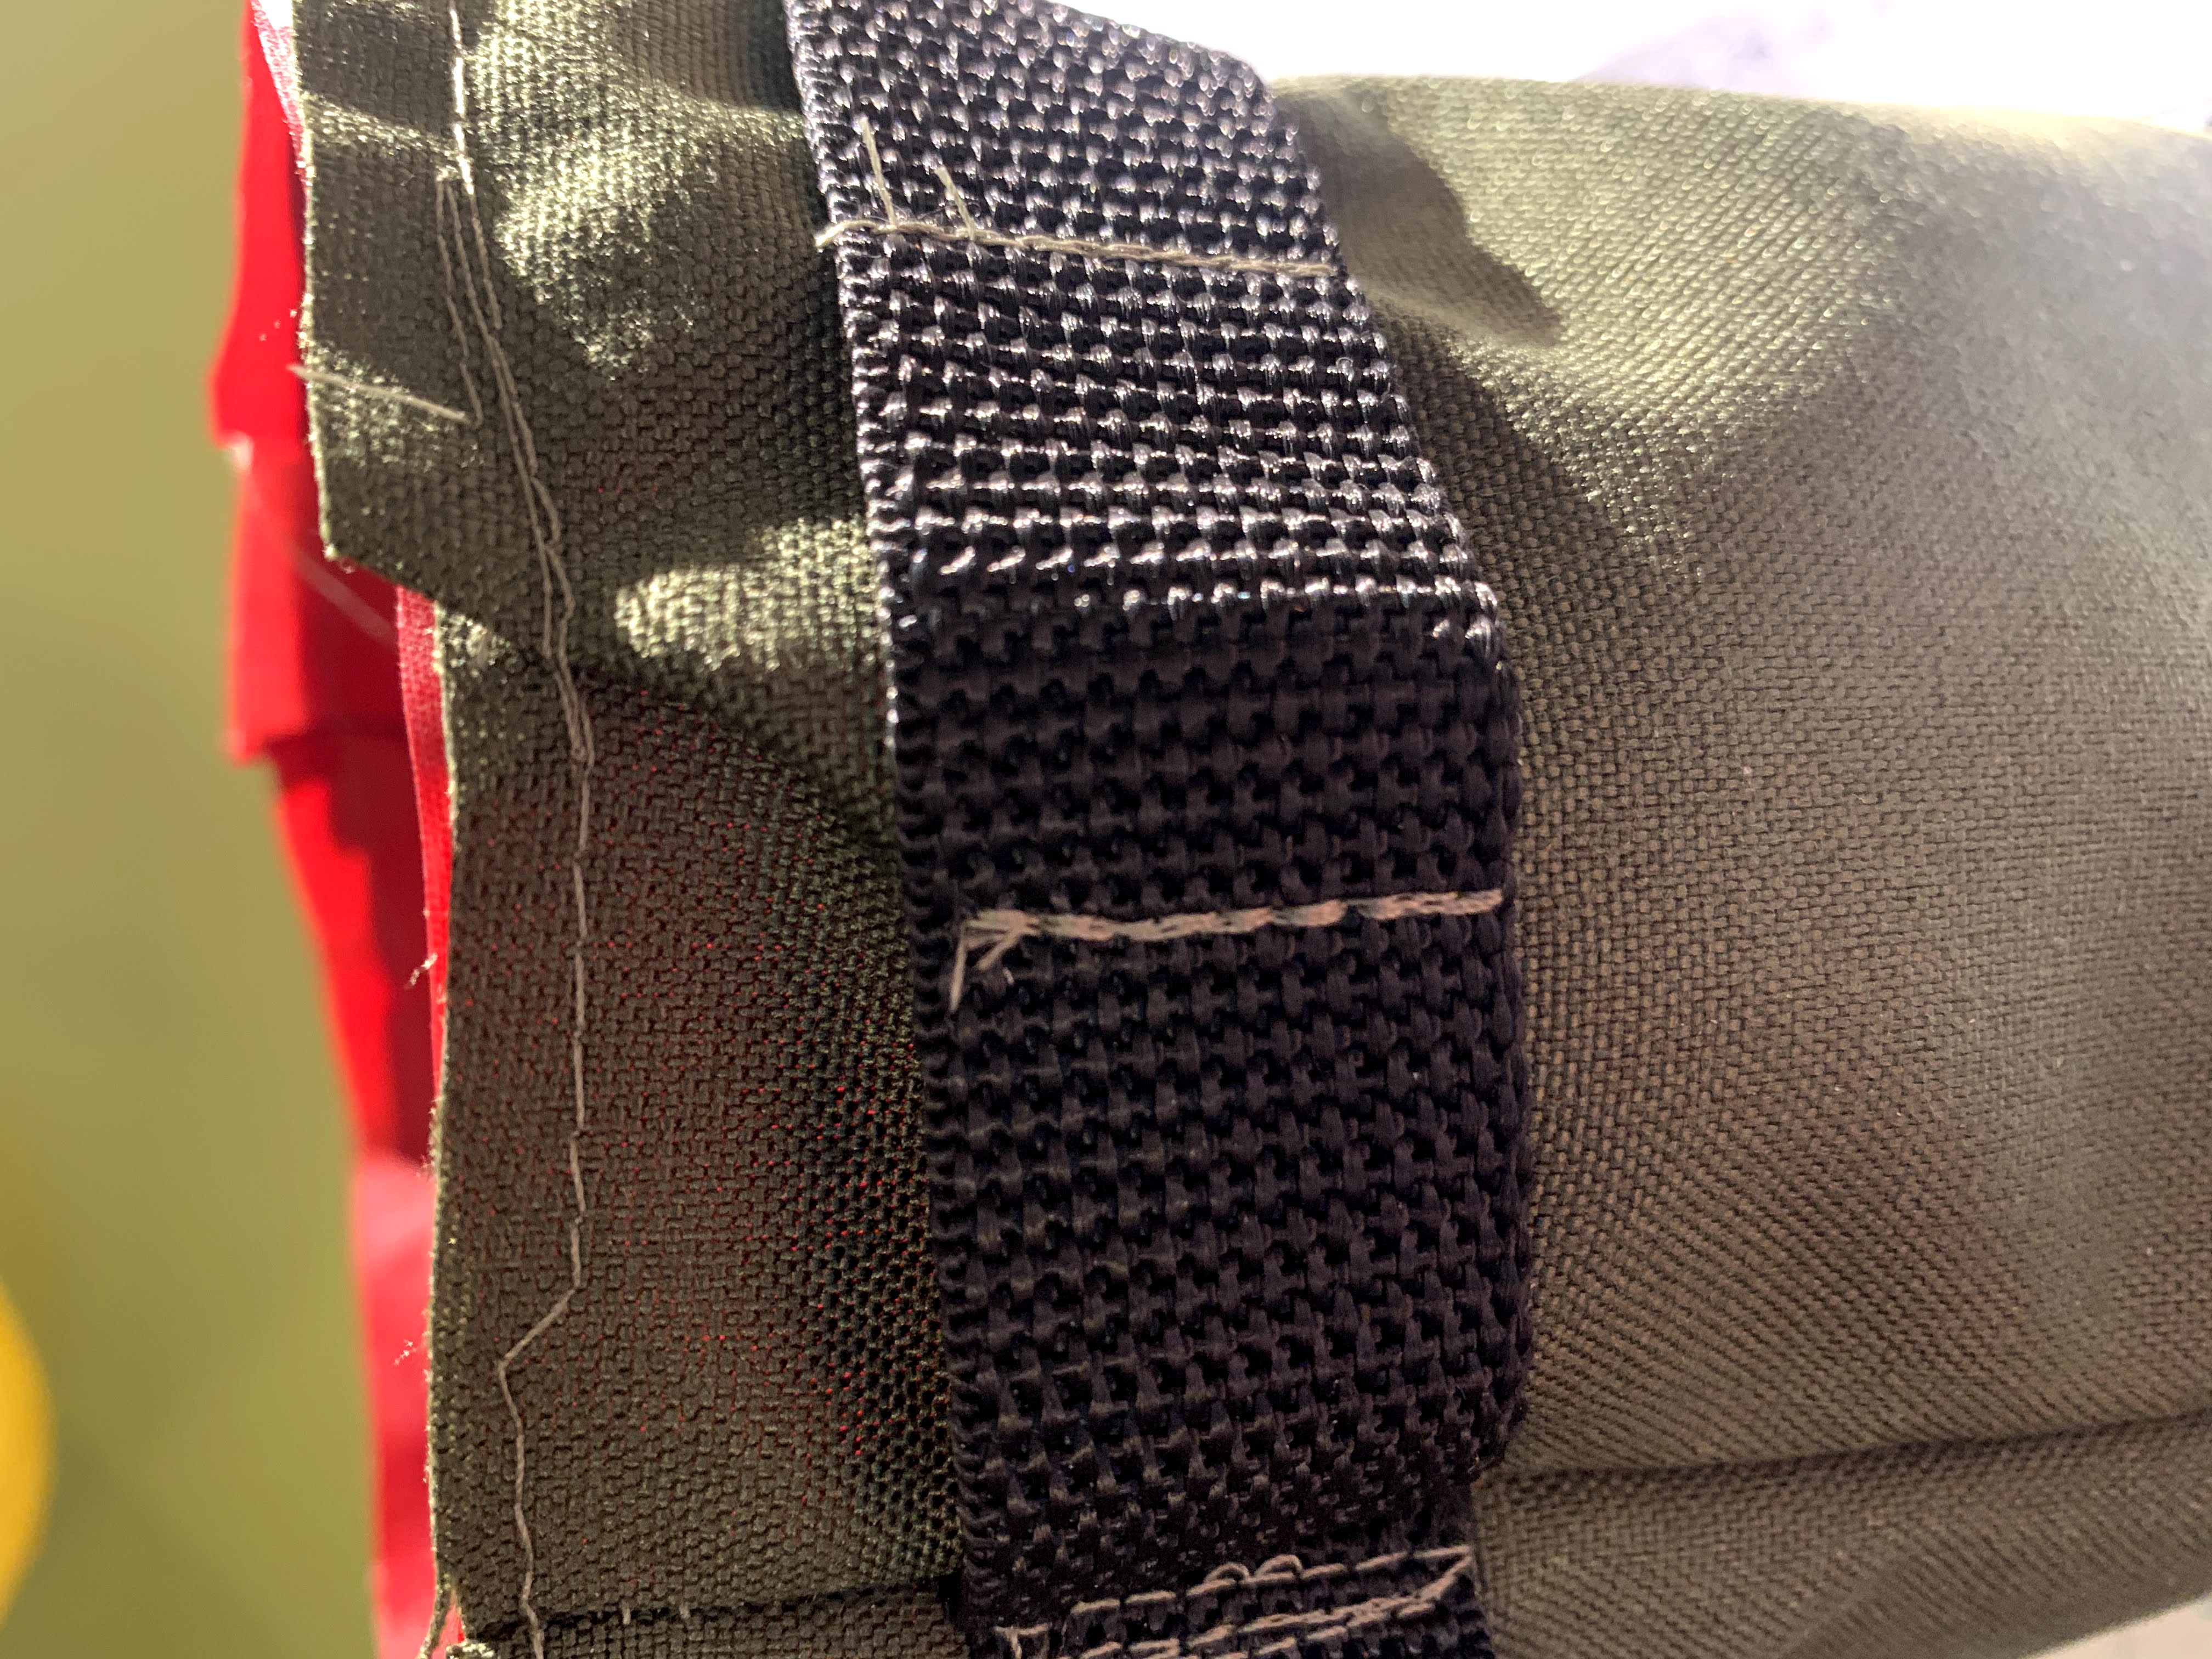
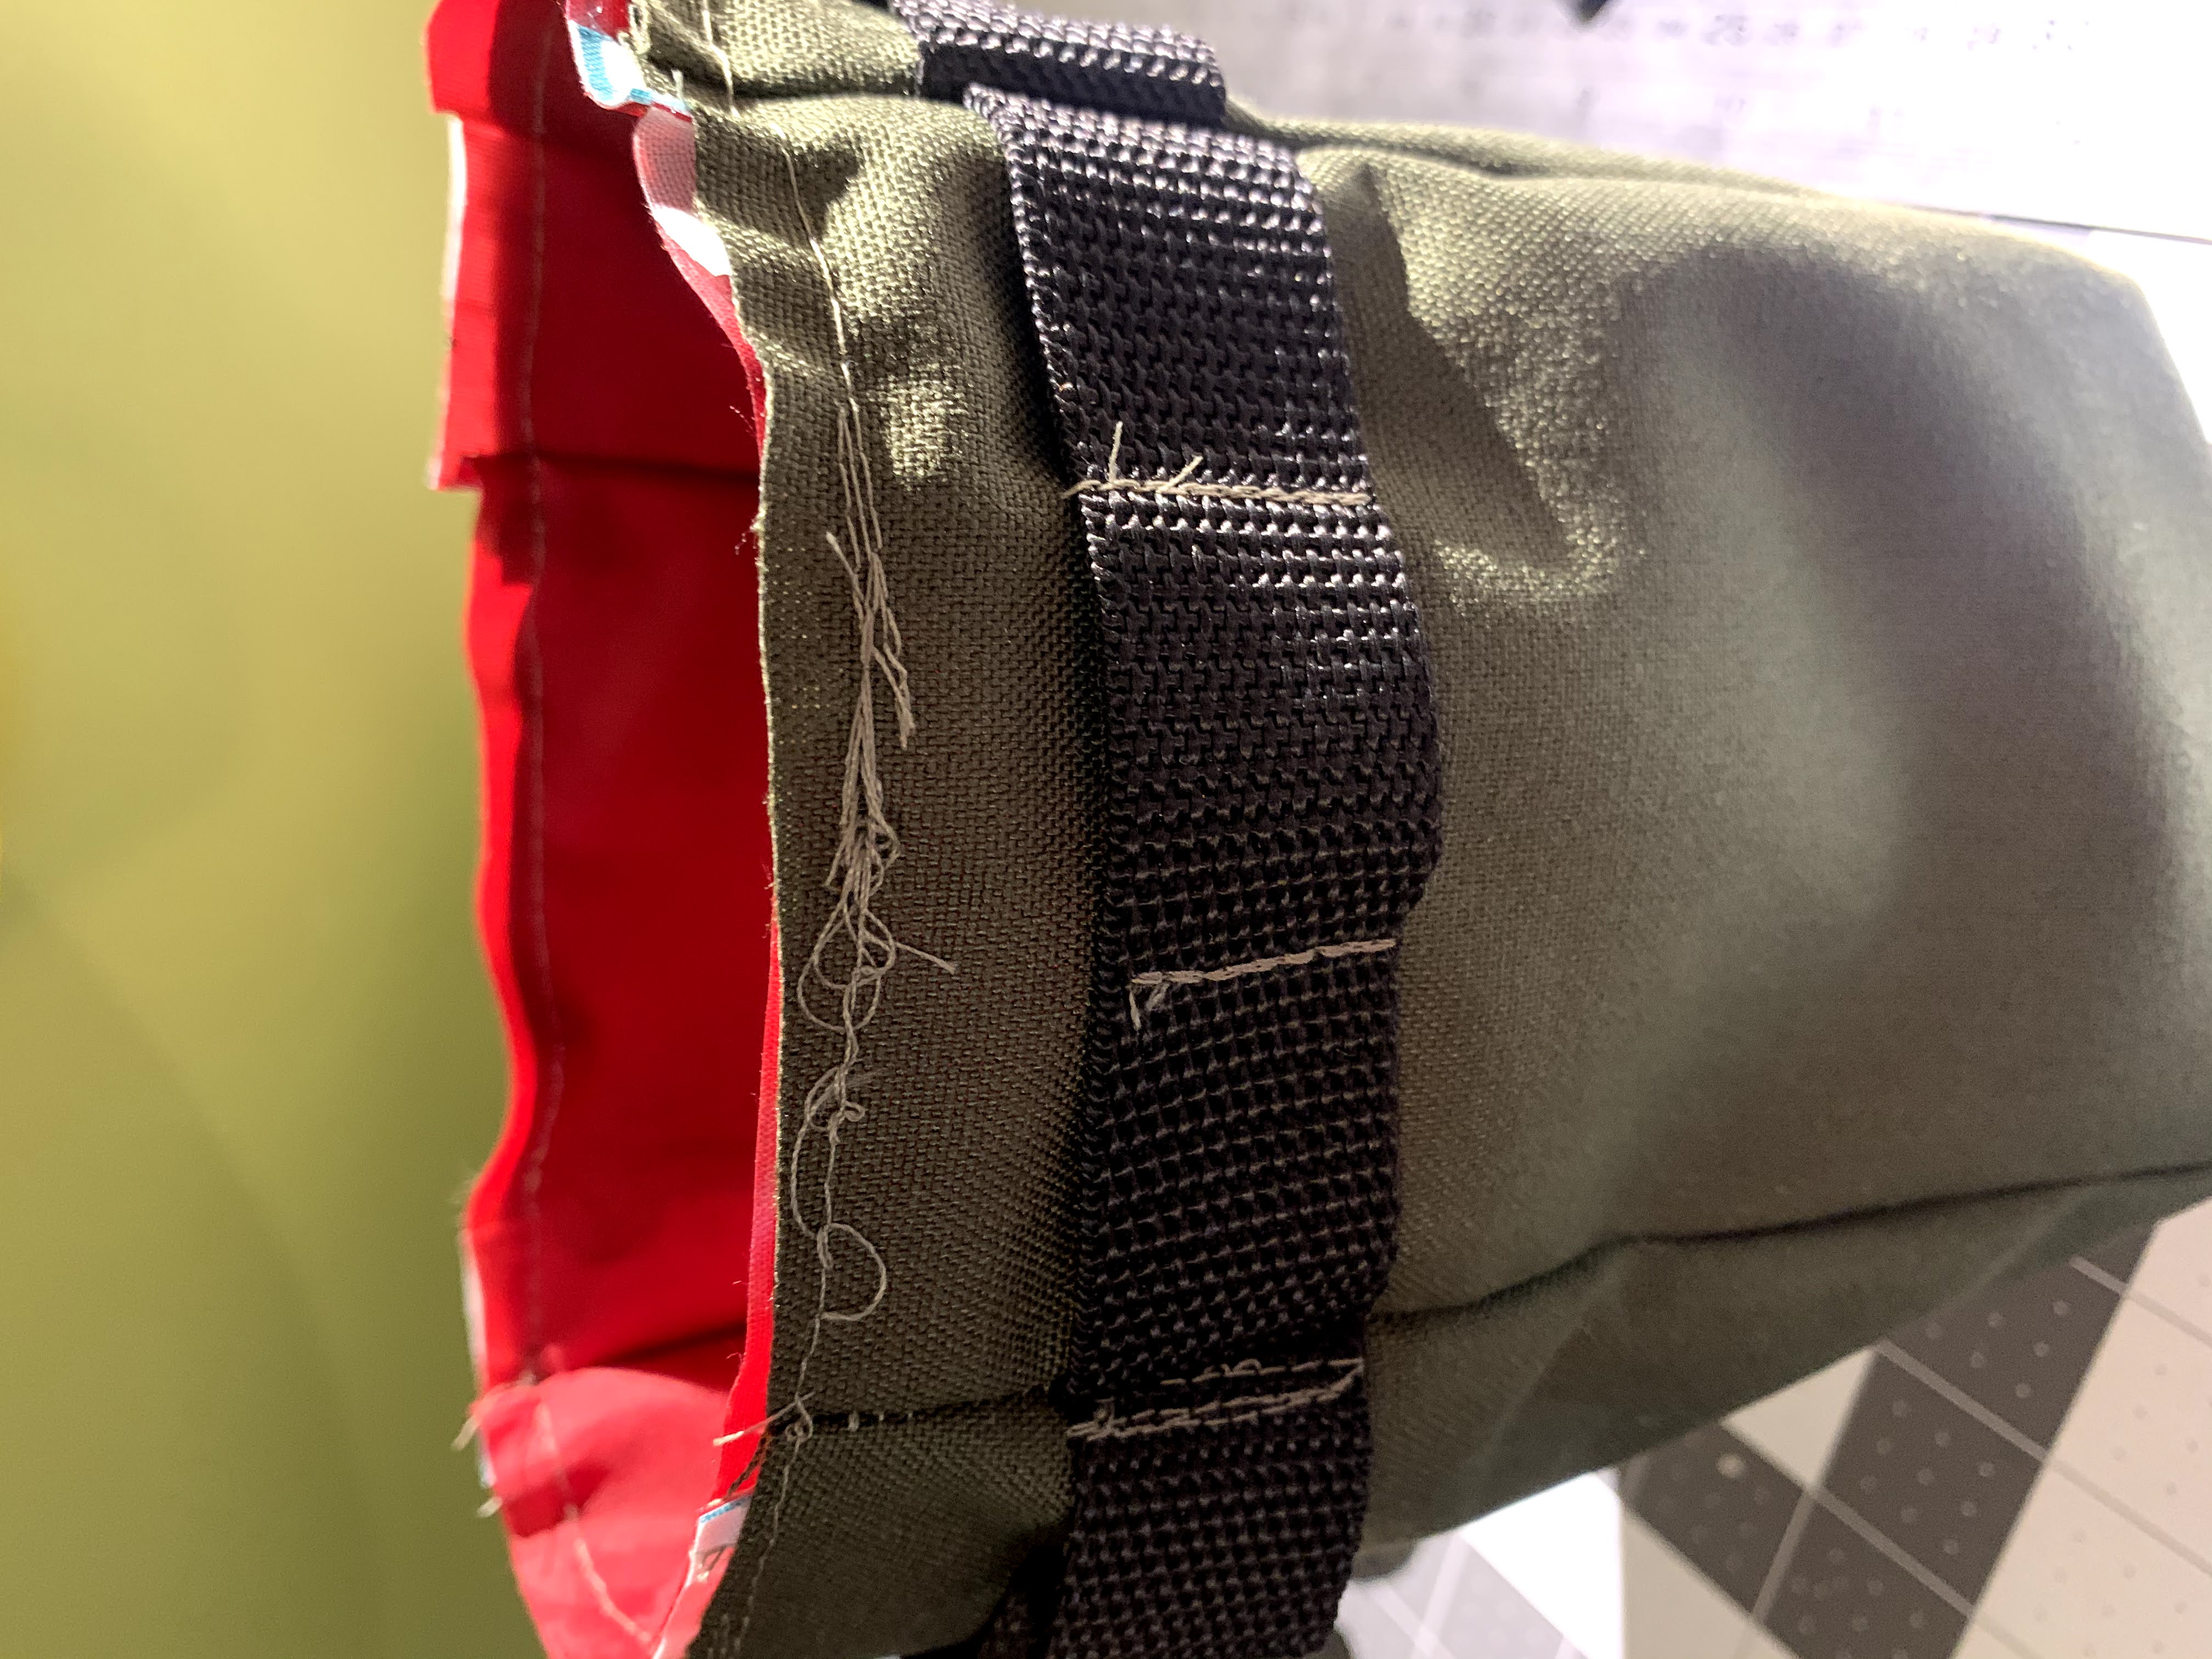
Sew the 4 pieces of webbing “daisy chain” to your outside panels, two inches from the top. Keep in mind there are two “tops” on your 43x10 cm piece. If you want to watch it, it starts here in the video. Here are the important reminders (loosely translated)
- Top sew these on to the exterior
- Sew the webbing
2.5 cmfrom the top (1 inch) - Leave some slack (height) on the webbing as you sew each section of the daisy chain
- On the narrower, long piece (
43 x 10), space out roughly3 cmfor each section. - In general, leave the size gap that will accomodate your velcro. You’ll later loop velcro through to attach these to your stem and bar.
-
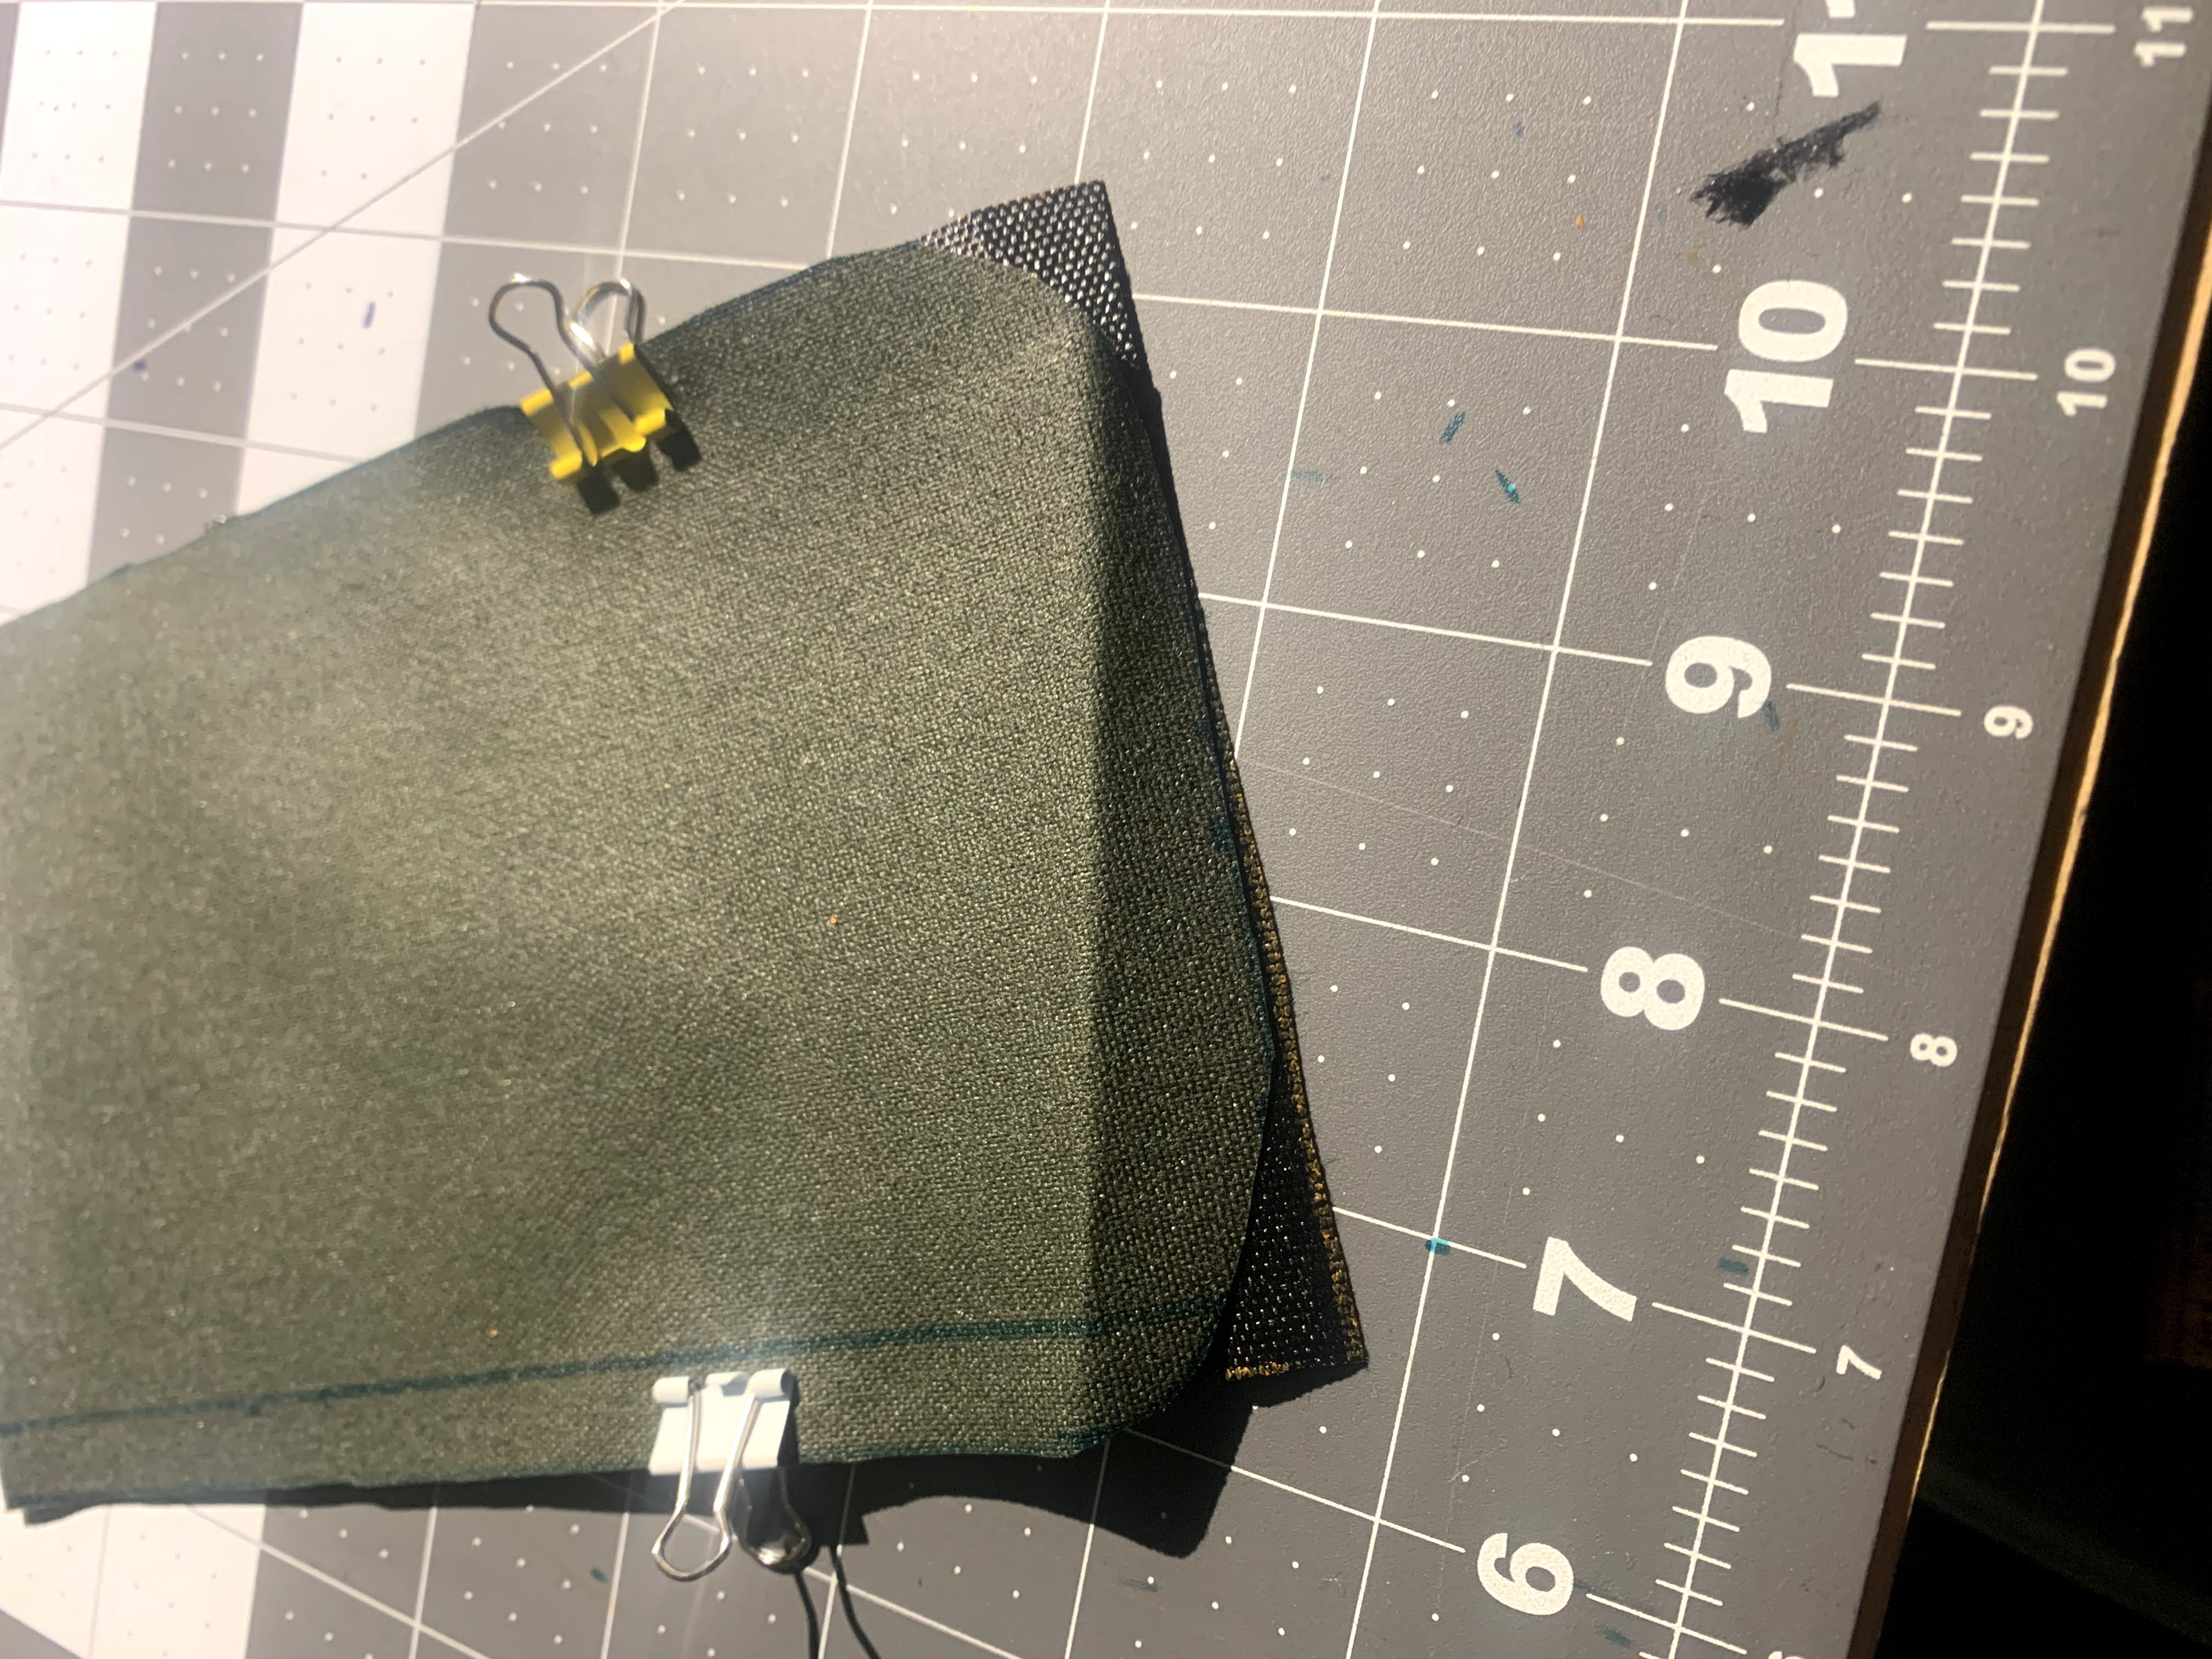
Sew your edging on first, then sew the pocket onto one of your rounded exterior panels. Simply top stitch following the contour on the bottom of the panel and your pocket piece. This step and the next start here in the video
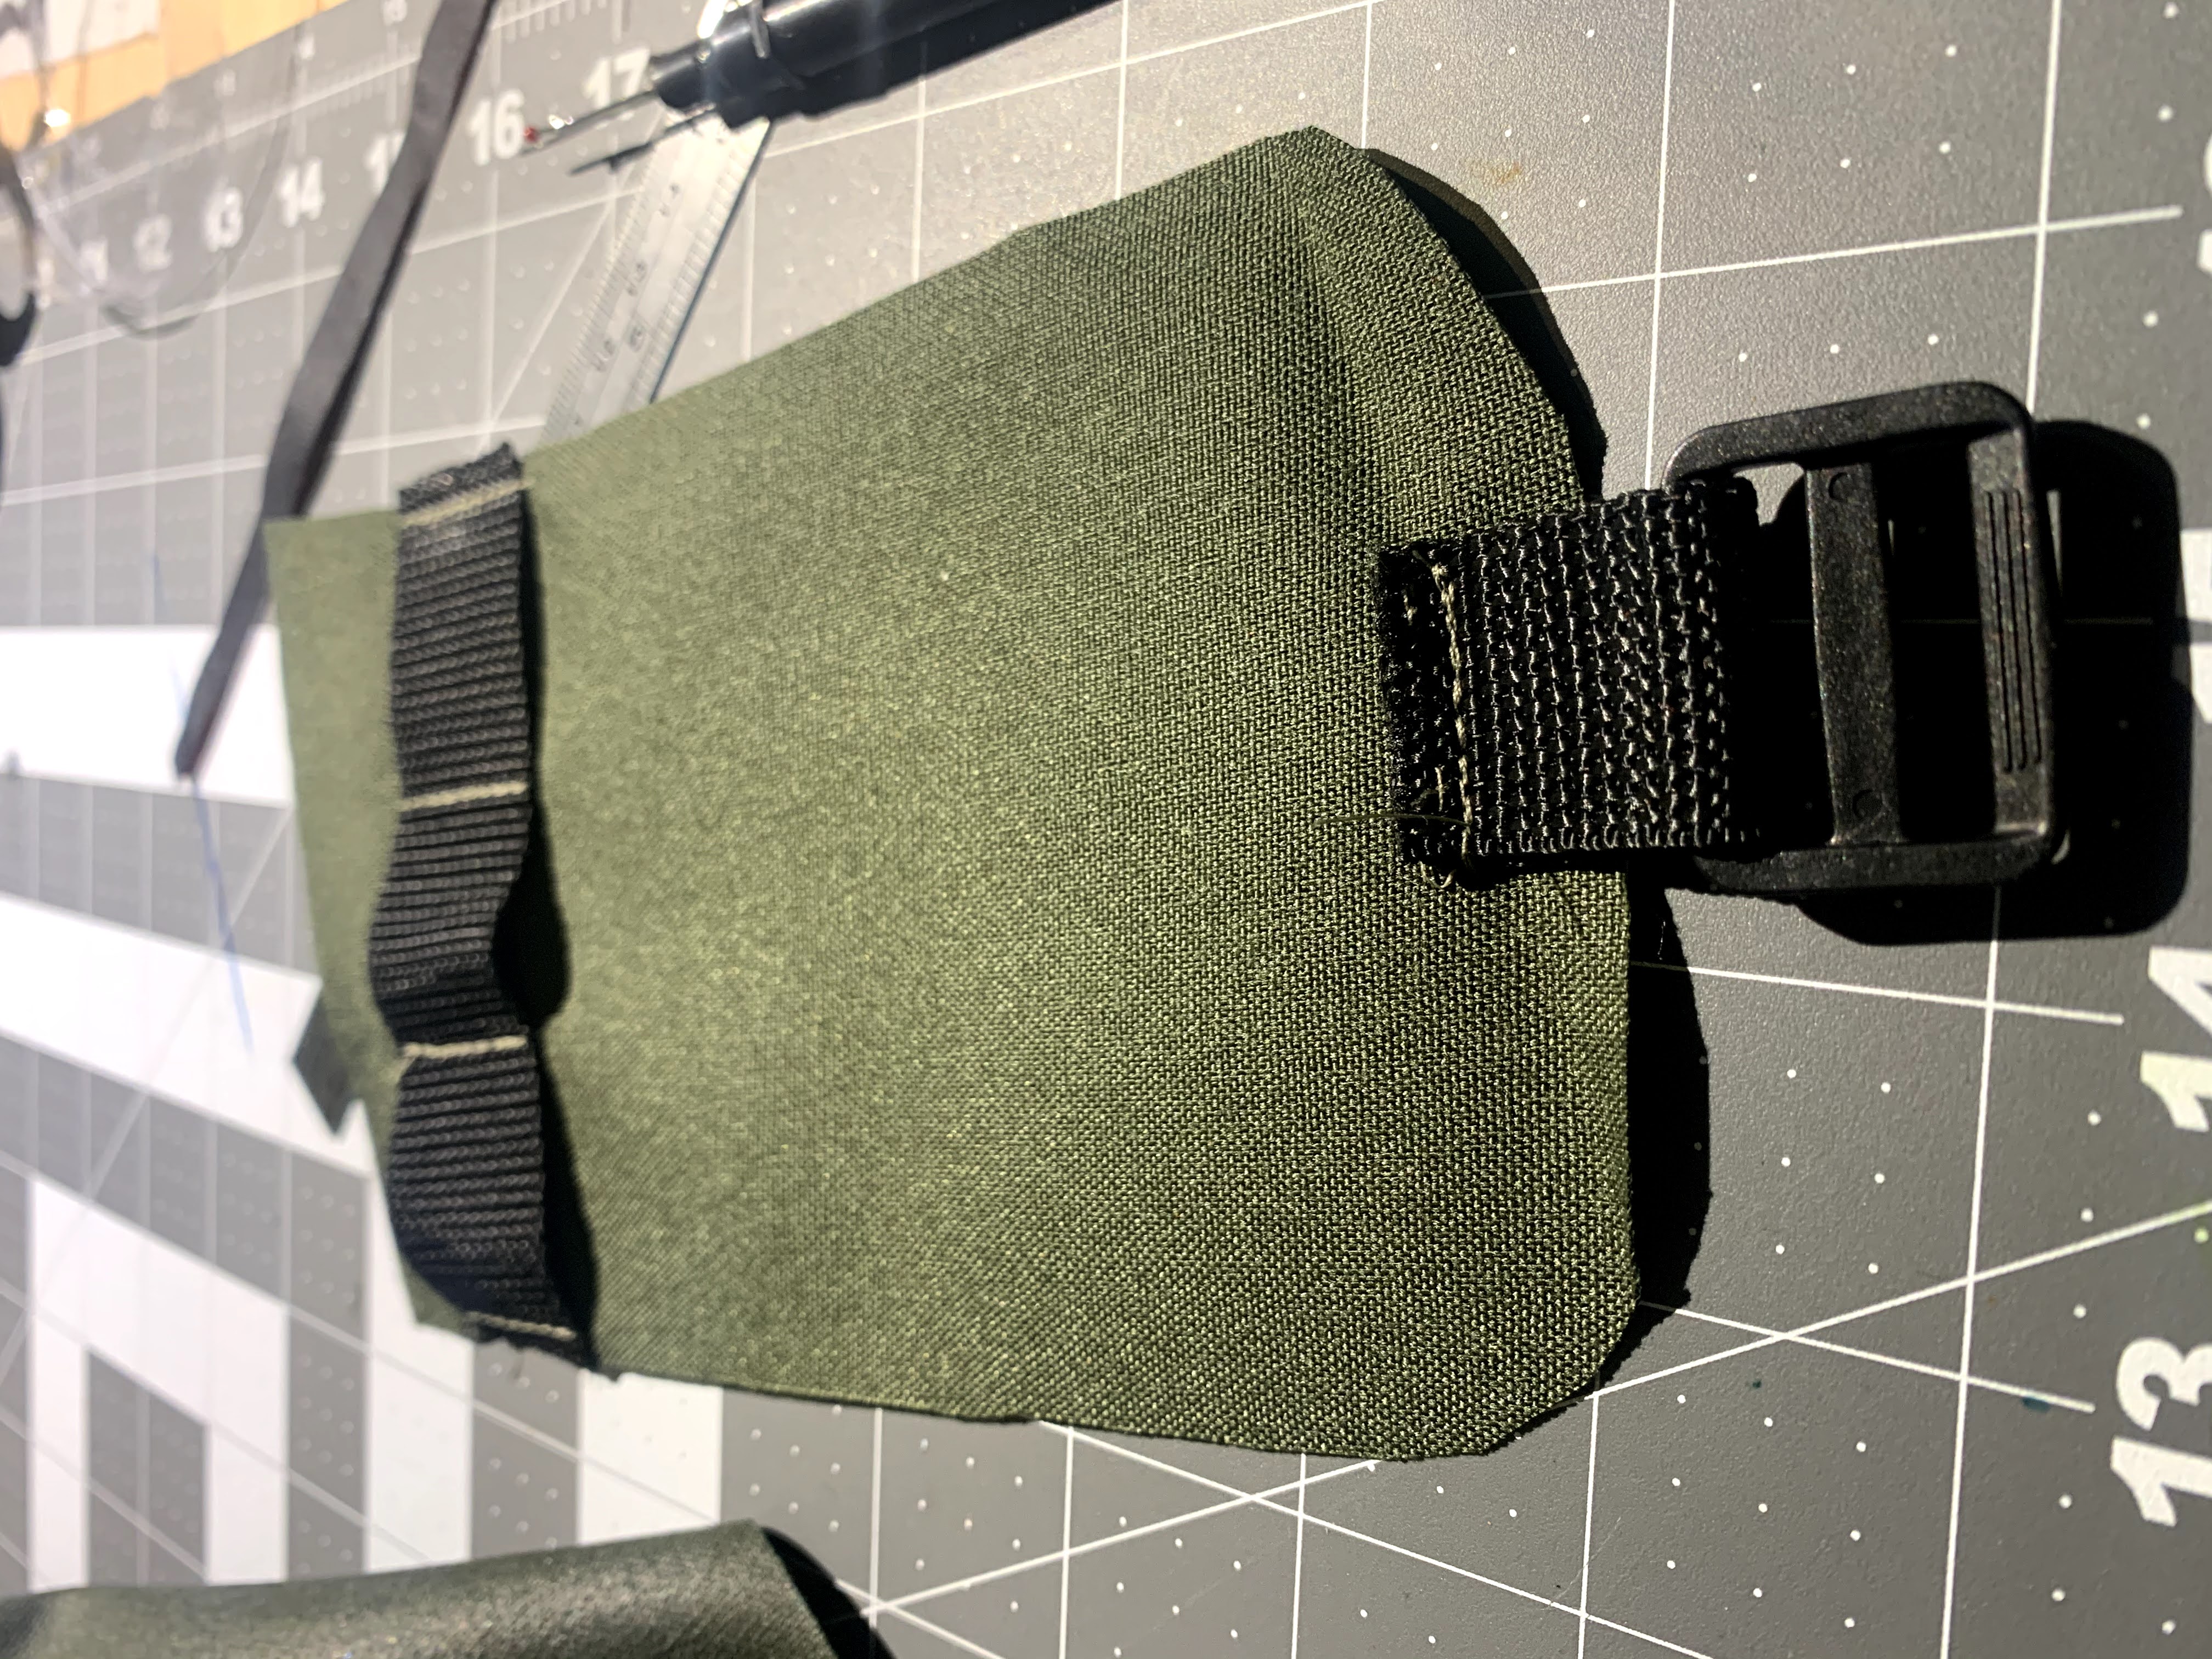
- Loop your 6 cm webbing piece through your ring and stitch it to the panel that doesn’t have the pocket (pocket faces you, loop is on the front of the bike and will be used to attach to the fork).
NOTE:If you look carefully, you’ll see that from the pic above (webbing and ring already sewn on) to this photo, I redid the webbing with the ring. The reason is you have to sew it up high enough that you can flip it back in for when you sew the panels together
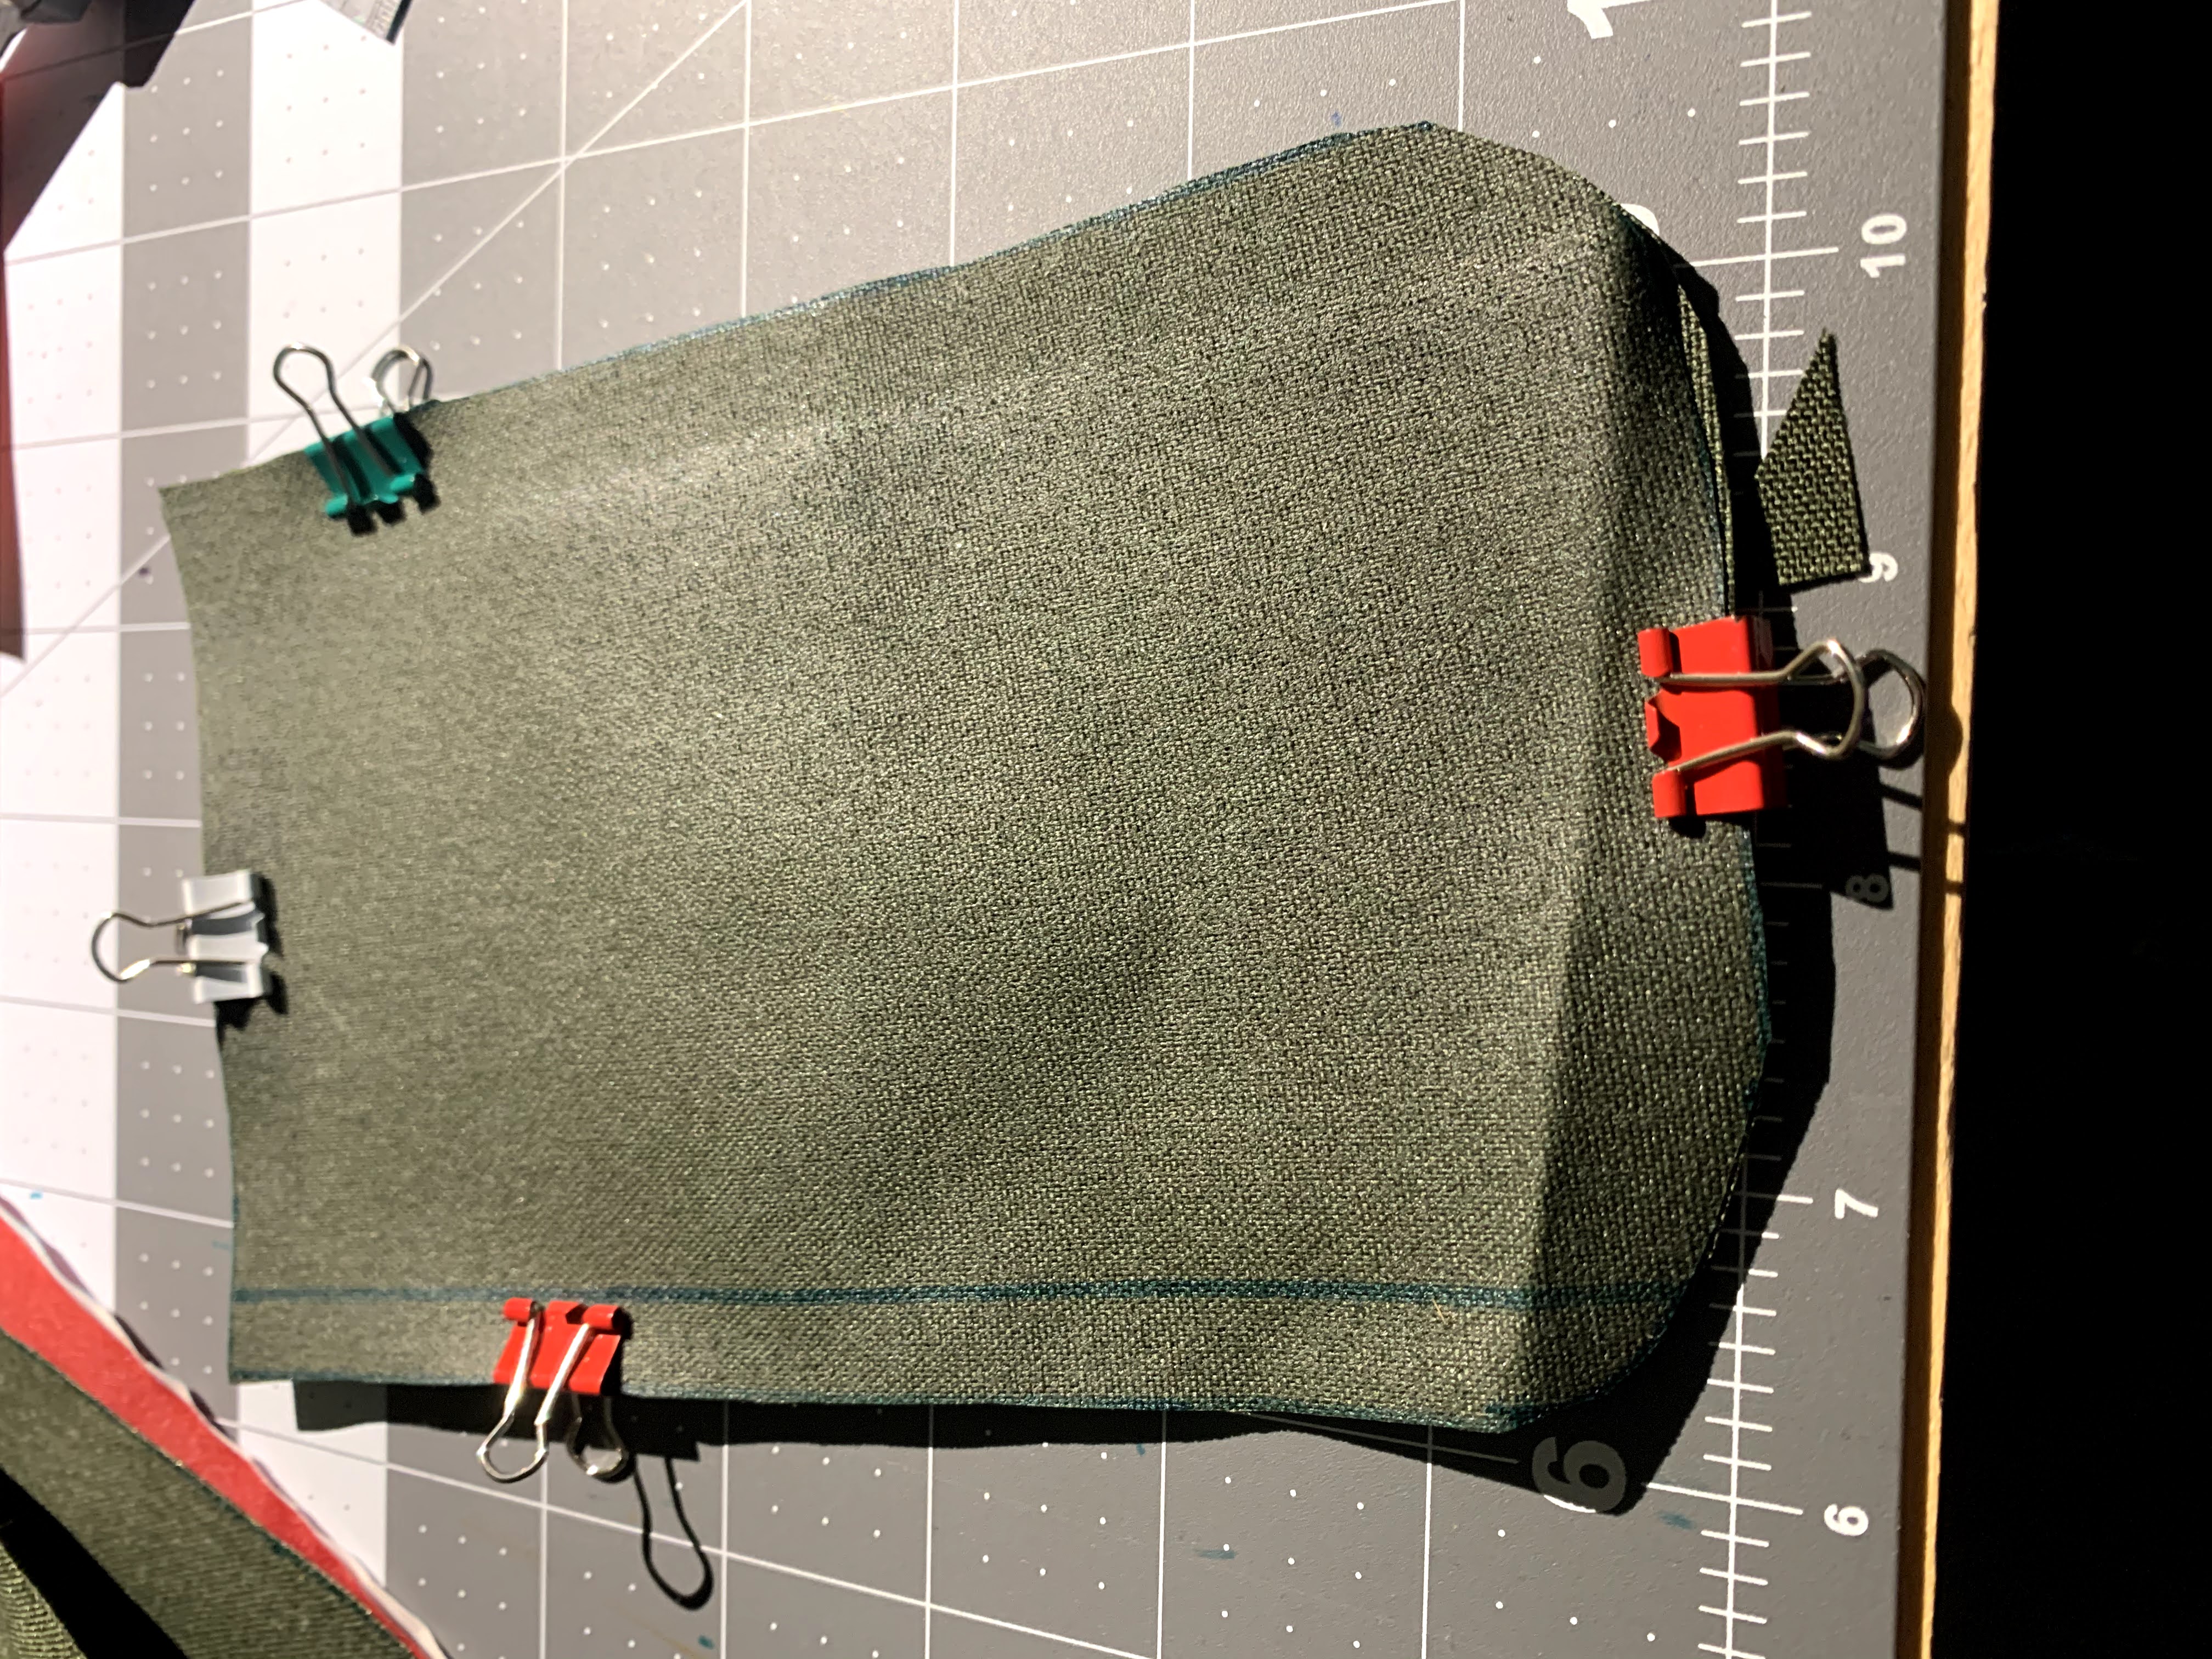
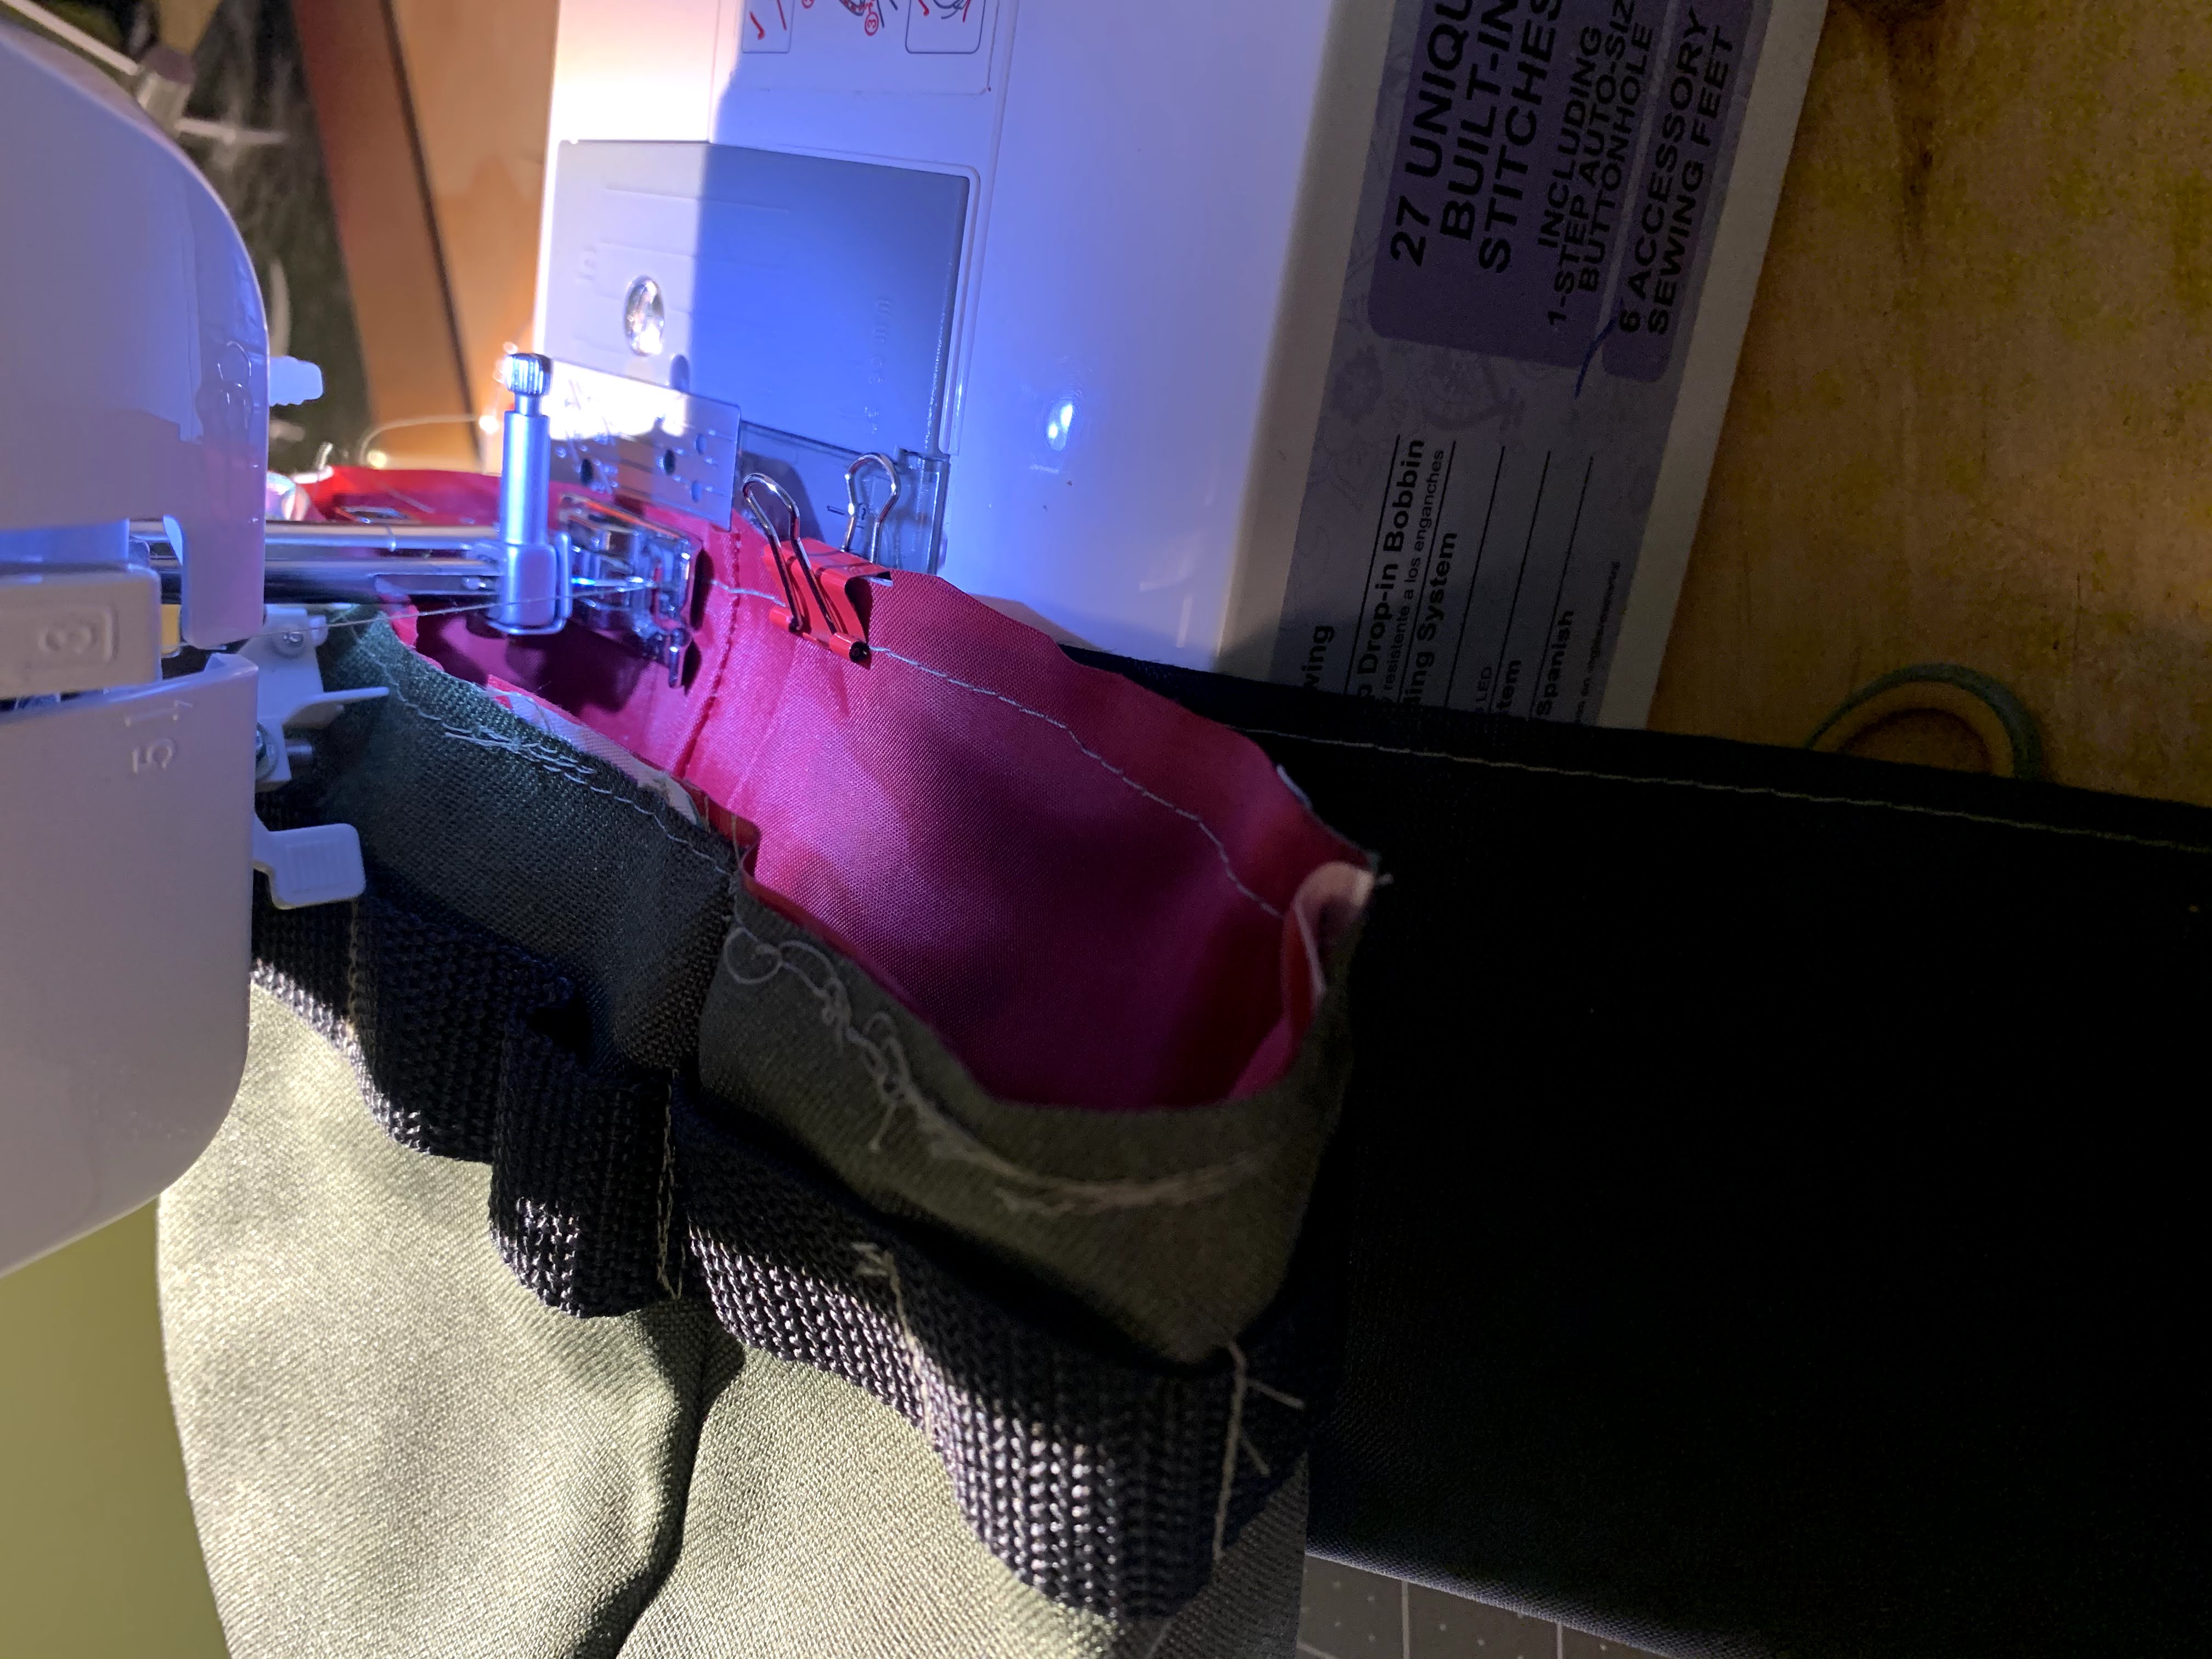
- Sew the panels together. This is the major task that takes time and patience, but once it’s done, you’ll see things starting to take shape. Watch this part of the video starting here. Yes, he makes it look easy. Take your time and have your seam ripper handy (at least that’s how I roll)
Sewing the exterior panels (above), the webbing with the ring is tucked back in. And yes, I use small binder clips to hold things as I work on them.
NOTE: At this point in the original video, he has a fancy tool that helps him put some edging/binding on (on the inside seams). I don’t do that. Maybe some day I’ll get that fancy. Not today!
Sew the Inside and Attach it
- Repeat step 4 above with your internal pieces. THAT IS ALL. Well, it’s a lot still, but just repeat step 4 with your interior pieces.
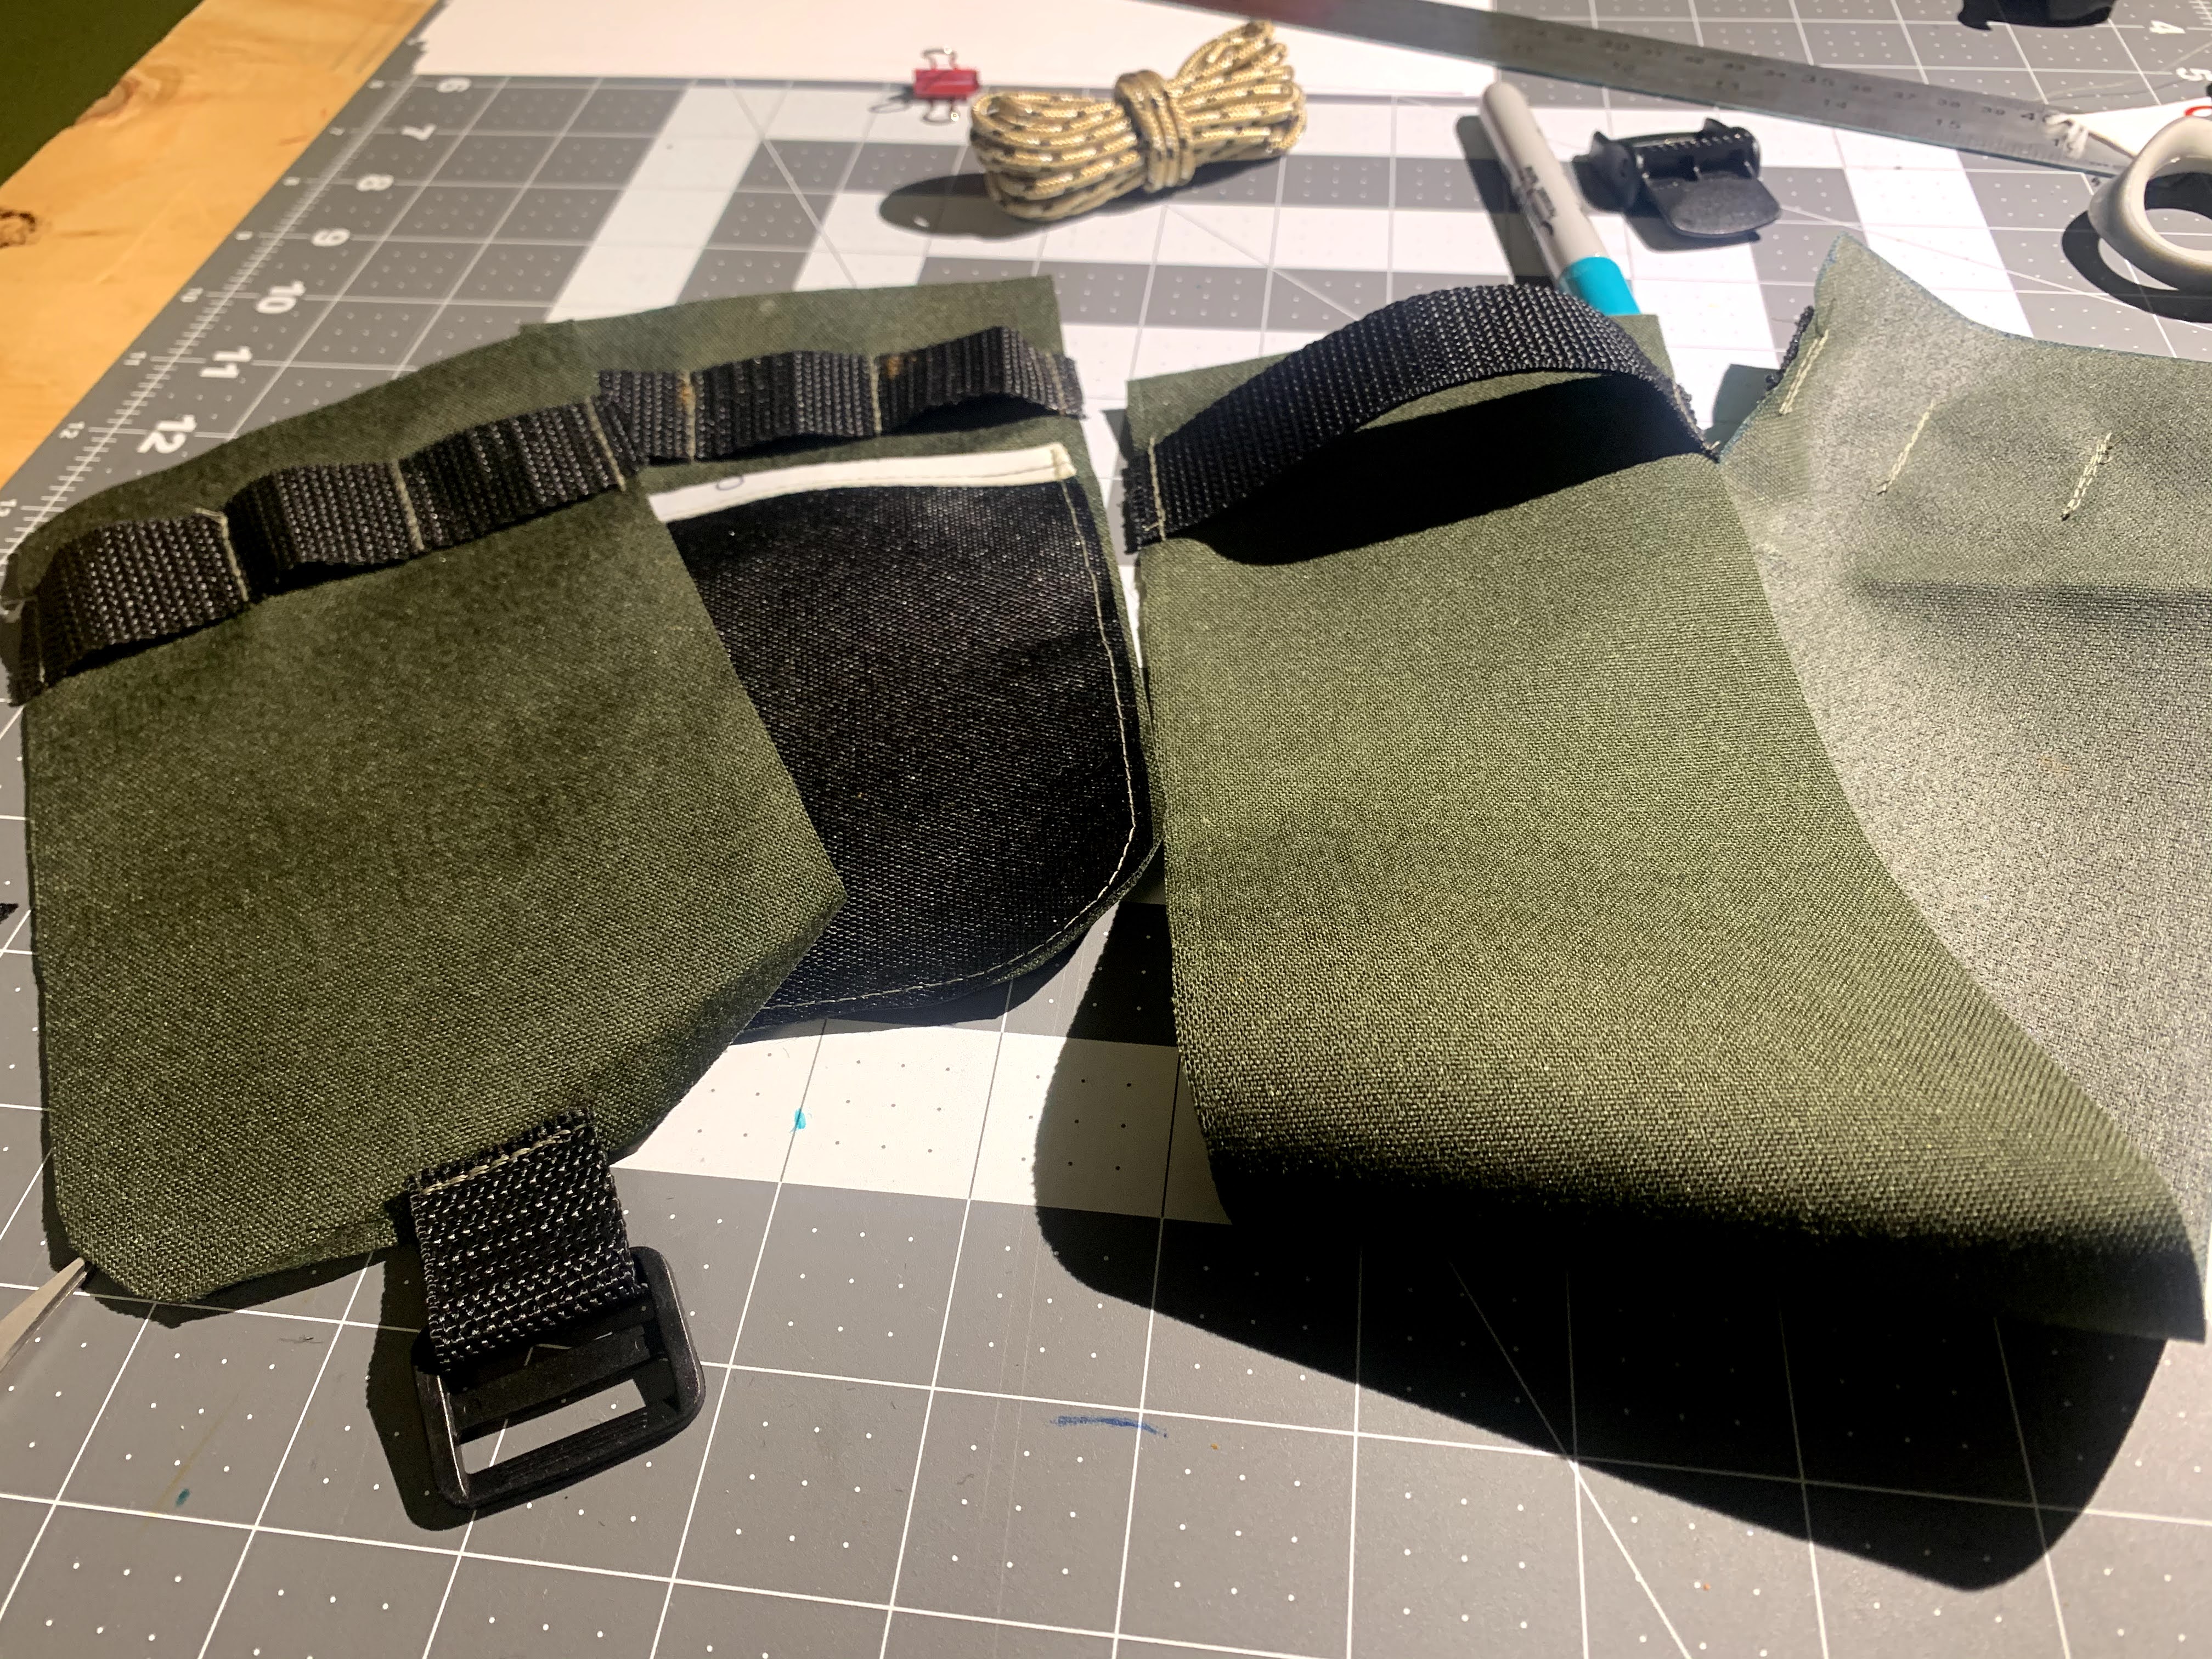
Below are the interior and exterior done. I used the old sleeping pad material for the interior. Indeed, it’s trickier to work with than cordura and xpac.
-
If you haven’t already, turn your exterior piece right side out, and stick your interior piece in so the “nice” exterior-facing pieces are showing where they should. I mean, I totally didn’t sew my first or second one of these with the internal piece turned “right-side-out” and nearly just leave it like that cuz I was tired.
-
Eyeball it, pull it taut and see if they match up pretty well. Assuming so, continue on to next step, but let me show you this first.
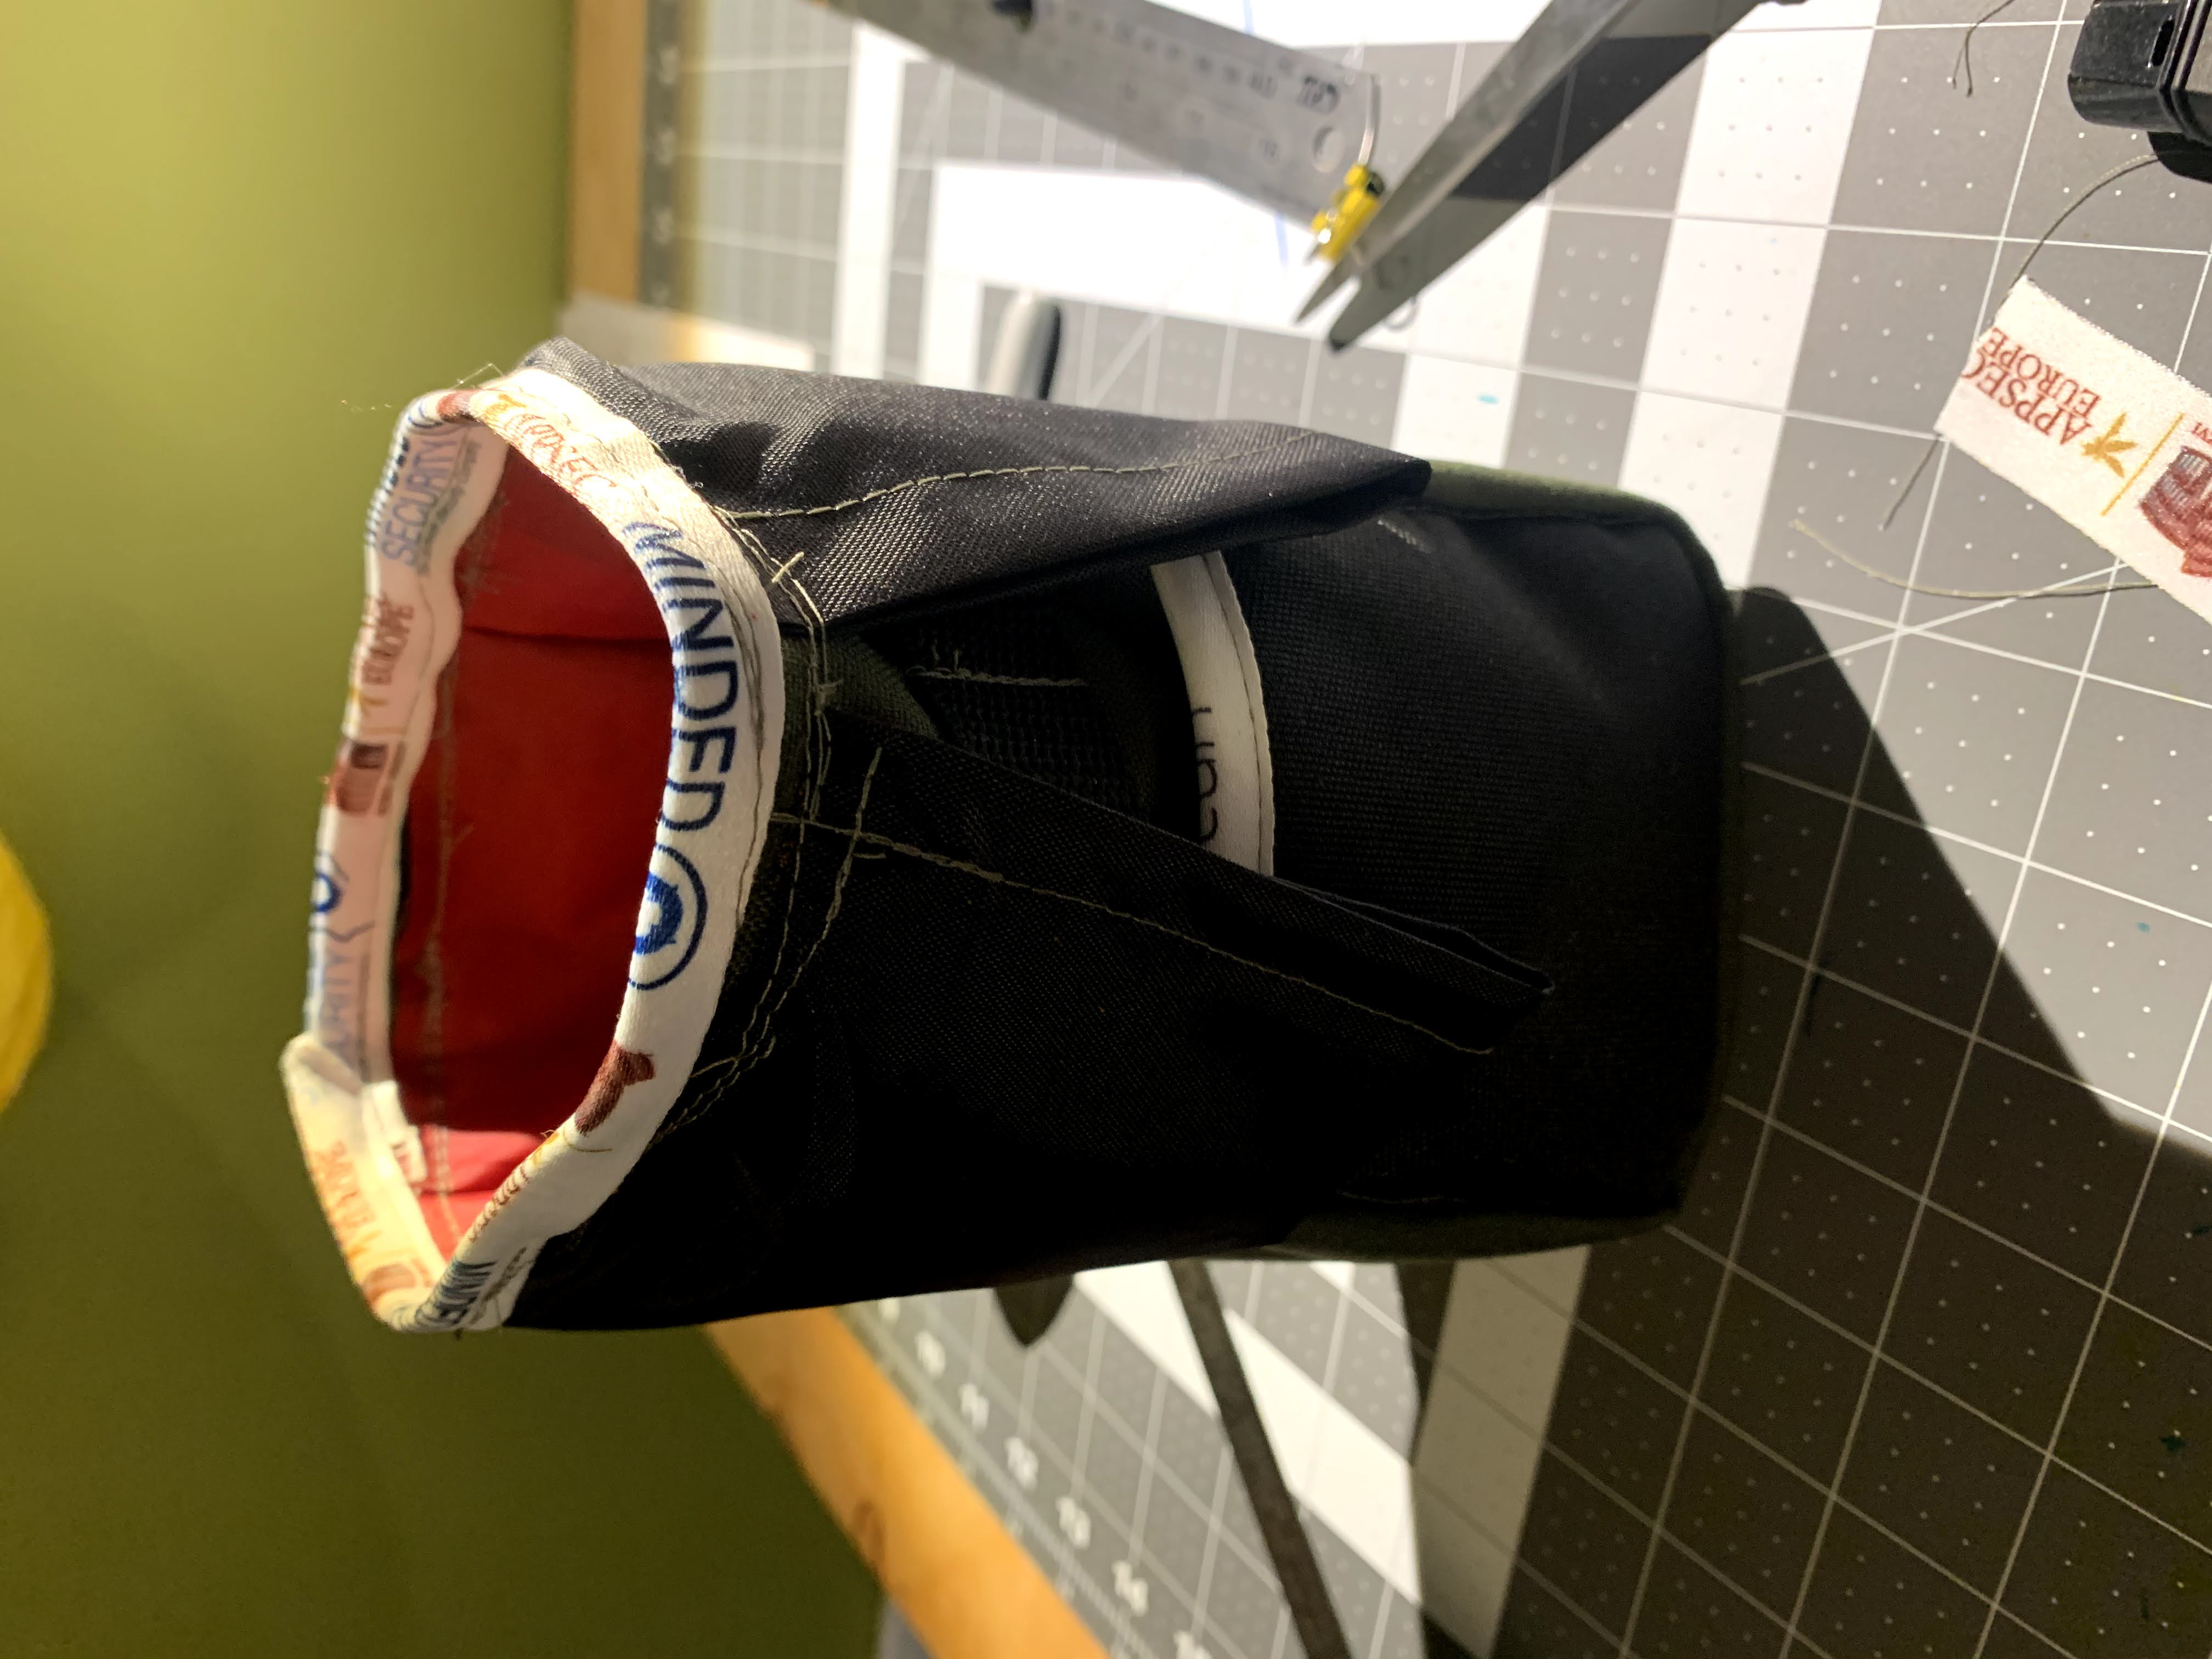
Despite my best effort (see notes about about measurements and why I make the interior bigger than he suggests in his video), I still ended up with this …
So, I undid some of it, turned it inside out and stitched down some of the exterior seam near where that happened. No more fold/pinch after that. And no project of mine would be complete without some janky stitches. S’ok, these will be covered by the nylon top.
- Place it on it’s side and stitch the inside to the outside by stitching around the top. Starts here in the video
Sew and Attach the Top
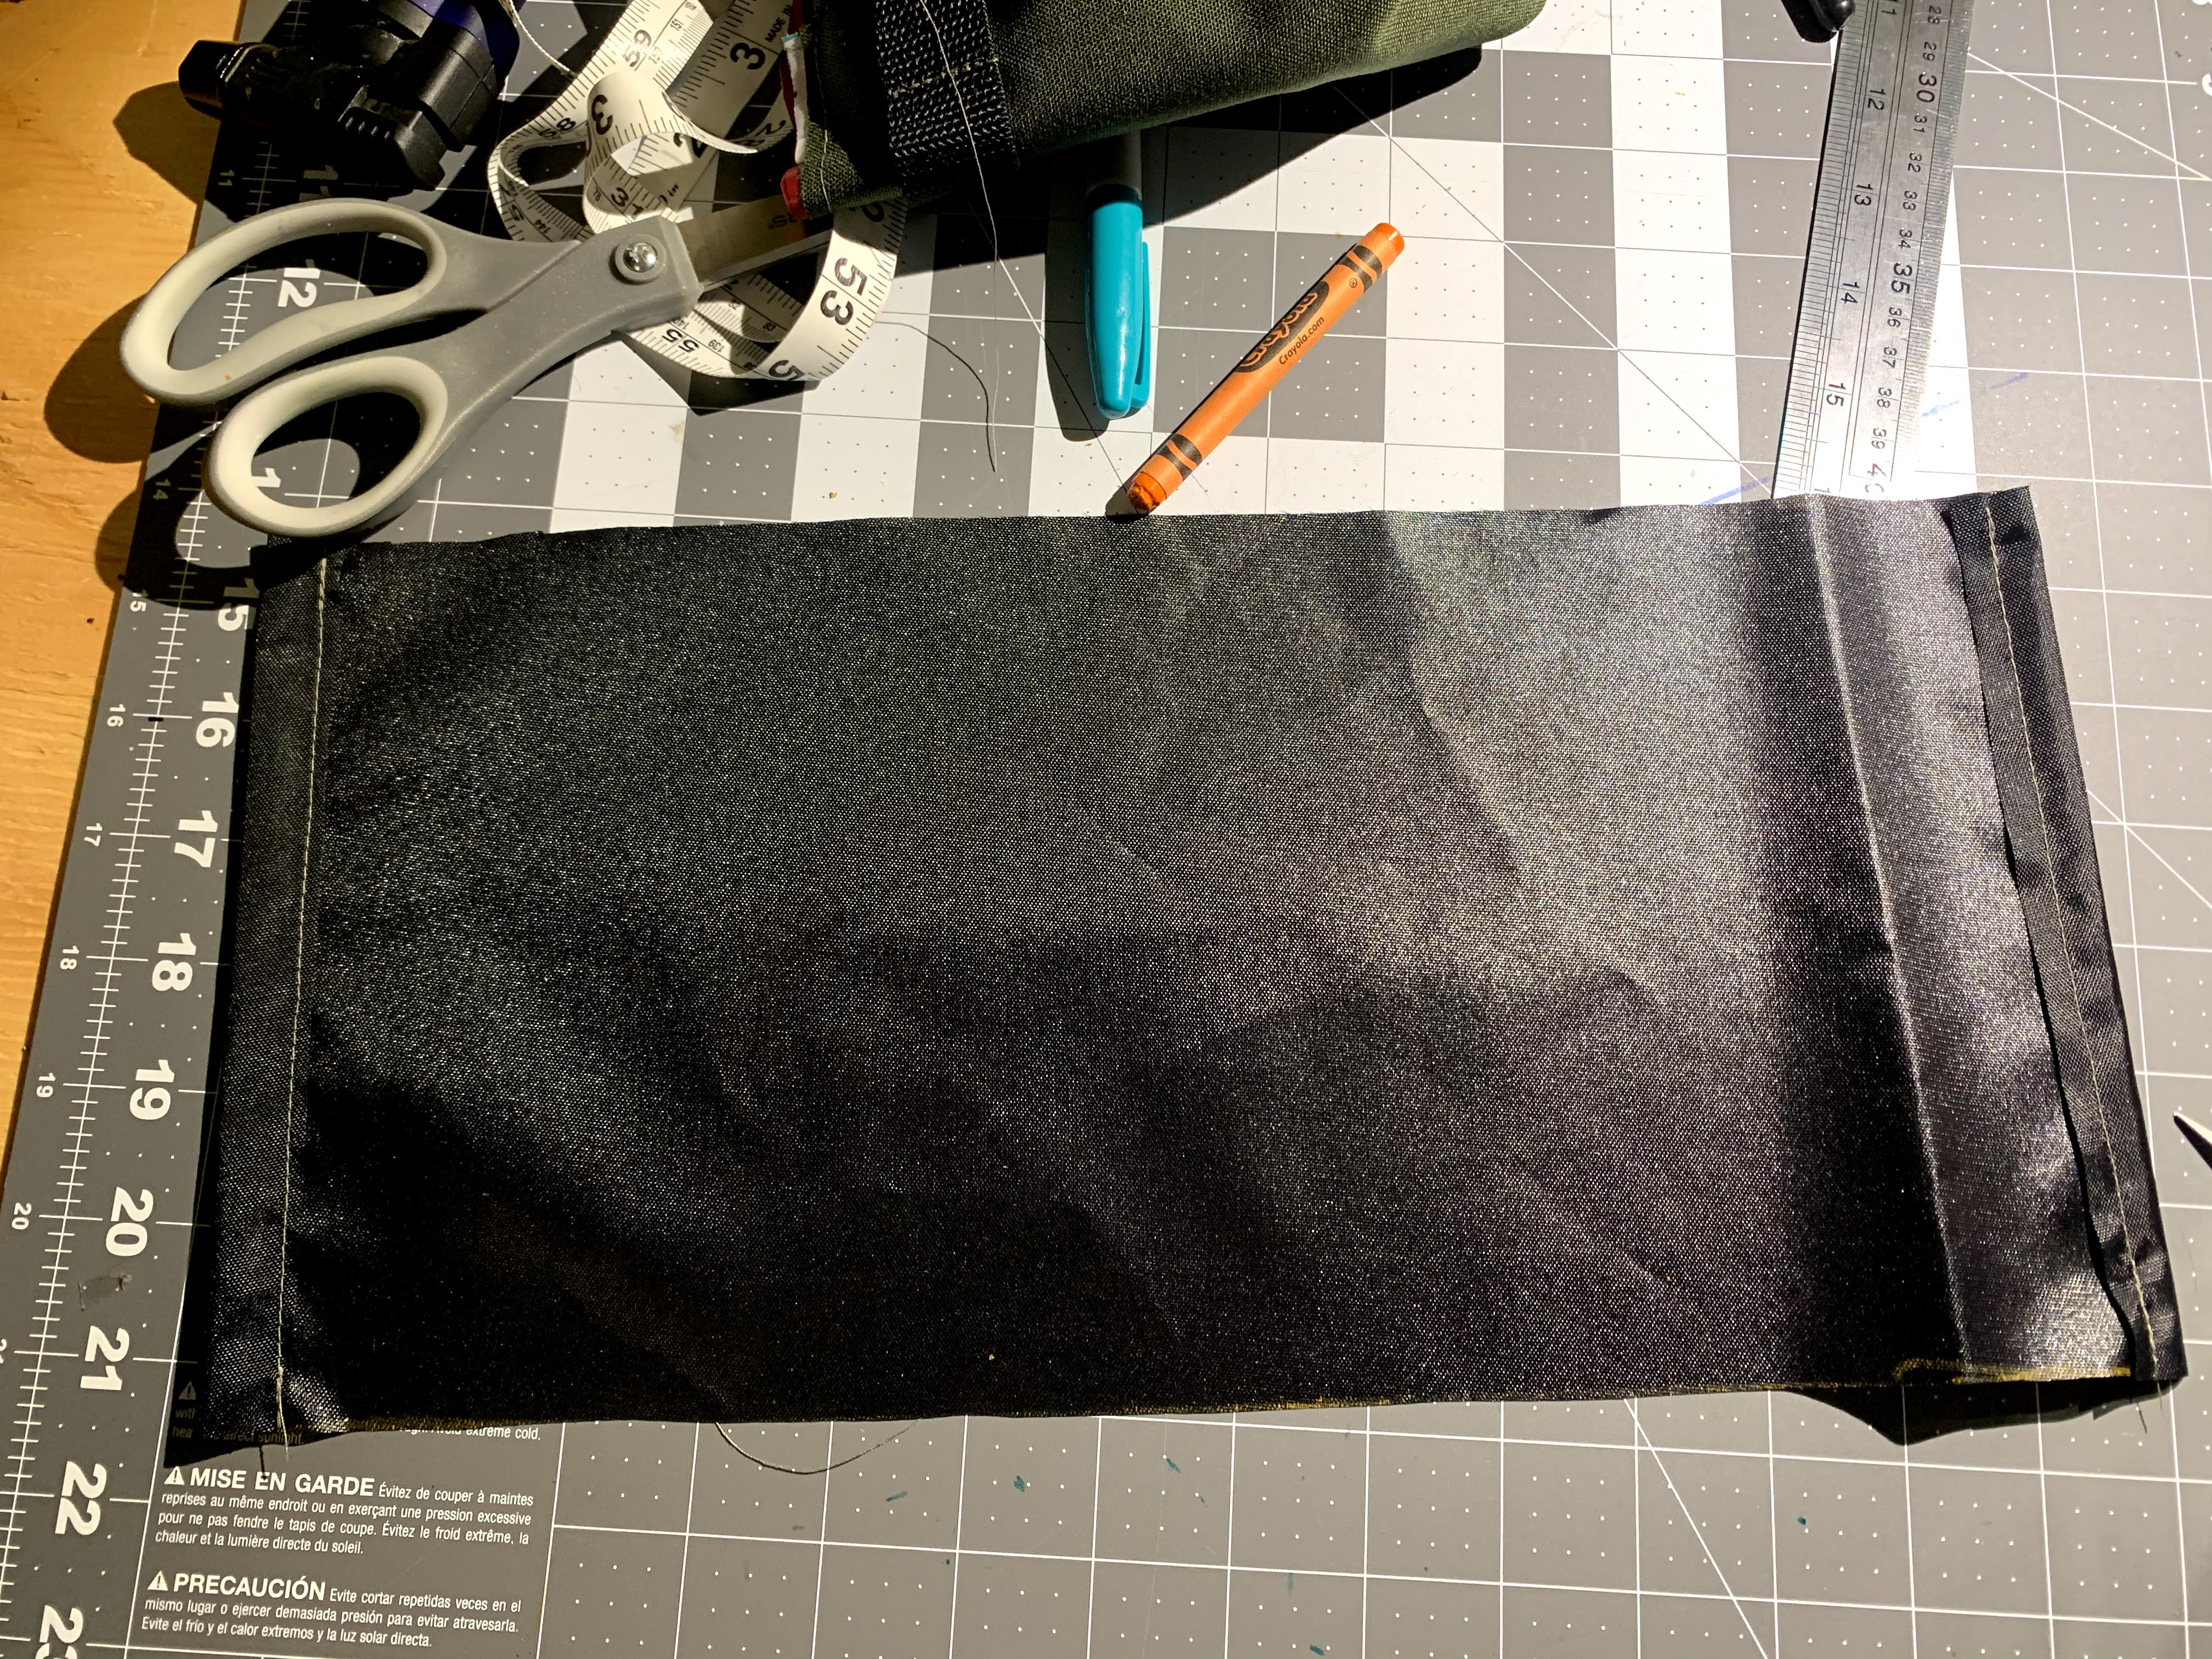
- Take your
41 x 18(or maybe42or43) piece of rip-stop nylon and wrap it around. See what the overlap is. It should be around 4 cm. If it’s less then you’ll double over your edges less than 2 cm. In the video, he shows stitching the edges 2cm. If you have less then 4cm of overlap, just fold your edge half of it (3 cm»1.5 cmedge on each side). In this case, mine turned out to be 3 cm of overlap and was still somewhat snug doing 1.5 cm on each side. See him do it starting here
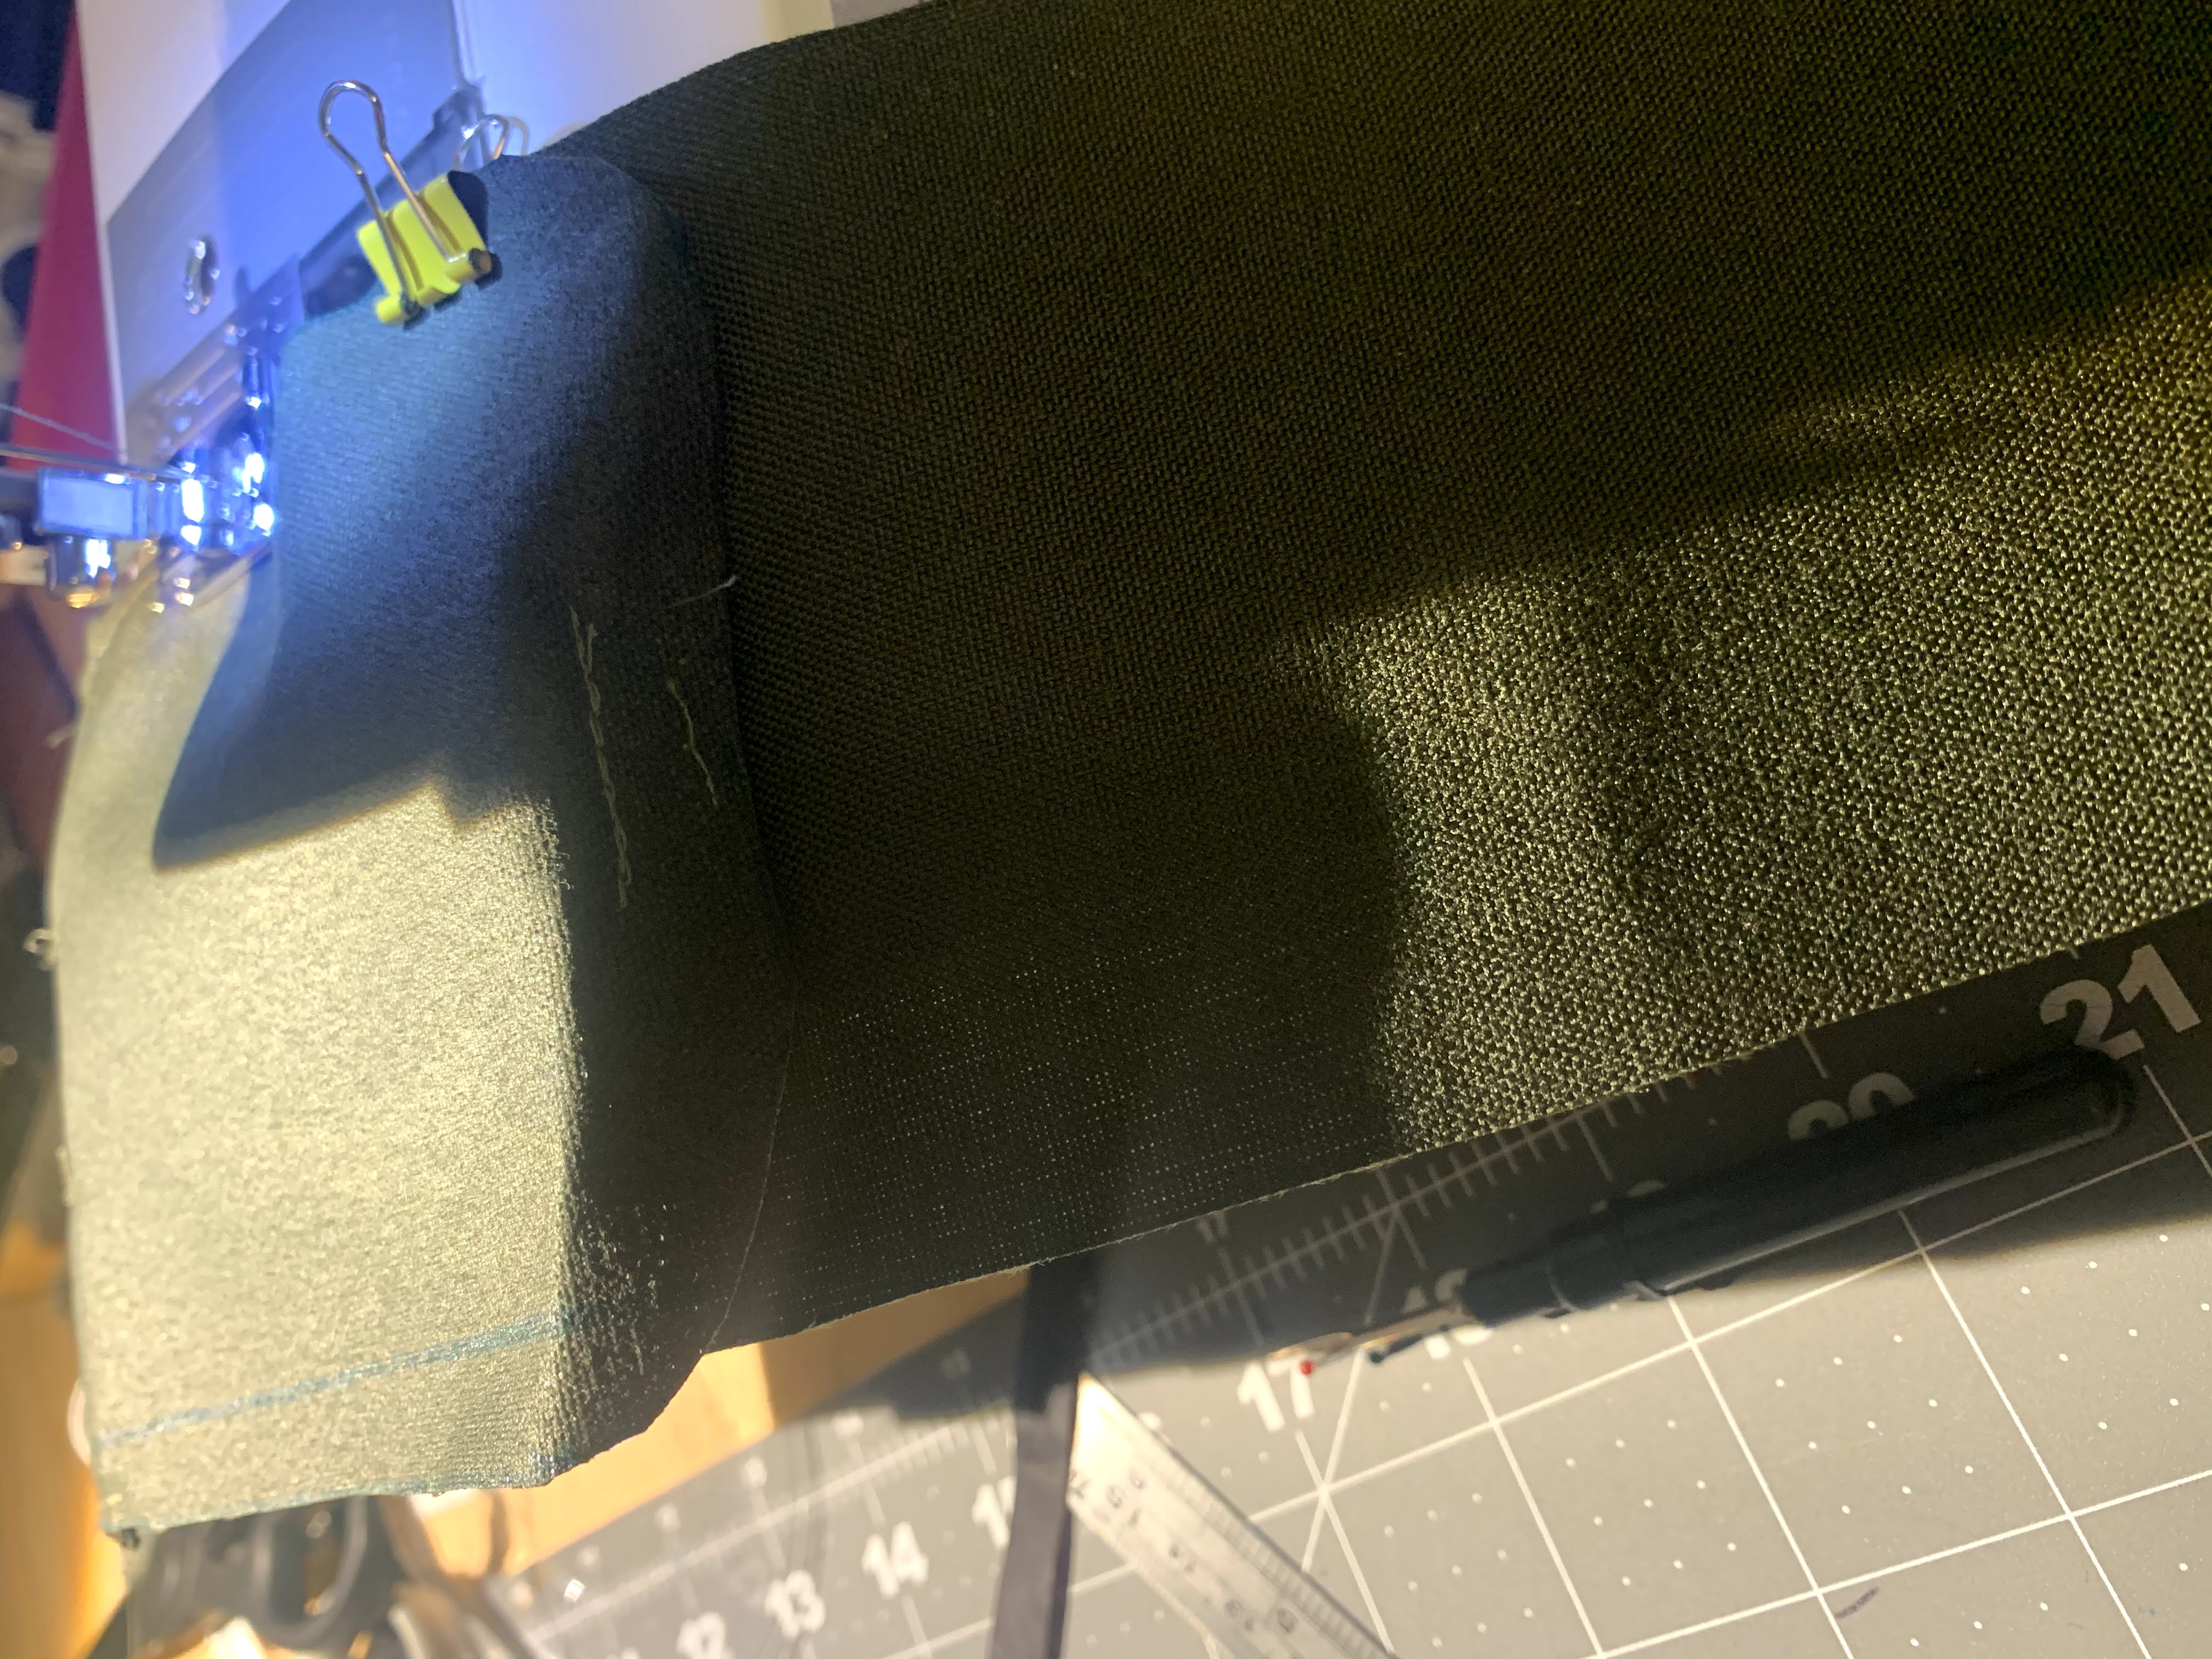
- Now fold it over length-wise, make sure your edges line up and stitch along the long edge. See in the video here
- The nylon is now more or less a tube. Stitch each end of the tube, leaving the part at the top (the part where it’s folded in half, not stitched together) enough room that you’ll be able to pass your cord through. See how he does it starting here in the video
I actually forgot this step and had to do it after I had already sewn it onto the body of the bag, so no photo, sorry.
- Sew the nylon top to the top of the stem bag. Place the outside part against the outside of your bag folded out essentially. Then just stitch around the perimeter like you did in step 4 of the previous section. Remember to start in the middle of the panel with the pocket. That’s the side that faces you when riding and makes for easier access, handling to open/close it. NOTE: I don’t do the little extra step between the step above and this one where he attaches the cord-loc with some webbing. It looks pretty slick, if you can get the right kind of cord-loc (I couldn’t find one). It allows you to open/close with one hand is the main thing.
I used a heavier nylon this time. Little harder to work with, but I actually like it. Also, this is when I realized I hadn’t stitched down the nylon so that only the loops were avaiable to feed the cord through. I did make this one without re-watcthing the video and from memory this time though.
Finish it up
- Using grosgrain or whatever you use for your edging (this is where I used spare lanyards a couple times). Fold it over the inside part of your nylon (which is still inside-out and facing down) and the inside of the bag. Stitch on your edging. To see him make it look easy with his fancy jig, watch here. I used clips (from the badges that the lanyards held or binder clips … see earlier note about klugey) to help hold it as I work around.
I tried my lanyard again …
… and I think that was the last time I will, at least at that part of the stem bag. It didn’t quite work out. I’d just suggest using actual edging, grosgrain, whatever they call it.
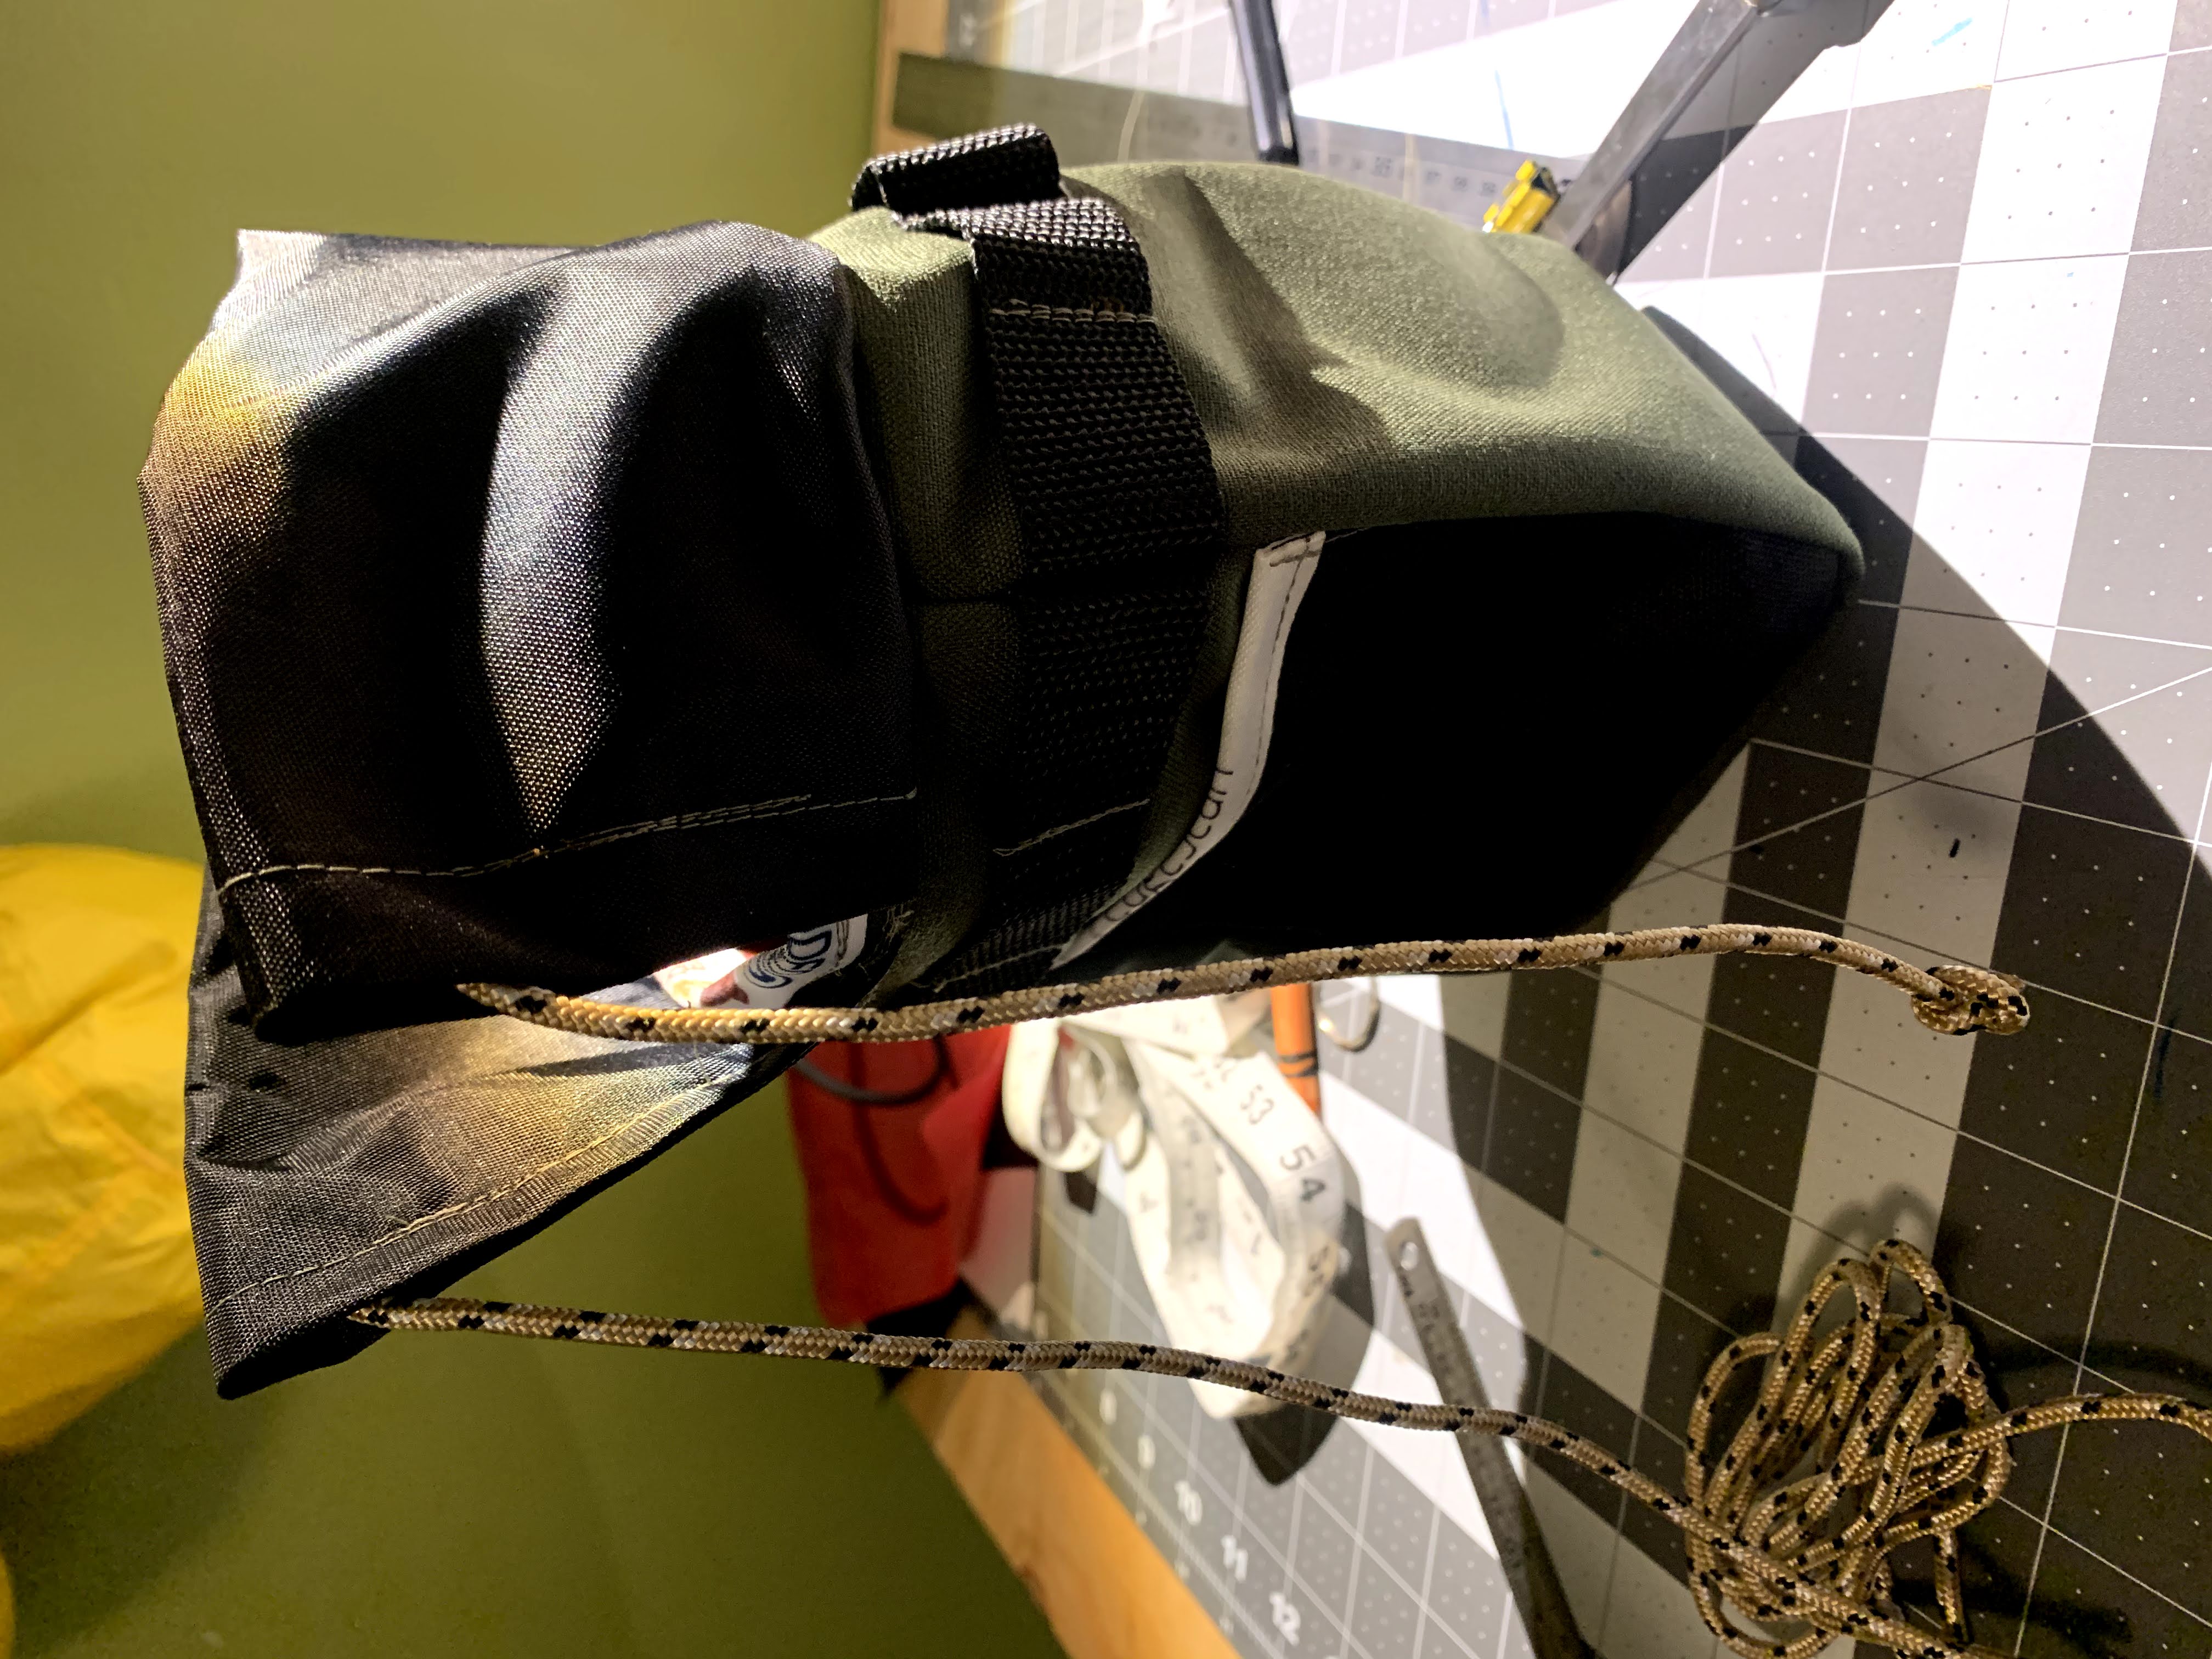
- With that edging on, fold the nylon up. You’re ready to set your cord up. Attach a small safety pin or something similar that will help you feed the cord through. Again, his measurement is
55 cm. I start with something longer and adjust it after feeding it through. Start with55 cm(or longer if you prefer like me) and adjust at the end. Also, his set up in the video is more complex to achieve the one-handed operation for opening/closing. He starts feeding the cordat this point in the video. Ignore the extra fanciness unless you got the special type of cord-loc and did the extra fanciness earlier to be ready for that part.
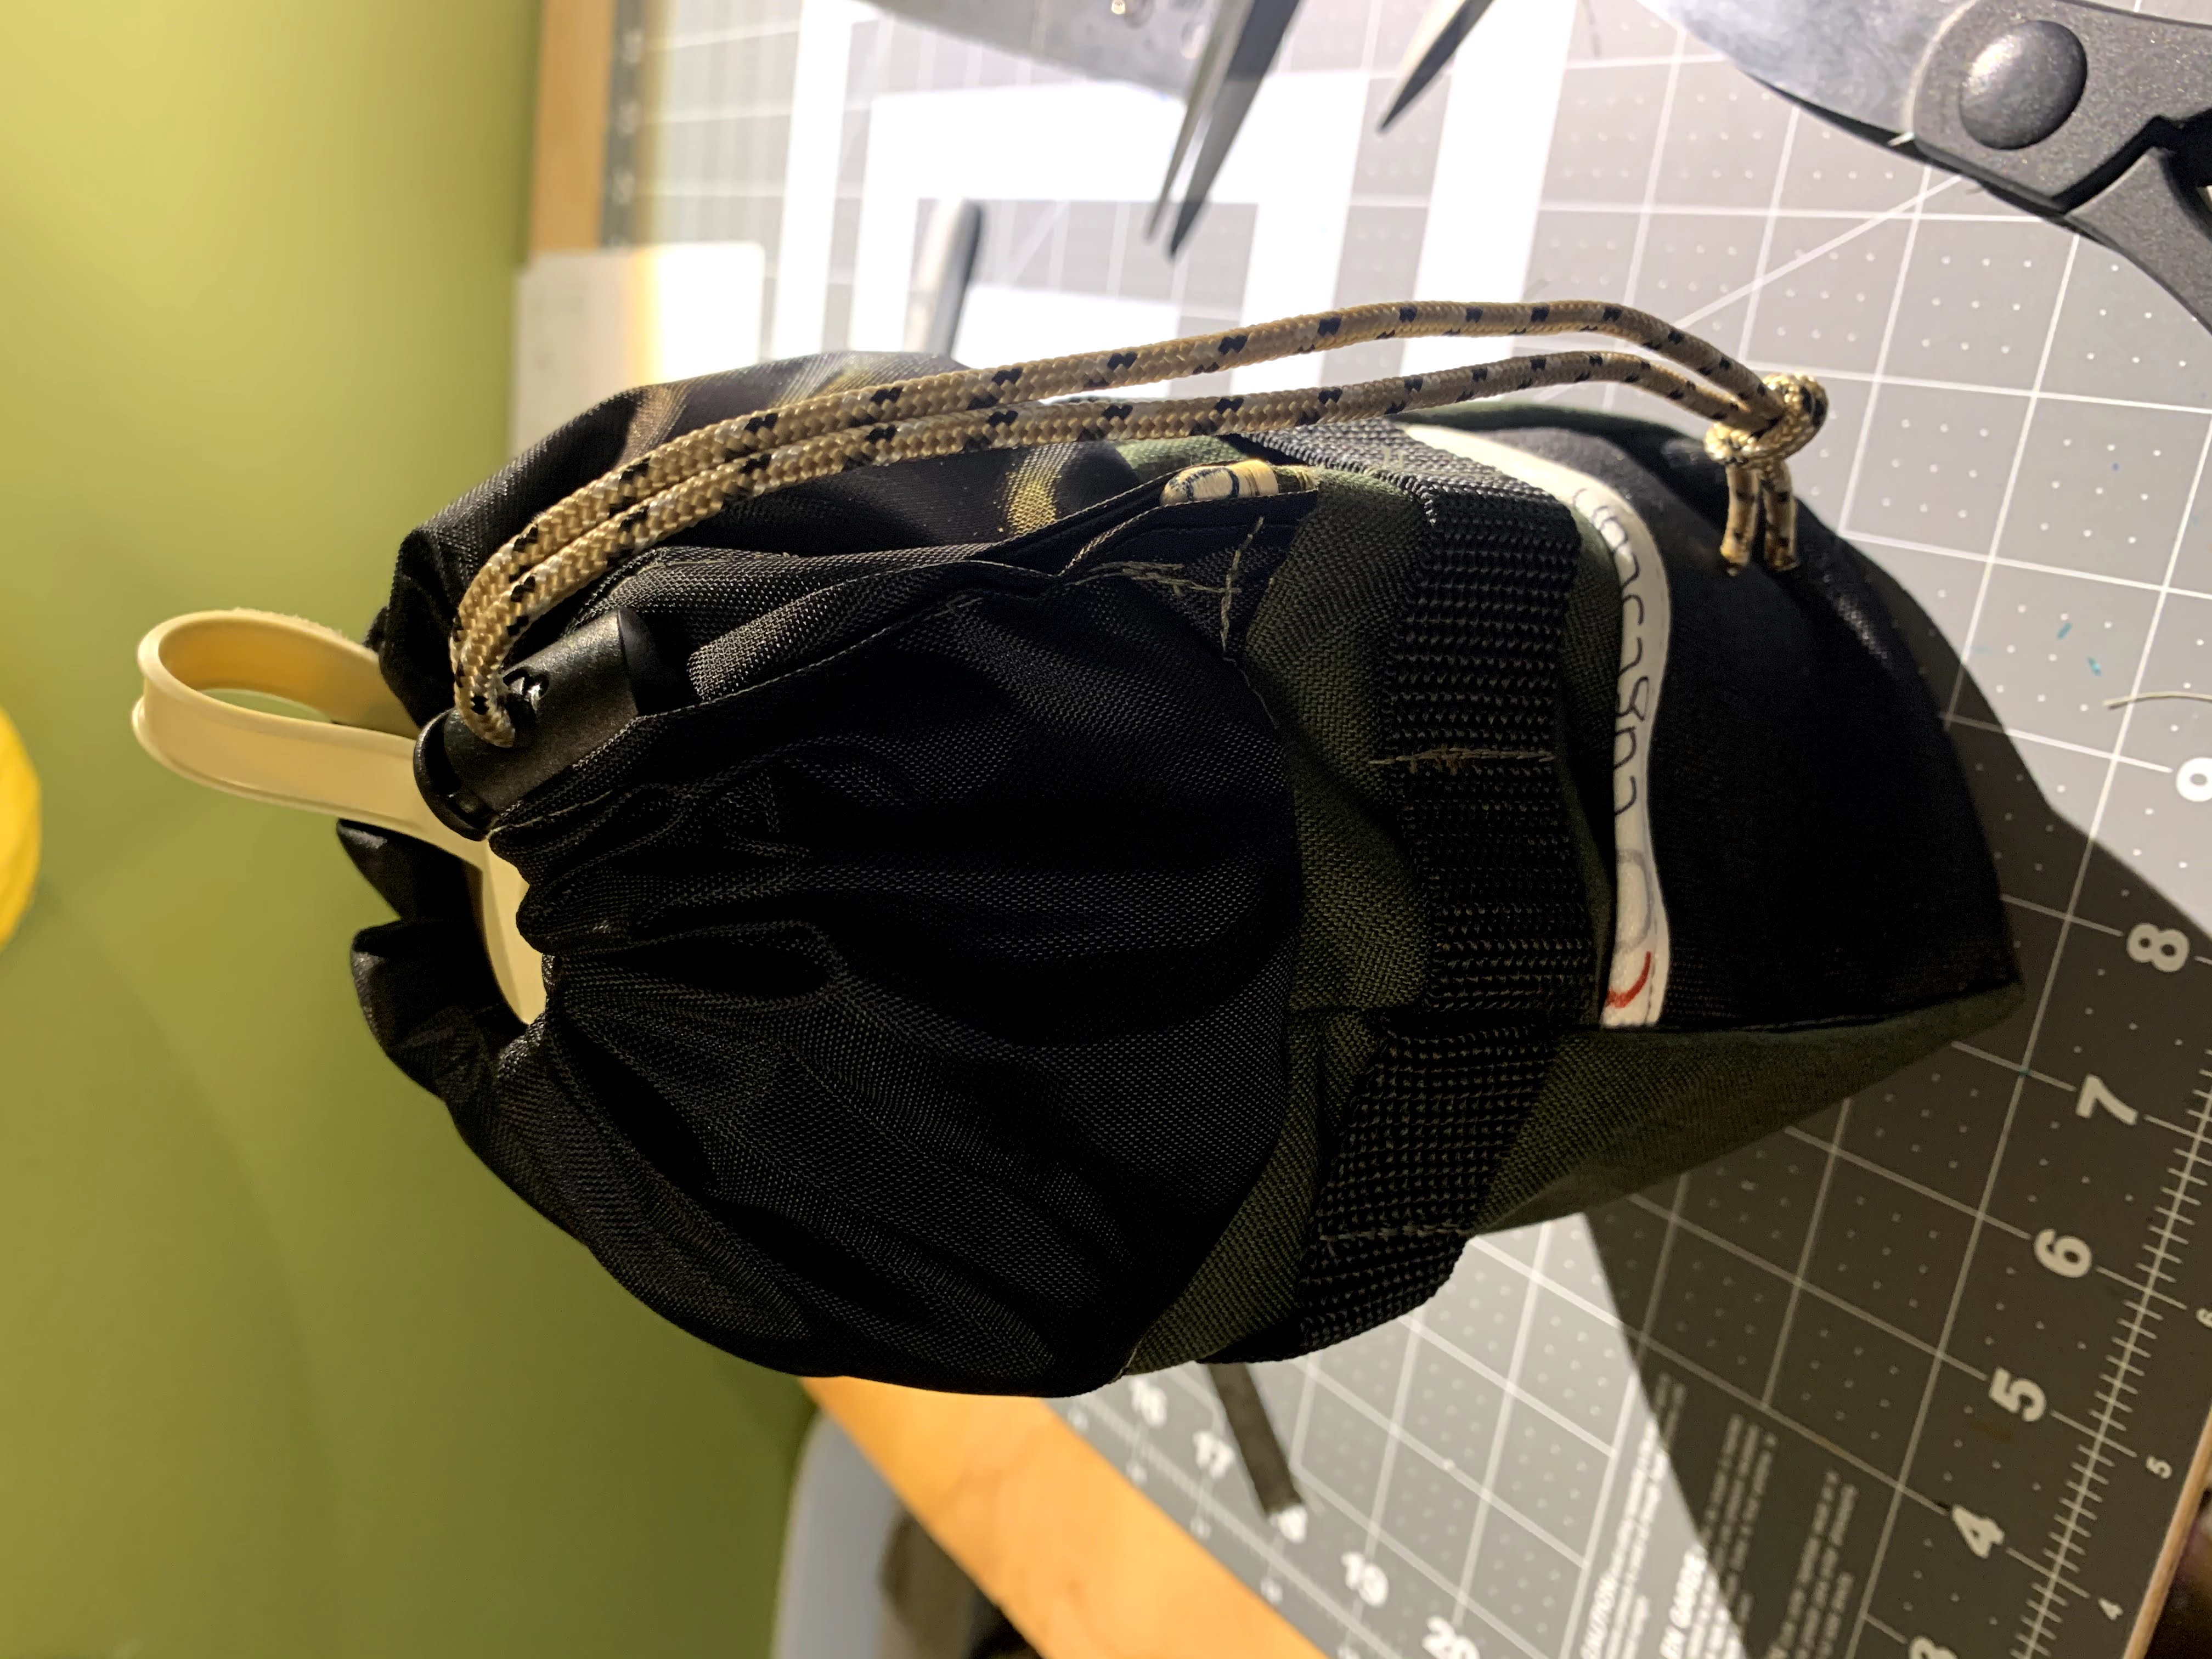
-
Once you feed the cord through the complete loop of the nylon, put your ends through the cord-loc. Trim your cord (if needed), fuse and knot it.
-
Almost there! The webbing and cam-buckle to hold your bag snug (attaches to the fork). Take one end of your 38 cm webbing and loop it through the end of the cam-buckle

-
Cut your velcro to size for your loops and adjust as needed after test-fitting. This is also time to test fit the webbing- cam buckle. Shorten it if needed. Either way, when it’s at the right length, fuse it.
-
… and you ARE DONE! GO RIDE!
<Imagine image of stem bag attached here … Coming Soon! (maybe) >